

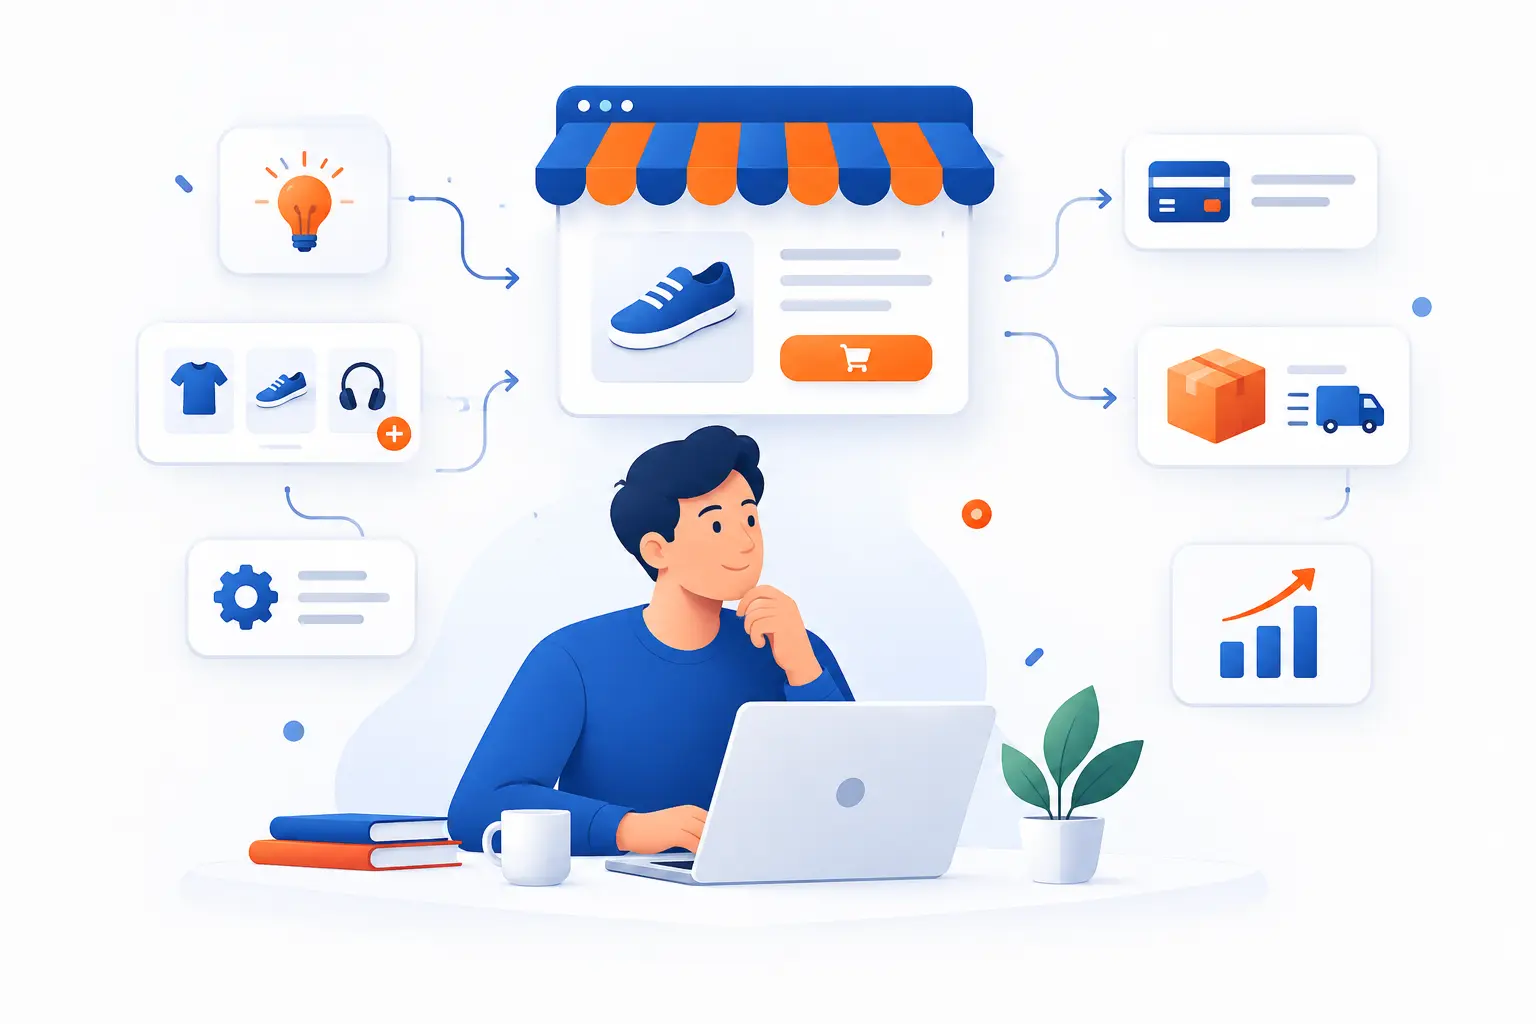
How to Start an Ecommerce Business means choosing a focused product niche, proving people want it, setting up the legal and financial basics, building an online store, and launching with a measurable marketing plan. We treat it as a sequence, not a burst of inspiration, because missed steps become expensive later. A beginner can start small with one product category, one sales channel, one domain, and one simple fulfillment process. The goal is not to build the perfect store on day one. The goal is to make a store that can take orders, deliver reliably, learn from customers, and improve every week.
At 1Byte, we have seen new store owners overbuild before they sell anything. Our bias is the opposite: validate demand first, then invest in branding, hosting, systems, and inventory with more confidence. Ecommerce is attractive because online buying is already part of normal retail behavior, but that does not make every idea viable. The practical path is research, validation, setup, launch, measurement, and refinement.
How to Start an Ecommerce Business Step-by-Step
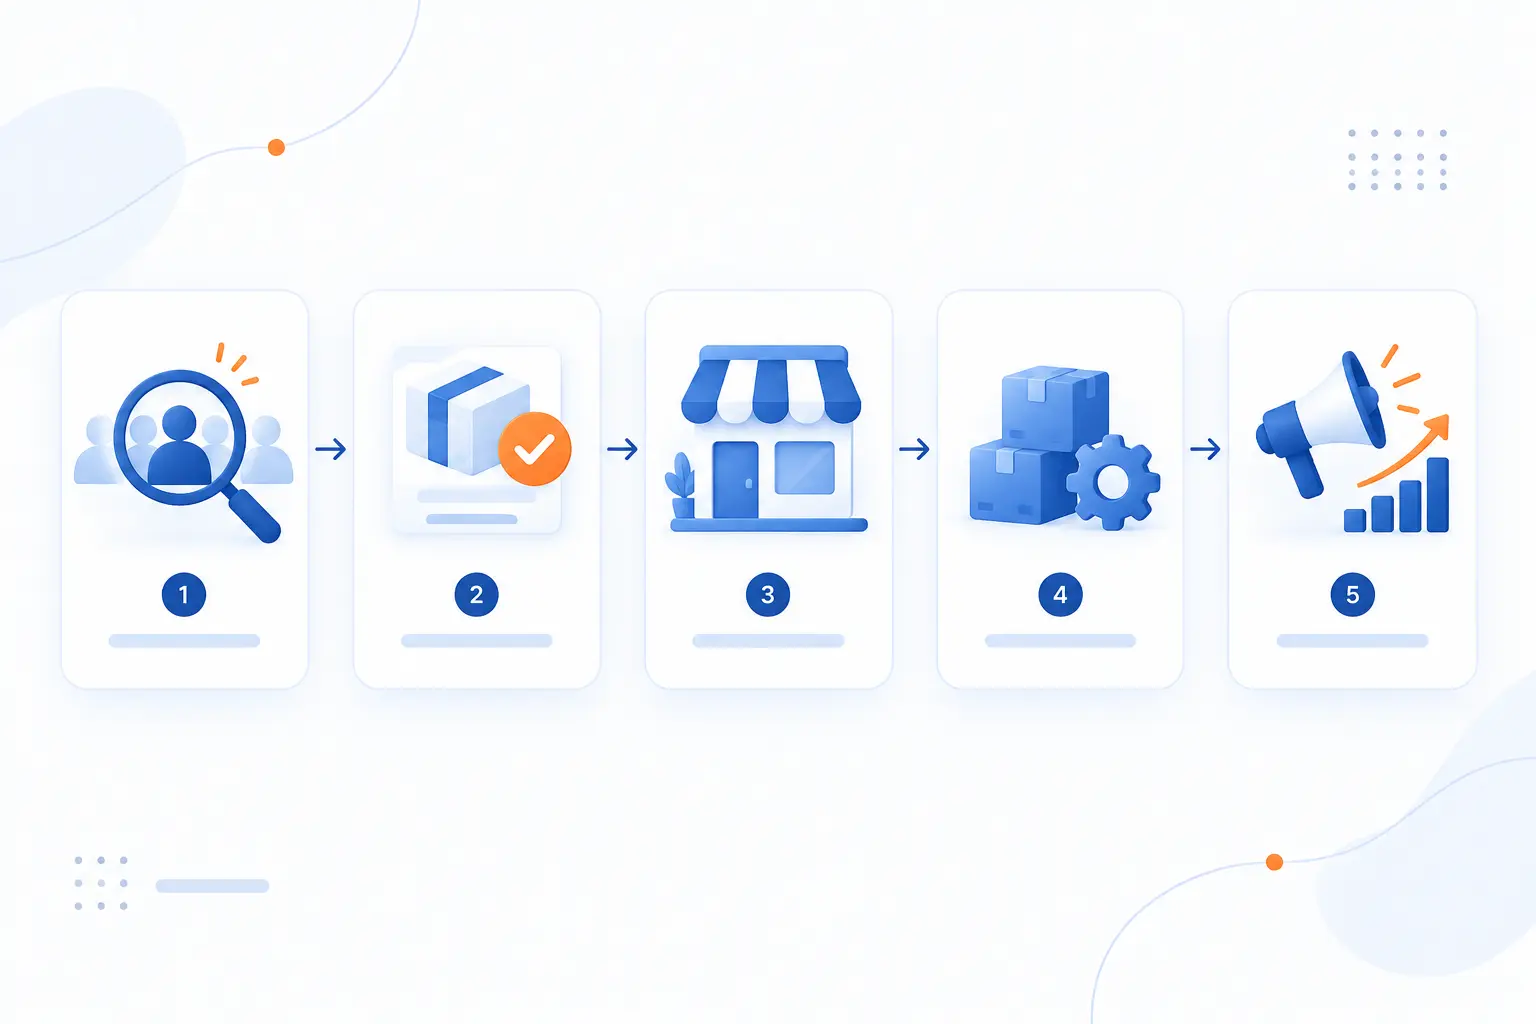
To start an ecommerce business step-by-step, move from market research to product validation, then set up the business, store, operations, and marketing in that order. Do not buy inventory, register a random domain, or spend on ads before you know who you serve and why they would choose you. U.S. online orders already represent a meaningful share of retail, with second-quarter 2026 e-commerce sales accounting for 17.1 percent of total sales, but competition is real. We recommend using the steps below as a checklist and marking each one complete before moving to the next.
FURTHER READING: |
| 1. What Is Content Marketing? Strategy, Formats, Benefits |
| 2. What Is Brand Identity Design and Why It Matters |
| 3. Crowdfunding Definition, Types, Process, and Platforms |
1. Research the Market and Narrow Your Niche
Choose one narrow market segment and write it in a spreadsheet named Market Validation. A niche is not “pet products,” because that is too broad. A better starting point is “plastic-free dog shampoo bars for apartment owners” or “compression socks for nurses working 12-hour shifts.” The narrower phrase tells you who the buyer is, what the product does, and where to look for demand.
- Create columns named Customer Group, Problem, Current Alternatives, Price Range, Search Phrases, and Notes.
- Fill in at least three customer groups, for example “new dog owners in apartments,” “traveling dog owners,” and “eco-conscious pet owners.”
- Search each phrase on major marketplaces, social platforms, forums, and search engines, then record the recurring complaints and product requests.
- Reject any niche where buyers seem indifferent, prices are too low to leave margin, or regulations are too complex for a beginner.
You should see a short list of buyers, repeated pain points, and several competing products. That is a good sign. The most common failure point is choosing a niche based only on personal taste, while the U.S. Small Business Administration stresses that market research should confirm demand, pricing, saturation, and customer behavior through direct and existing research.
2. Choose Products and Validate Demand
Pick one starter product and prove that strangers show buying intent before you order inventory. Demand validation means collecting evidence that people search for, compare, ask about, join waitlists for, or pay for a product. We like products that solve a visible problem, ship without special handling, and have enough margin to cover fees, packaging, returns, and ads. A useful first product might be “unscented dog shampoo bar, 3.5 oz, boxed in recyclable packaging.”
Set up a simple validation test before building the full store. Create a landing page draft, a product image or mockup, a price, and a call-to-action such as Join the First Batch List. Send it to a small audience through communities, email, or low-budget ads, then track signups, questions, objections, and preorders if you are ready to accept them.
You should see real signals, not compliments from friends. A strong signal is “Do you ship to Texas?” or “Can I buy two?” A weak signal is “Nice idea.” Allbirds offers a clean real-world lesson here: it introduced itself with a single shoe in 2016, the Wool Runner, instead of launching a sprawling catalog. We like that discipline.
3. Pick a Business Model and Sourcing Plan
Select one business model and one sourcing method before you design the store. The model determines your cash needs, risk, delivery speed, and customer promise. For a beginner, the common choices are dropshipping, wholesale, private label, handmade, digital products, subscriptions, or print-on-demand. Do not mix three models at launch unless you already have operational experience.
| Model | Best fit | Main risk | Starter example |
|---|---|---|---|
| Dropshipping | Testing many product ideas | Low control over fulfillment | Pet grooming accessories shipped by supplier |
| Wholesale | Known brands or proven goods | Upfront inventory cost | Buying 100 units from a distributor |
| Private label | Differentiated brand | Manufacturing mistakes | Custom shampoo bar packaging |
| Handmade | Craft or artisan products | Production bottlenecks | Small-batch candles |
Write your sourcing plan in one paragraph: “We will buy 100 units of unscented dog shampoo bars from Supplier A at a target landed cost of $4.20 per unit, store them at home, and ship through USPS for the first launch.” You should see one clear fulfillment path from supplier to customer. The common failure point is ignoring landed cost, which includes product cost, freight, duties where relevant, packaging, payment fees, damaged units, and returns.
4. Study Competitors and Write a Business Plan
List five direct competitors and write a one-page business plan before spending on branding or inventory. A competitor is any store a buyer would choose instead of you. Create a sheet named Competitor Map with columns for product range, price, shipping promise, reviews, guarantees, positioning, and weak spots. For example, if every competitor sells scented shampoo bars, your unscented option may serve dogs with sensitive skin.
Then write a lean plan with these sections: customer, problem, product, difference, sales channel, cost structure, launch budget, pricing, fulfillment, and first marketing channel. The SBA says a business plan acts as a roadmap for structure, operation, and growth, and can help when seeking partners or funding. Keep the first version short. We would rather see a clear one-page plan than a beautiful deck nobody uses.
You should finish this step with a simple statement like: “We sell unscented dog shampoo bars to apartment dog owners who want less mess and less plastic than bottled shampoo.” If that sentence feels foggy, your store will feel foggy too.
5. Choose a Business Name and Register the Company
Choose a business name, check its availability, and register the company with the correct state office. Pick a name that is easy to spell, hard to confuse, and broad enough to survive your second product. If your test product is dog shampoo, “CleanPaw Co.” gives you more room than “Apartment Dog Shampoo Bar Store.” Check your state business registry, domain availability, and obvious trademark conflicts before you commit.
For a U.S. beginner forming an LLC, the usual path is your state’s Secretary of State or equivalent Business Division website. Look for a button or menu labeled Business Search, then File Online, Register a Business, or Articles of Organization. Enter a realistic company name such as CleanPaw Goods LLC, a registered agent name and address, and a business address.
You should receive a filing confirmation, entity number, or stamped formation document once approved. The SBA notes that most states require registration through the Secretary of State, a Business Bureau, or a Business Agency, and that business structure and location determine the process for formal setup. The common failure point is applying for an EIN before forming the legal entity, even though the IRS tells new legal entities to form first.
6. Get Your EIN, Licenses, and Banking in Place
Set up your tax ID, permits, and business bank account before accepting customer payments. This separates the store from your personal finances and reduces cleanup work later. In the U.S., many ecommerce sellers need an EIN, state tax registration, a sales tax process, and possibly local permits. Requirements vary by location and product category, so do not copy another seller blindly.
Apply for a Federal Tax ID
Apply for an EIN through the IRS Apply online option after your legal entity is formed. Use the legal name exactly as shown on your formation document, for example CleanPaw Goods LLC. The IRS describes an EIN as a federal tax ID number and says you can get one free directly from the IRS.
You should see an EIN confirmation notice at the end of the online application if the application is accepted. Save the confirmation PDF in a folder named Business Records. The most common failure point is mistyping the legal name, because IRS naming rules treat symbols and punctuation differently from normal branding.
Check State and Local Permit Requirements
Check your state revenue department and city or county business office for seller permits, sales tax registration, and local licenses. Search for the exact menu labels Sales Tax Permit, Seller’s Permit, Business License, and Register a Business. Use your business name, EIN, business address, and product category when applying. For a sample product, enter “pet grooming product retail sales” when the form asks for business activity.
You should receive a permit number, tax account number, or license confirmation. If you sell regulated goods such as food, supplements, cosmetics, alcohol, children’s products, or medical items, pause and research the specific rules before listing products. The common failure point is assuming “online only” means “no license,” while the SBA notes that many small businesses need some mix of federal, state, or local permits.
Open a Dedicated Business Bank Account
Open a business checking account using your formation document, EIN confirmation, ownership information, and personal identification. Use the exact legal name, for example CleanPaw Goods LLC, even if your public brand is shorter. Connect this account to your payment processor and store platform. Do not route customer revenue through your personal checking account unless your accountant has explicitly advised it for your structure.
You should see a new account number, routing number, and online banking login. Create categories for inventory, software, advertising, shipping, taxes, professional fees, and owner draws. We are opinionated about this: clean books are cheaper than heroic bookkeeping later.
7. Define Your Target Audience, Brand, and Value Proposition
Write one customer profile, one brand promise, and one value proposition before designing your logo. Your target audience is the specific buyer most likely to care about your product now. For example: “Apartment dog owners in U.S. cities who bathe small dogs at home and dislike plastic bottles.” That statement guides product photos, copy, packaging, shipping choices, and ad targeting.
Create a document named Brand Brief. Add these fields: Primary Customer, Main Pain, Desired Outcome, Proof, Tone, Visual Notes, and Do Not Say. Fill it with practical entries, such as “Tone: warm, clean, practical, no fake luxury.” Then write your value proposition in one sentence: “CleanPaw Goods helps apartment dog owners wash dogs with less mess, less plastic, and no heavy fragrance.”
You should see a brand direction that can guide every page of your store. The common failure point is starting with a logo while the customer promise is still vague. A logo can polish a message, but it cannot rescue a weak one.
8. Choose Your Sales Channels, Domain, and Ecommerce Platform
Choose one primary sales channel, register one domain, and select one ecommerce platform for the first launch. Your channel is where the buyer finds or buys the product. Your domain is the store’s address, such as cleanpawgoods.com. Your platform is the software that displays products, accepts orders, and manages checkout.
| Choice | Use it when | Beginner action |
|---|---|---|
| Own website | You want brand control | Register {your-domain.com} |
| Marketplace | You want built-in buyer traffic | List one validated product |
| Social commerce | Your buyers discover visually | Post product demos and link to checkout |
| WordPress plus WooCommerce | You want a flexible owned store | Install WooCommerce in WP Admin |
If you choose WordPress with WooCommerce, open WP Admin, then go to Plugins > Add New Plugin, search for WooCommerce, click Install Now, then click Activate. In the WooCommerce setup flow, enter your store address, currency, product type, and preferred payment option. You should see a new WooCommerce menu in the WordPress dashboard.
Pick a domain that matches the brand name as closely as possible. Enter a sample such as cleanpawgoods.com, not a long keyword-stuffed domain. You should see the domain attached to your hosting account or store platform, with DNS records pointing to the correct service.
9. Build Your Store and Organize Your Product Catalog
Build the core store pages and add your first products with complete product data. Start with Home, Shop, Product, Cart, Checkout, About, Contact, Shipping & Returns, and Privacy Policy. A beginner store does not need dozens of pages. It needs enough trust, clarity, and checkout function for a customer to buy.
In WooCommerce, go to Products > Add New. Enter a product name such as Unscented Dog Shampoo Bar, a regular price such as 14.00, a short description, a long description, product images, SKU such as CP-SHAMPOO-UNSC-001, stock quantity, weight, and shipping class if needed. WooCommerce documents that products can begin with a name and price, but better product records improve the store experience and inventory control through official product fields.
You should see the product published on the Shop page and clickable through to its product page. Test the product page on a phone. The common failure point is skipping weight and dimensions for physical goods, which can break shipping calculations later.
10. Set Up Shipping, Fulfillment, and Internal Workflows
Configure shipping zones, packing rules, order notifications, and a simple fulfillment checklist before launch. Shipping is part of the product promise, not an afterthought. If you promise fast handling but have no packing process, your first orders will feel chaotic. Decide where inventory sits, who packs orders, which carrier you use, and how returns are handled.
In WooCommerce, go to WooCommerce > Settings > Shipping > Shipping zones. Click Add zone, enter United States as the zone name, select United States as the region, then click Add shipping method. Choose Flat rate for a simple first setup, enter a sample cost such as 5.95, and click Save changes. WooCommerce explains that shipping zones control which options and rates customers see at cart and checkout through zone-based rules.
Create a fulfillment checklist named Order Packing SOP. Include: print packing slip, inspect product, wrap product, add insert, weigh package, buy label, attach label, mark order complete, send tracking number, and record any issue. If you use USPS Click-N-Ship, sign in, use Create Label, enter the customer address, package weight, service, and payment method, then print the label. USPS states that Click-N-Ship lets account holders print and pay for labels, schedule pickup, and manage address data through its label workflow.
You should be able to place a test order, generate a label, and mark the order complete. The common failure point is testing checkout but not testing fulfillment, which means the first real customer becomes the test case.
11. Launch Your Marketing, Track KPIs, and Keep Testing
Launch with one primary marketing channel and track a small set of KPIs from day one. A KPI is a number that tells you whether the business is improving. For a first ecommerce store, track sessions, conversion rate, average order value, gross margin, customer acquisition cost, refund reasons, and email signup rate. Do not drown yourself in dashboards.
Choose one main launch channel based on your audience. If your buyers search for solutions, start with search-friendly product pages and educational content. If they discover products visually, start with short videos and demos. If they already gather in communities, start with helpful participation and a clear launch offer. For our dog shampoo example, a useful first campaign might be “Show your small-bathroom dog wash setup,” with before-and-after photos and a first-batch discount code FIRSTBATH.
Set up a weekly review in a spreadsheet named Launch KPIs. Add columns for week, sessions, orders, revenue, ad spend, refunds, email signups, top customer question, and next test. You should see patterns after several weeks, such as customers asking for bundles, fragrance options, or a larger size. The common failure point is changing everything at once. Change one variable at a time, such as price, photo, headline, offer, or ad audience.
What It Costs to Start and How to Fund It
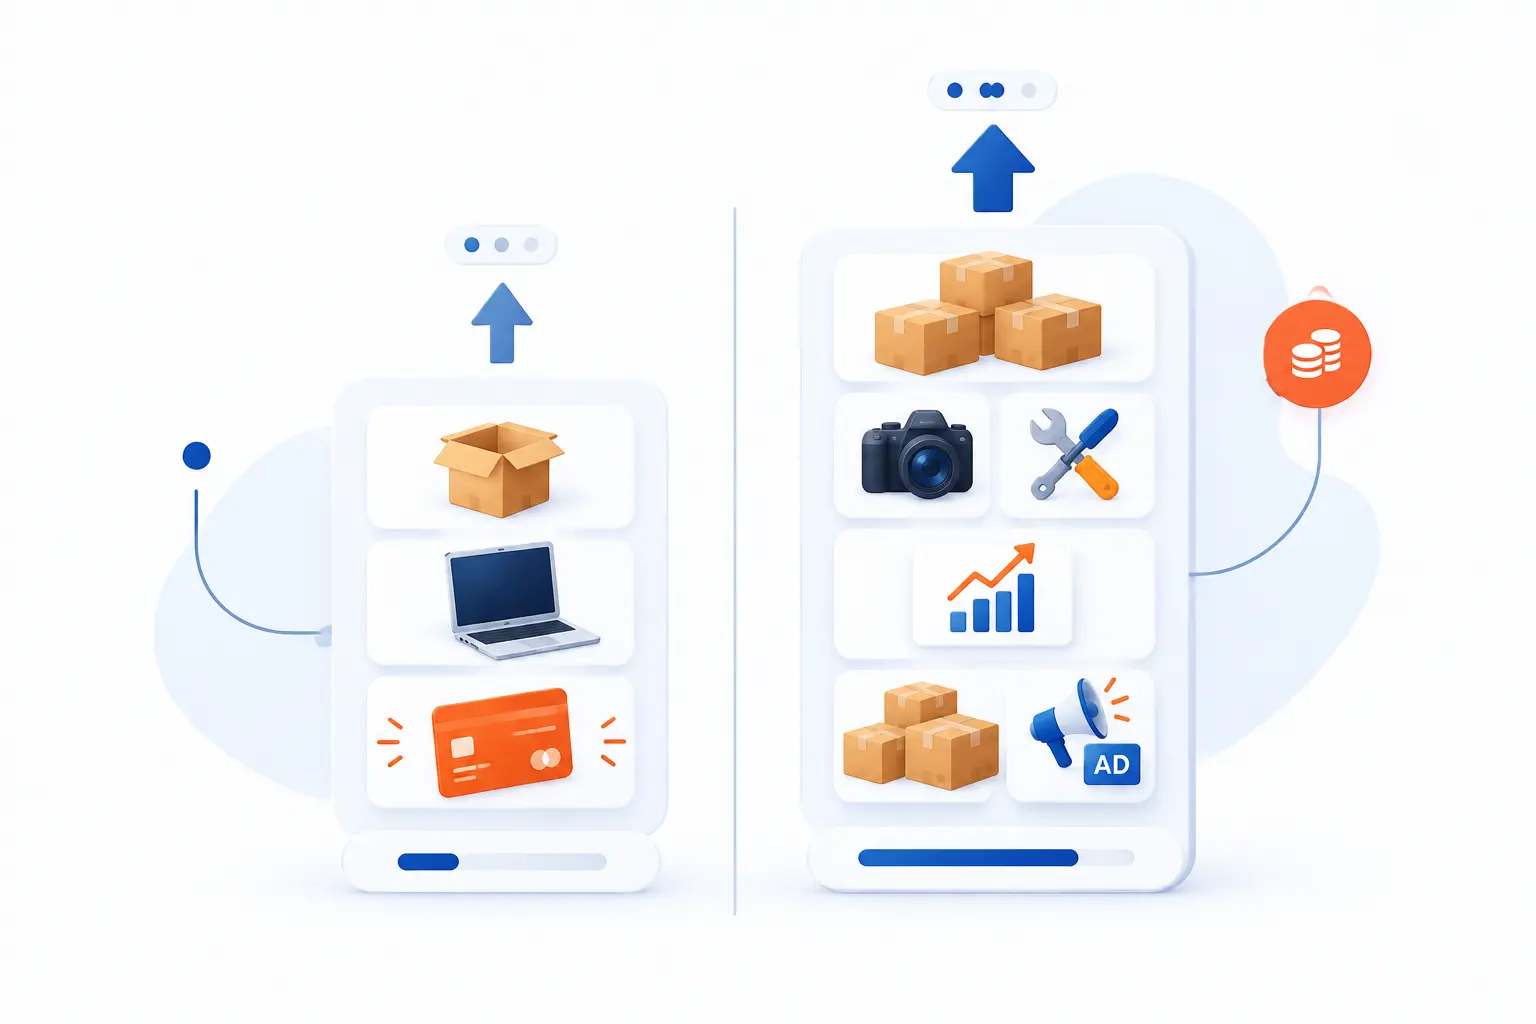
The cost to start depends mostly on inventory, platform, legal setup, packaging, shipping, and marketing. A lean ecommerce launch can start with a small product batch, a simple website, basic branding, and a modest test campaign. A bigger launch with custom manufacturing, photography, agency design, and large inventory needs far more cash. We prefer a first budget that protects learning speed without betting the farm.
| Budget path | Best for | What to fund first | Main caution |
|---|---|---|---|
| Lean test | Beginners validating demand | Sample inventory, domain, basic store | May look simple at launch |
| Inventory launch | Wholesale or private label | Product batch, packaging, shipping supplies | Cash can sit in unsold stock |
| Manufactured launch | Custom products | Prototypes, tooling, compliance, freight | Longer timeline and more risk |
| Content-first launch | Audience-led brands | Content, email list, samples | Revenue may arrive slowly |
Estimate Product, Platform, Legal, Shipping, and Marketing Expenses
Build a startup cost sheet before you buy anything. Open a spreadsheet named Startup Budget and create categories for product, packaging, platform, domain, legal formation, permits, accounting, payment processing, photography, shipping supplies, sample shipping, returns reserve, and marketing tests. Add a column for Required Before Launch and mark each item Yes or No.
Here is a practical sample budget, not a universal rule: product samples $120, first inventory batch $600, packaging $180, domain $15, basic branding assets $150, formation and permit fees $250, store setup $300, shipping supplies $100, and marketing tests $300. The total is $2,015 in this example. Your number may be lower for digital products or higher for custom manufacturing.
You should see the minimum cash needed to launch safely, plus optional items you can delay. The SBA recommends calculating startup costs before launch because it helps estimate profit, plan break-even, and prepare for funding conversations. Our view is simple: if the budget cannot fit on one page, it is probably too blurry for a first launch.
Adjust Your Budget Based on Inventory, Dropshipping, or Manufacturing
Adjust the budget around the business model you chose in step three. Dropshipping reduces upfront inventory spend, but you still need samples, returns planning, customer support, and brand assets. Wholesale requires cash for stock, but it can give you clearer delivery control. Manufacturing requires prototypes, minimum order quantities, quality checks, compliance review, and freight planning.
For dropshipping, add line items for product samples, supplier test orders, returns reserve, and customer support tools. For wholesale, add inventory, storage bins, labels, barcode stickers if needed, and damage allowance. For manufacturing, add sample rounds, packaging design, lab testing where required, inspection, import duties where relevant, and freight. Enter sample values for each line, then ask: “What must be true for us to recover this spend?”
You should see a different risk profile for each model. Dropshipping risks customer experience. Wholesale risks unsold inventory. Manufacturing risks cash, time, and product quality. We tend to favor the smallest test that gives honest customer feedback.
Start Lean With Savings, Loans, Crowdfunding, or a Smaller First Launch
Choose the funding method that matches your risk tolerance and proof level. Personal savings give you control, but you carry the full risk. A loan can fund inventory, but repayment starts whether the store sells or not. Crowdfunding can validate demand, but it demands clear timelines, honest communication, and reliable fulfillment.
If you use savings, set a hard first-launch ceiling, such as $2,500, and do not exceed it without evidence. If you seek a loan, prepare the business plan, cost sheet, and financial projections before talking to lenders. The SBA says lenders often want a business plan, expense sheet, and projections when reviewing small business loan requests. If you use crowdfunding, offer the actual product, a bundle, or a founder edition, then build the delivery plan before taking money.
You should end with a funding decision and a launch scope that fits it. A smaller launch is not a failure. It is often the smartest way to protect cash while learning what customers really want.
FAQ About Starting an Ecommerce Business
These are the questions beginners ask when they move from idea to execution. The short answer is that you need enough money, compliance, and operational discipline to sell without scrambling. The right model depends on your product, cash, patience, and tolerance for control issues. We answer each question directly below so you can make the next decision faster.
How Much Money Is Needed to Start Ecommerce?
You can start with a few hundred dollars for a very lean test, but a more realistic first physical-product launch often needs enough cash for samples, inventory, packaging, a domain, store setup, permits, shipping supplies, and marketing tests. We would rather see a small launch budget with real validation than a large budget built on guesswork. Start with the smallest version that can deliver a professional customer experience.
Do You Need a Business License to Start an Ecommerce Business?
Yes, you may need a business license, seller permit, sales tax registration, or product-specific permit depending on your location and what you sell. Online-only does not automatically exempt a business from state, local, or federal requirements. Check your state revenue department, city or county office, and regulated product rules before accepting orders.
Should You Start With Dropshipping, Wholesale, or Private Label?
Start with dropshipping if you need to test demand with low inventory risk, wholesale if you want proven products and more fulfillment control, and private label if you have a clear brand angle and enough cash for product development. Dropshipping is easier to start but harder to control. Private label can create stronger differentiation, but mistakes cost more.
What Are the Biggest Disadvantages of Ecommerce?
The biggest disadvantages are competition, shipping complexity, returns, payment disputes, ad costs, and thin margins. You also lose the trust cues of an in-person store, so your site must work harder with clear photos, policies, reviews, and support. The best defense is a focused niche, clean operations, careful budgeting, and constant testing.
How 1Byte Supports New Ecommerce Stores
1Byte supports new ecommerce stores by helping with the practical web foundation: domain registration, SSL certificates, WordPress hosting, shared hosting, cloud hosting, and cloud servers. We are also an AWS Partner, which matters when a store needs cloud infrastructure planning beyond a basic launch. Our role in this topic is straightforward: your store needs a name, a secure checkout path, hosting that fits the build, and room to move when traffic grows. We do not believe hosting alone makes a store succeed, but poor hosting can make good marketing look bad.
Register Domains and Protect Checkout With SSL Certificates
Register your domain and activate an SSL certificate before sending visitors to checkout. A domain gives customers a memorable address, such as cleanpawgoods.com. An SSL certificate helps protect browser connections and supports the padlock customers expect when entering personal or payment details. For a new ecommerce store, these are not cosmetic items.
With 1Byte, domain registration and SSL certificates connect directly to the launch basics in this tutorial. Register the brand domain first, then use SSL certificates so product pages, cart pages, and checkout pages load over HTTPS. You should see the browser display HTTPS on your store pages once the certificate is active.
Launch Faster With WordPress Hosting and Shared Hosting
Use WordPress hosting or shared hosting when you want a simple first store with a controlled budget. WordPress hosting fits stores built with WordPress and WooCommerce. Shared hosting can work for early websites with small catalogs, light traffic, and straightforward needs. We see this as the sensible starter lane for many first-time sellers.
At 1Byte, WordPress hosting and shared hosting relate to the setup steps above: install WordPress, add WooCommerce, publish products, test checkout, and launch. The practical win is focus. Instead of managing cloud infrastructure on day one, a beginner can spend more attention on product pages, fulfillment, and customer feedback.
Scale Performance With Cloud Hosting and Cloud Servers
Move to cloud hosting or cloud servers when the store outgrows the simplicity of a starter setup. Growth brings heavier traffic, larger catalogs, more integrations, and higher checkout expectations. Cloud hosting and cloud servers can support more demanding ecommerce workloads when configured properly. As an AWS Partner, 1Byte can connect cloud planning to the needs of growing stores.
For example, a store that starts with one product may later add seasonal campaigns, larger media files, regional landing pages, and traffic spikes from ads. At that stage, cloud hosting or cloud servers may fit better than the smallest hosting plan. The right time to consider it is when performance, control, or traffic patterns become part of the business plan.




Conclusion
How to Start an Ecommerce Business is less mysterious when you follow the sequence: research the niche, validate the product, choose a model, write the plan, register the business, set up finances, build the brand, choose the platform, publish the catalog, configure fulfillment, and market with measurable tests. We would not rush those steps. Each one removes a different kind of risk.
If you are starting from scratch, begin with one product, one buyer, one domain, one store setup, and one marketing channel. That is enough to learn. Once real customers respond, you can improve the site, expand the catalog, refine fulfillment, and upgrade the infrastructure. The next step is simple: open a spreadsheet, write your niche in the first row, and start validating before you spend big.