

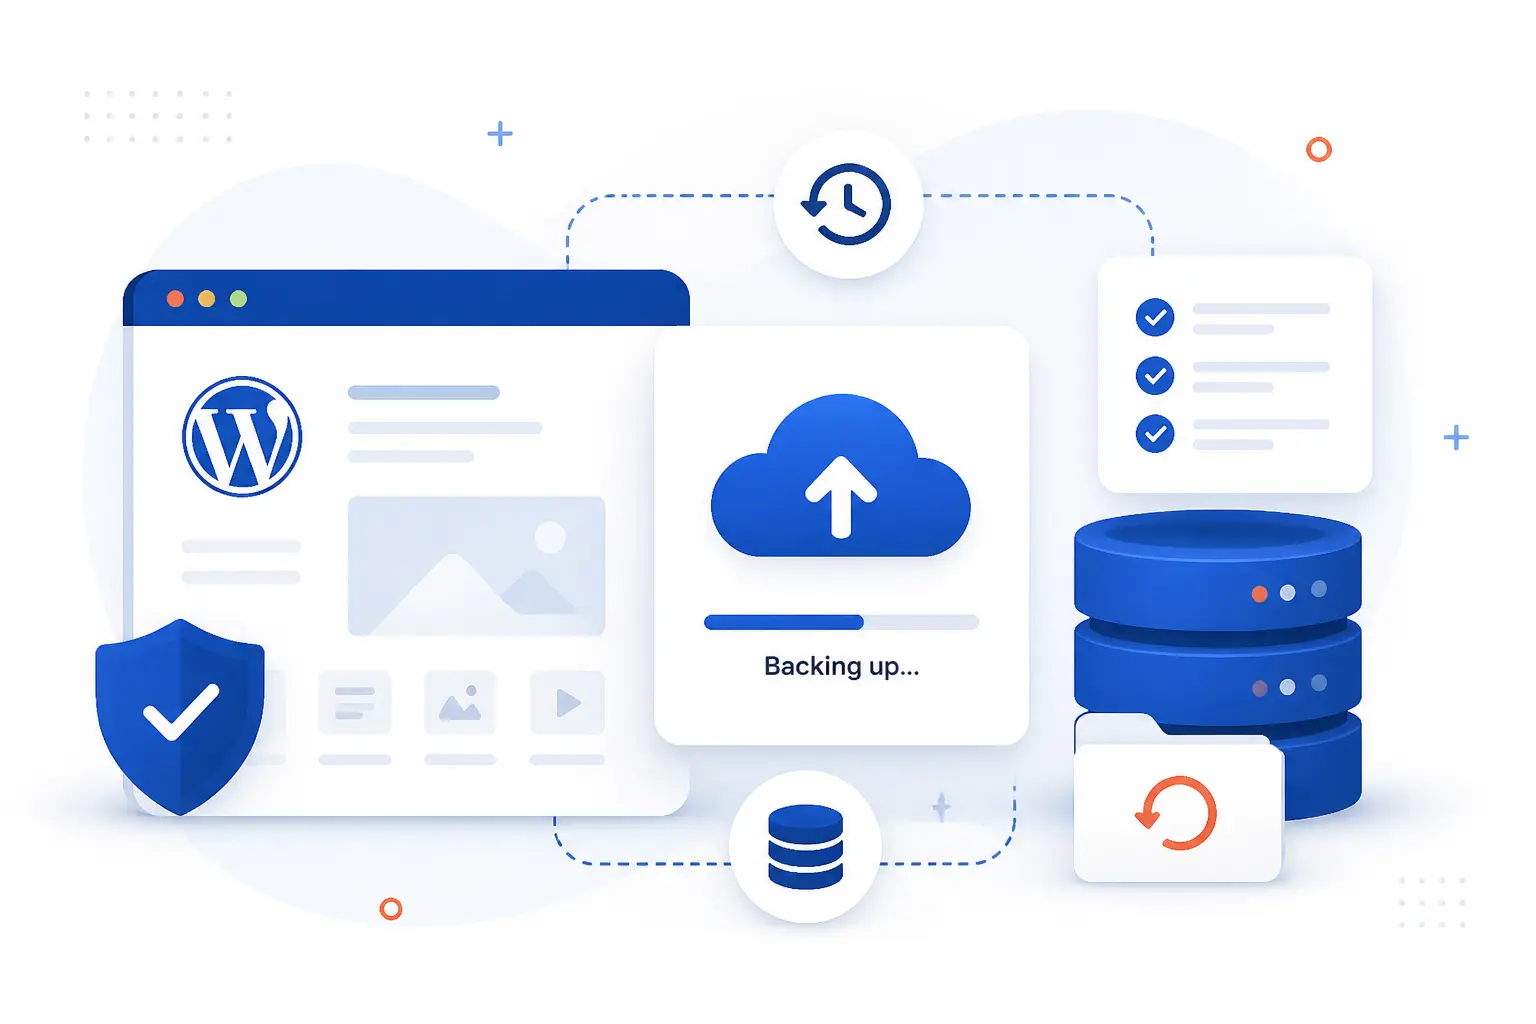
To learn how to backup WordPress site data without losing anything, we need to save two parts at the same time: the site files and the database. That is the whole answer in one line. If we copy only the files, we lose posts, pages, settings, and many plugin options. If we copy only the database, we lose themes, plugins, uploads, and key files that make the site run.
We are opinionated here at 1Byte: a backup is only real when it is complete, stored in more than one place, and tested before an emergency. In the steps below, we will show the host-tool route, the plugin route, and the manual route so a beginner can finish the job with confidence.
How to Backup WordPress Site Across Files and Database
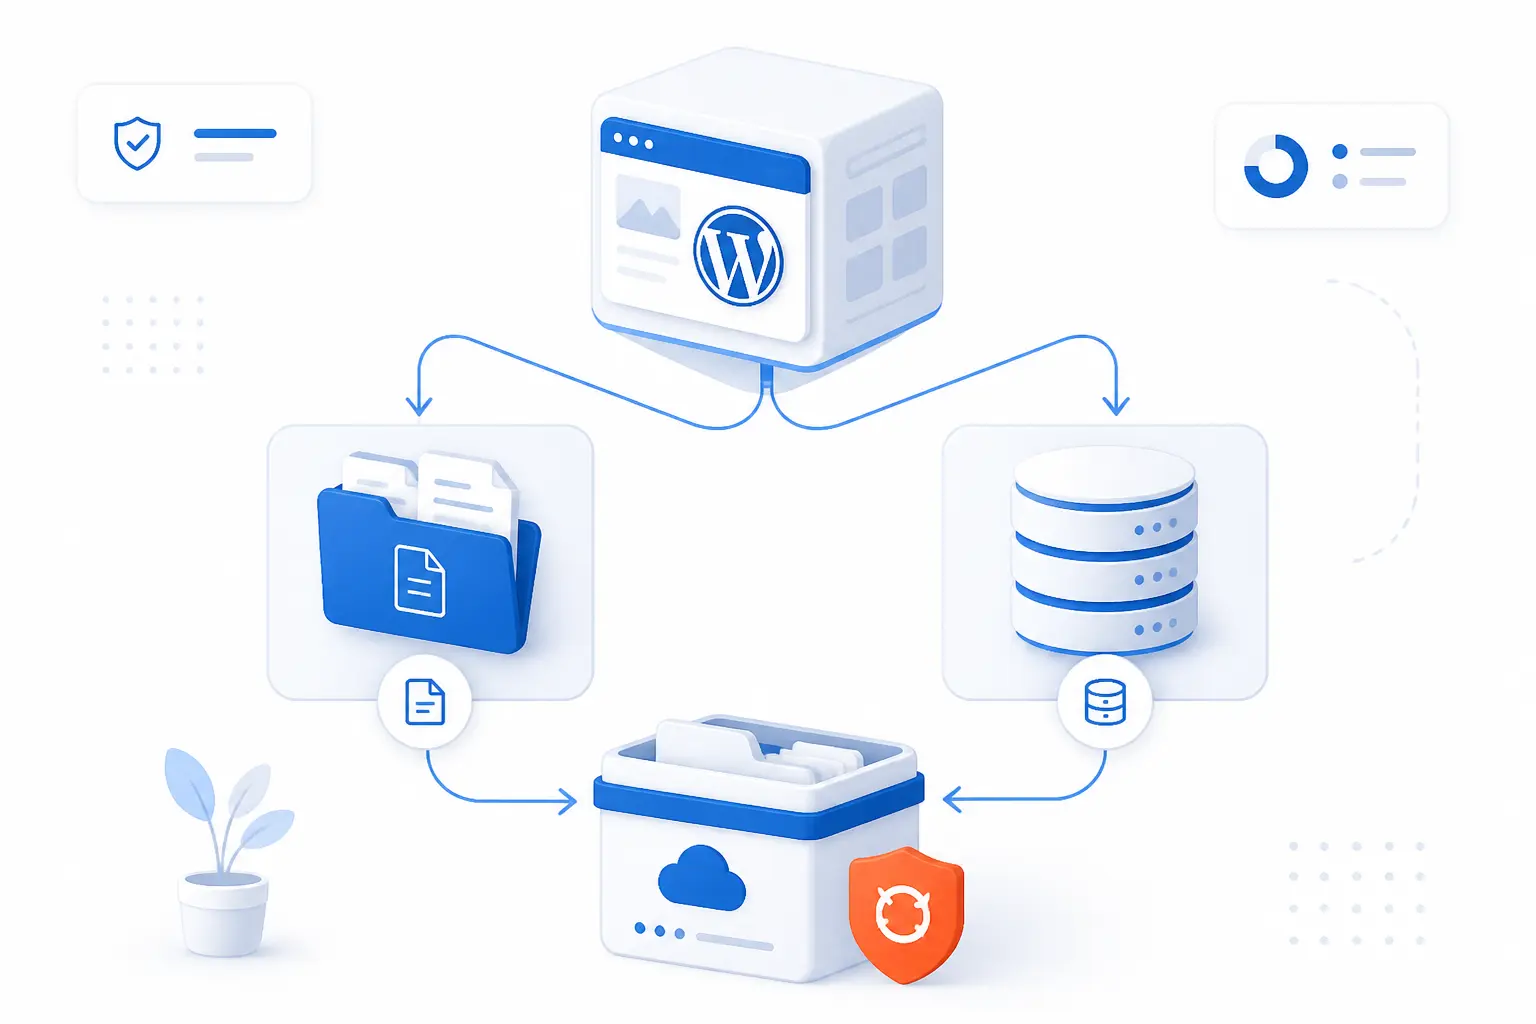
A complete WordPress backup includes both files and database data. The safest beginner approach is to use one primary method and keep one fallback method in mind. We usually suggest starting with your host tool if it exists, adding a plugin for automation, and learning the manual steps once so you are not stuck if WordPress stops loading. This section walks through all three paths in the order most beginners can follow.
| Method | Best for | What you get | Main caution |
|---|---|---|---|
| Host tool | Fastest first backup | Account or site archive from your control panel | Restore options depend on the host |
| Plugin | Scheduled backups from WordPress | Files and database with restore buttons | You may not reach it if WordPress is down |
| Manual | Portable fallback copy | One file archive plus one SQL export | You must restore it yourself |
1. Confirm Whether You Need a Host Tool, Plugin, or Manual Backup
Choose your primary method now: use your host tool if you want the simplest backup, a plugin if you want recurring backups from inside WordPress, or the manual method if you want a portable copy even when the dashboard is broken. If your site is live and healthy, any of the three will work. If WordPress will not load, skip the plugin path and use your host tool or the manual method.
You should finish this step knowing one exact path you will take. For most shared hosting accounts, that means a control-panel path such as Backup or Backup Wizard. For a plugin workflow, that means WordPress Admin → Plugins → Add New. For a manual workflow, that means File Manager or SFTP for files plus phpMyAdmin for the database.
2. Use the Backup Tool From Your Web Host
In cPanel, click Files → Backup Wizard → Back Up, then download either Home Directory and MySQL Databases or create a full account archive as shown in the cPanel Backup Wizard guide. If your host uses a custom dashboard instead of cPanel, open the page labeled Backup, Backups, Snapshot, or Restore and run an on-demand backup before making changes.
For a WordPress-only copy, the most portable result is usually a file archive plus a database export. For a whole-account safety net, a full backup is handy because it also captures email and other account data outside WordPress. When this works, you should see a downloaded .tar.gz archive, a downloaded .sql database file, or a completed snapshot listed in your host panel.
The most common real failure point here is storage quota. cPanel warns that backups can fail when an account is near or over quota because the server cannot write the temporary files it needs.
3. Install UpdraftPlus or Another Backup Plugin
In WordPress Admin, go to Plugins → Add New, search for UpdraftPlus, click Install Now, click Activate, then open the backup screen and run one manual backup from the plugin page. Keep both the files and database included so you do not create a half-backup by accident.
After the job finishes, look for the backup under Existing Backups or the plugin’s restore area. You should see separate downloadable parts for database and site files, often broken into items such as plugins, themes, uploads, and others. That visible backup record is your success signal.
The most common beginner mistake is leaving the only copy on the same server as the website. Download the backup to your computer or connect the plugin to remote storage before you consider the job finished.
4. Download Your WordPress Files With File Manager or SFTP
Open cPanel Files → File Manager, browse to your document root such as public_html or public_html/{your-domain.com}, select the WordPress files, and compress or download them using the File Manager documentation. If the site is installed in the main domain, your archive should contain folders such as wp-admin, wp-content, and wp-includes, plus root files like wp-config.php and often .htaccess.
If you prefer SFTP, connect with the host, port, username, and password or SSH key your provider gave you, then download the same WordPress directory to your computer. For example, if the live site is in /home/username/public_html, download that exact folder and save it locally as bluebirdbakery-files. When this works, you should have one local folder or zip archive that opens and shows your WordPress file tree.
5. Export Your Database in phpMyAdmin
Log in to phpMyAdmin, select your WordPress database in the left sidebar, click Export, keep Quick selected, choose SQL, and click Go exactly as shown in the database handbook steps. If you are not sure which database is the right one, check the DB_NAME value inside wp-config.php first.
Save the export with a clear name such as bluebirdbakery_wp.sql. When this works, your browser downloads an SQL file to your computer. That file contains posts, pages, comments, users, plugin settings, and much of the site’s real business data.
The most common real issue on larger sites is timeout or export failure. WordPress notes that phpMyAdmin may struggle with very large databases, in which case mysqldump is the better path.
6. Save the Files and SQL Export as One Backup Set
Create one dated folder on your computer and place the site archive and SQL file inside it before you move anything else. A clean example is bluebirdbakery.com-2026-01-15-1030UTC with public_html.zip and bluebirdbakery_wp.sql stored together. WordPress explicitly notes on its file backup page that the database export can be stored alongside the file backup so both parts stay together.
You should now have one folder that represents one restore point. If you want to be extra careful, zip that folder as a second layer so it is harder to separate the pieces by mistake.
The most common failure here is mixing files from one day with a database from another day. That mismatch can restore a site that looks partly right but has missing media, broken settings, or missing recent content.
7. Store Copies Off-Site and on Your Local Computer
Copy the finished backup set to at least two places right now: your local computer and one off-site location that is not the same server. A practical beginner setup is your laptop plus a cloud drive folder. A more serious setup is your laptop plus object storage or a second server.
You should be able to point to both copies without logging in to WordPress. If ransomware, bad updates, or hosting trouble takes the main server down, those outside copies are what save the day.
8. Test a Restore Before You Need It
Restore one recent backup into a staging site, local WordPress install, or empty subdomain before you trust it. If you used a plugin, click its Restore button and bring back files plus database. If you used the manual method, install a fresh WordPress instance, upload the saved files to the correct web root, and import the SQL into the new database.
If you downloaded a Jetpack archive for a move, follow the file-and-database pattern in the manual restore guide by uploading the extracted wp-content folders and importing the SQL file into the new MySQL database. If you used cPanel full-account backups, remember one important limitation: cPanel says full backups cannot be automatically restored from cPanel itself, so you may need your host to do that part.
A tested restore is the only proof that your backup is good. You should see the front end load, media files appear, and the WordPress login accept the expected admin account.
What a Full Backup Needs to Include
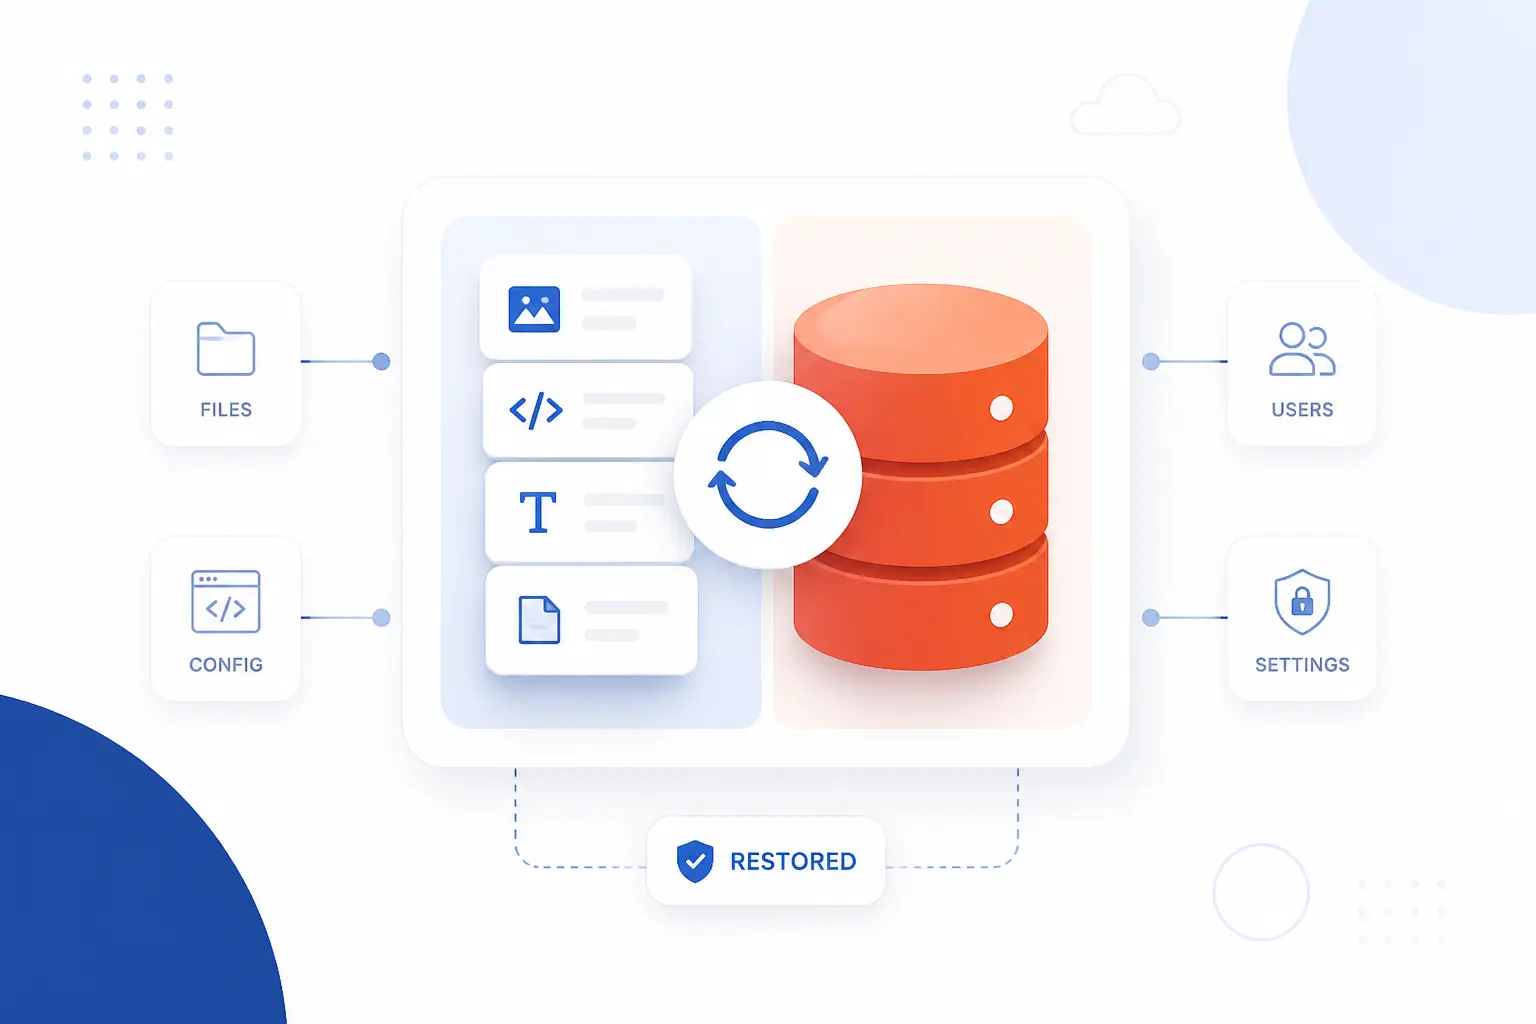
A full backup must include both the WordPress files and the database data. If either half is missing, the restore will be incomplete. We like to explain this simply: files are the body, database is the memory. You need both to bring the same site back to life.
WordPress Core, Themes, Plugins, Uploads, and Root Files
Include the whole WordPress directory, especially wp-content and the root files, or the restore will be incomplete. In practice, that means the core folders, your active and inactive themes, installed plugins, uploaded media, and important root files such as wp-config.php. Even though WordPress core can be downloaded again, we prefer keeping a complete copy because it removes guesswork during a stressful restore.
If your account holds multiple sites, make sure you back up the correct document root for the site you care about. A subdomain install in public_html/store is a different backup target from a main site in public_html.
Posts, Pages, Comments, Settings, and Other Database Data
Include the whole WordPress database, because your posts, pages, comments, users, settings, and many plugin options live there. Menus, widget settings, WooCommerce data, and custom post types also often depend on the database. A site can look intact on disk and still be useless if the database is missing or outdated.
This is why a WordPress export file is not the same as a full backup. XML exports are useful for content moves, but they do not replace a proper database dump plus file copy.
Set a Backup Schedule and Retention Plan
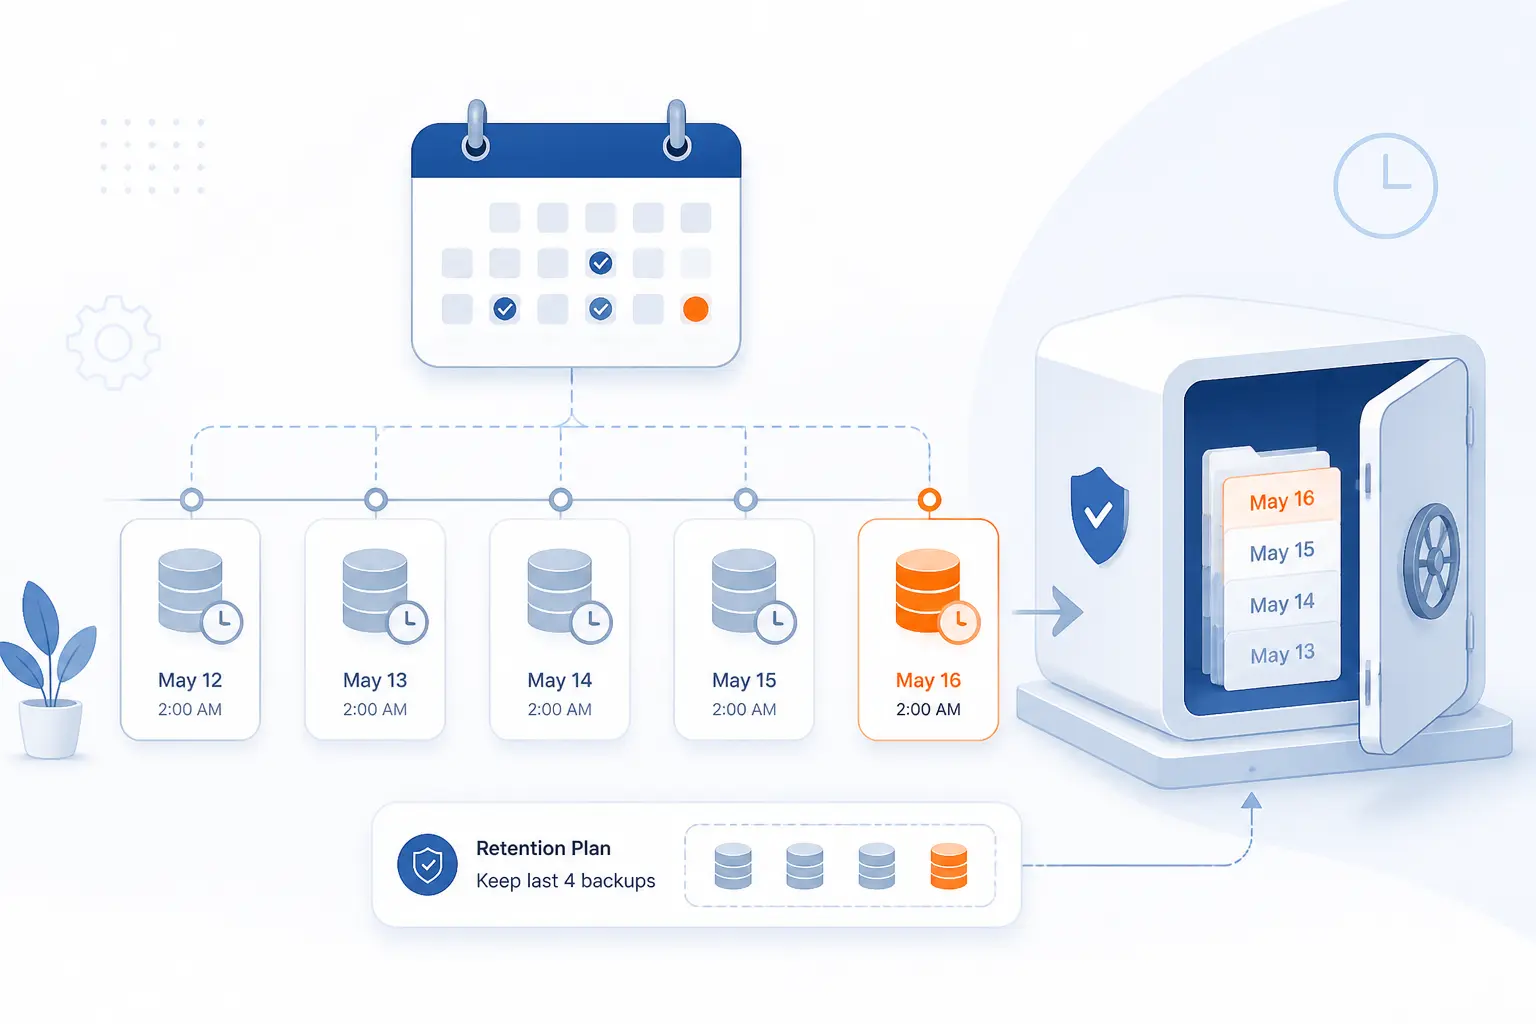
A good backup schedule matches how often your site changes and how costly it would be to lose recent work. We recommend backing up before risky events and keeping several recent restore points instead of only one. For a quiet brochure site, weekly backups may be enough. For a store, membership site, or busy blog, daily or more frequent backups are the safer call.
Back Up Before Updates, Upgrades, and Site Moves
Run a fresh backup immediately before WordPress core updates, plugin updates, theme changes, PHP version changes, domain moves, or server migrations. This is the copy you want if a change breaks layouts, removes features, or corrupts the database. We also take a fresh backup before installing a new plugin on production, because bad surprises usually arrive dressed as something helpful.
Label these as pre-change backups so they stand out. A name like store-pre-woocommerce-update is far easier to spot than a generic file name during a rollback.
Match Backup Frequency to How Often the Site Changes
Set your backup frequency to match your publishing and transaction pace. If you post once a month and rarely change pages, a weekly backup plus pre-change backups is usually enough. If new orders, bookings, form entries, or member accounts arrive every day, use daily backups at minimum and consider near-real-time tools if the cost of losing a few hours of data is high.
One simple rule works well for beginners: ask how much work you can afford to lose. If the answer is “almost none,” your schedule needs to be much tighter than weekly.
Keep Several Recent Copies in Different Locations
Keep several recent restore points in different locations, not just the latest one. One copy can already contain the problem if malware, corruption, or a bad plugin update went unnoticed for days. We prefer keeping multiple recent backups so we can step back to the last known good state instead of the last available state.
A practical baseline is to keep a short history on the server for convenience and another history off-site for safety. The exact number depends on storage and how often your site changes, but one copy is never enough.
If You Use WordPress.com
On WordPress.com, a full downloadable site backup is available through Jetpack VaultPress Backup on plans that include it. The plan guide explains that Business and Commerce plans can download a complete backup and restore from backups, while lower plans need a different approach.
If you are on Free, Personal, or Premium, you can still export content from Tools → Export, but that file is not a full site clone. The content export guide makes clear that the XML export contains posts, pages, comments, and references to media, not your full theme, plugin, and server-side setup.
Download a Full Backup From Jetpack
In your WordPress.com dashboard, open Jetpack → Backup, pick the restore point you want, click Actions, and choose Download backup as shown in the backup screen guide. You can also use Backup now if you want a fresh copy before a risky change.
When this works, you should see a downloadable archive tied to a specific point in time. That is the right choice when you want a fuller safety copy than a simple XML export can provide.
Move the Backup to a Local or Self-Hosted Site
Extract the archive, upload the backup’s wp-content folders to the new site, and import the SQL file into the new MySQL database. This is the practical path when you want to move from WordPress.com to a self-hosted WordPress install and keep more than just posts and pages.
If you only exported XML content, import each XML file into the new site and keep the old site public until the media finishes copying over. The most common failure point here is assuming the XML export is a full backup when it is actually a content transfer file.
Frequently Asked Questions
Most backup questions have short, practical answers. We will keep these direct so you can move fast and choose the right method for your site.
How Do I Backup My Entire WordPress Site?
Back up both the site files and the database. You can do that with your host’s backup tool, a plugin, or a manual combo of File Manager or SFTP plus phpMyAdmin. If both pieces are saved together and stored outside the server, you have a full backup.
How to Backup WordPress for Free?
You can back up WordPress for free with cPanel tools, free backup plugins, or manual downloads. A common free route is a plugin such as UpdraftPlus plus a local download to your computer. The tradeoff is that free tools often require more manual checking and more care around off-site storage.
Can I Backup My WordPress Site Without a Plugin?
Yes, you can back up your site without a plugin. Download the WordPress files with File Manager or SFTP, then export the database in phpMyAdmin. We like every site owner to learn this method once because it still works when the dashboard is unavailable.
How Often Should I Backup My WordPress Site?
Back up your site as often as it changes. A low-change site may be fine with weekly backups and pre-update backups, while an active store or membership site should back up daily or more often. The right answer is the amount of recent work you can afford to lose.
How 1Byte Supports WordPress Backups and Recovery
At 1Byte, we support WordPress backups best by keeping the surrounding pieces organized: domain registration, SSL certificates, and the right hosting model for the job. That does not replace backups, but it makes restores and migrations less chaotic. If you are choosing where to run WordPress, the real question is how simple or how flexible you need the environment to be.
| Service | Best fit | Backup angle |
|---|---|---|
| Domain registration + SSL certificates | Basic site control | Keeps DNS and HTTPS details easier to track during moves |
| WordPress hosting + shared hosting | Simpler site management | Useful when you want fewer moving parts |
| Cloud hosting + cloud servers | Custom workflows | Better fit for advanced backup and restore routines |
Register Domains and Add SSL Certificates From One Provider
Keeping domain registration and SSL certificates with one provider reduces the number of records we need to check during a restore or migration. If a site comes back online on a new host but the domain or certificate setup is wrong, the backup itself is not the only problem anymore. We see real value in reducing that kind of administrative scatter before an emergency happens.
Choose WordPress Hosting or Shared Hosting for Simpler Site Management
WordPress hosting and shared hosting make the backup routine easier to follow when we want a simpler environment. For many beginners, the hard part is not creating the backup. It is remembering where the files live, where the database lives, and how to restore them without juggling too many panels. A simpler hosting setup lowers that friction.
Scale Backup Workflows With AWS-Partner Cloud Hosting and Cloud Servers
Cloud hosting and cloud servers are the better fit when we need more control over backup workflows, staging environments, or larger restore jobs. At 1Byte, we can connect that conversation to our role as an AWS Partner without pretending every site needs a cloud-heavy setup. If your site has outgrown a basic backup routine, that is usually the moment to look at cloud hosting or cloud servers more seriously.







Conclusion
How to backup WordPress site data without losing anything comes down to one disciplined routine: save the files, export the database, keep both in one backup set, store copies in more than one place, and test a restore. Everything else is just the method you choose to get there.
If you have never done this before, start small today. Make one manual backup, name it clearly, and restore it in a safe test environment. Once that works, why not schedule the next backup before you close this page?