

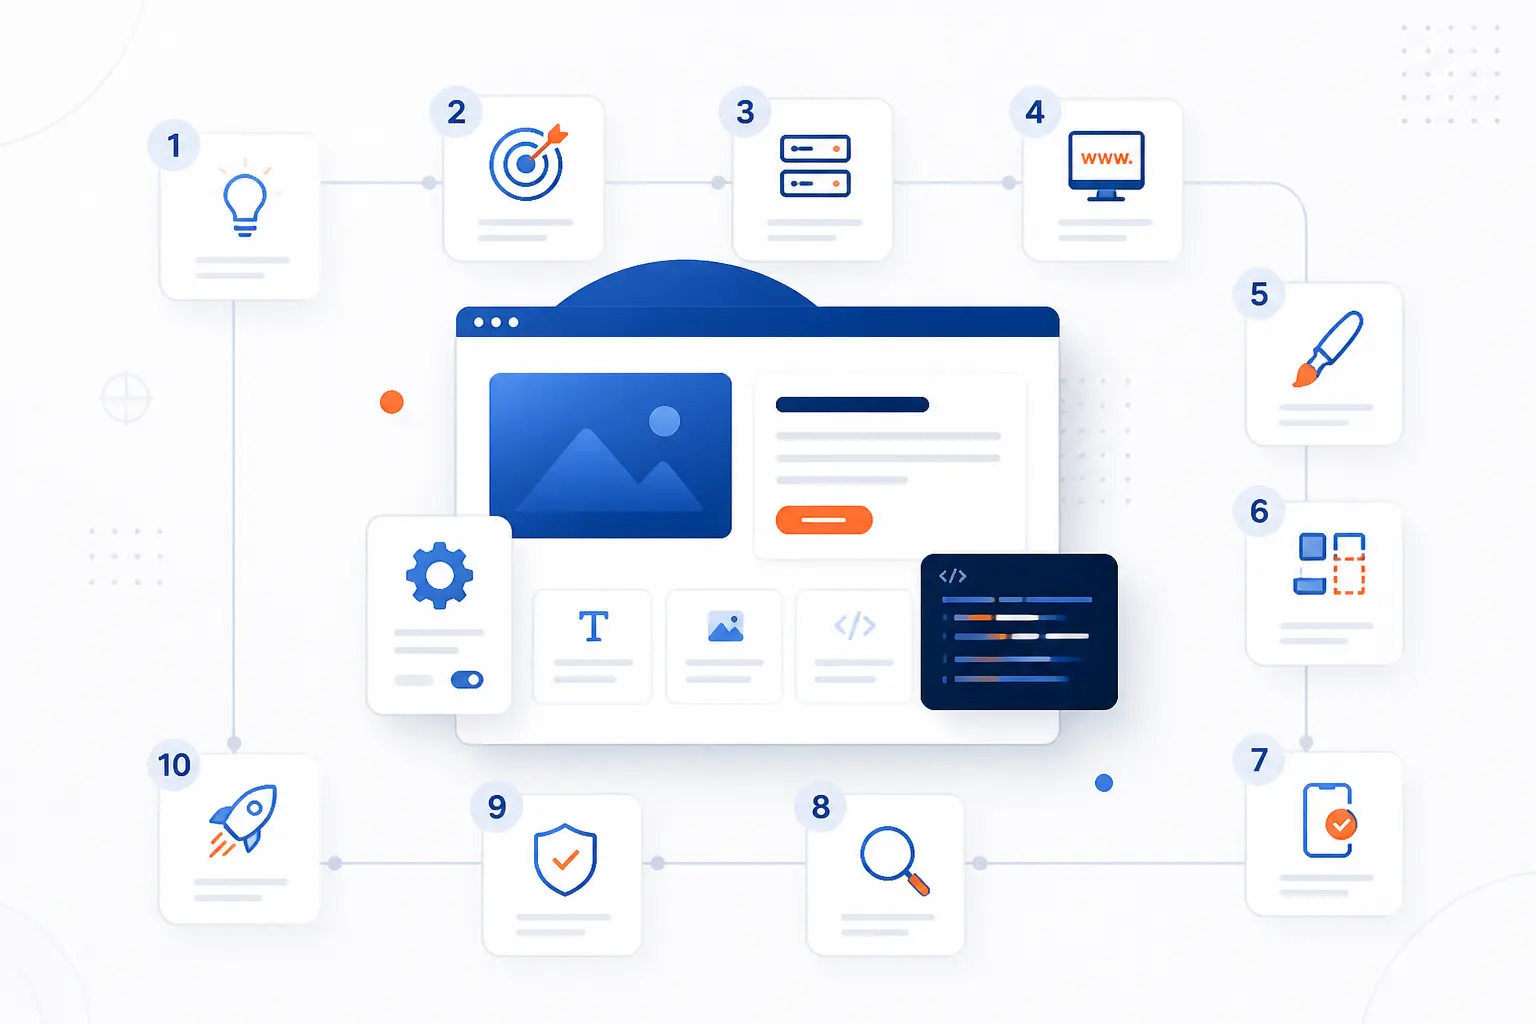
To build a website from scratch, we start with a clear goal, choose a platform, register a domain, connect hosting, design the pages, add content, test everything, and then launch. That is the whole job in plain terms, and beginners can absolutely do it step by step. In this guide, we use a simple example business called River City Dog Walking so every choice feels concrete. We write from 1Byte, and our view is simple: the fastest way to get a good first site is to keep the structure small, the wording clear, and the setup boring enough to work on day one.
How to Build a Website From Scratch Step by Step
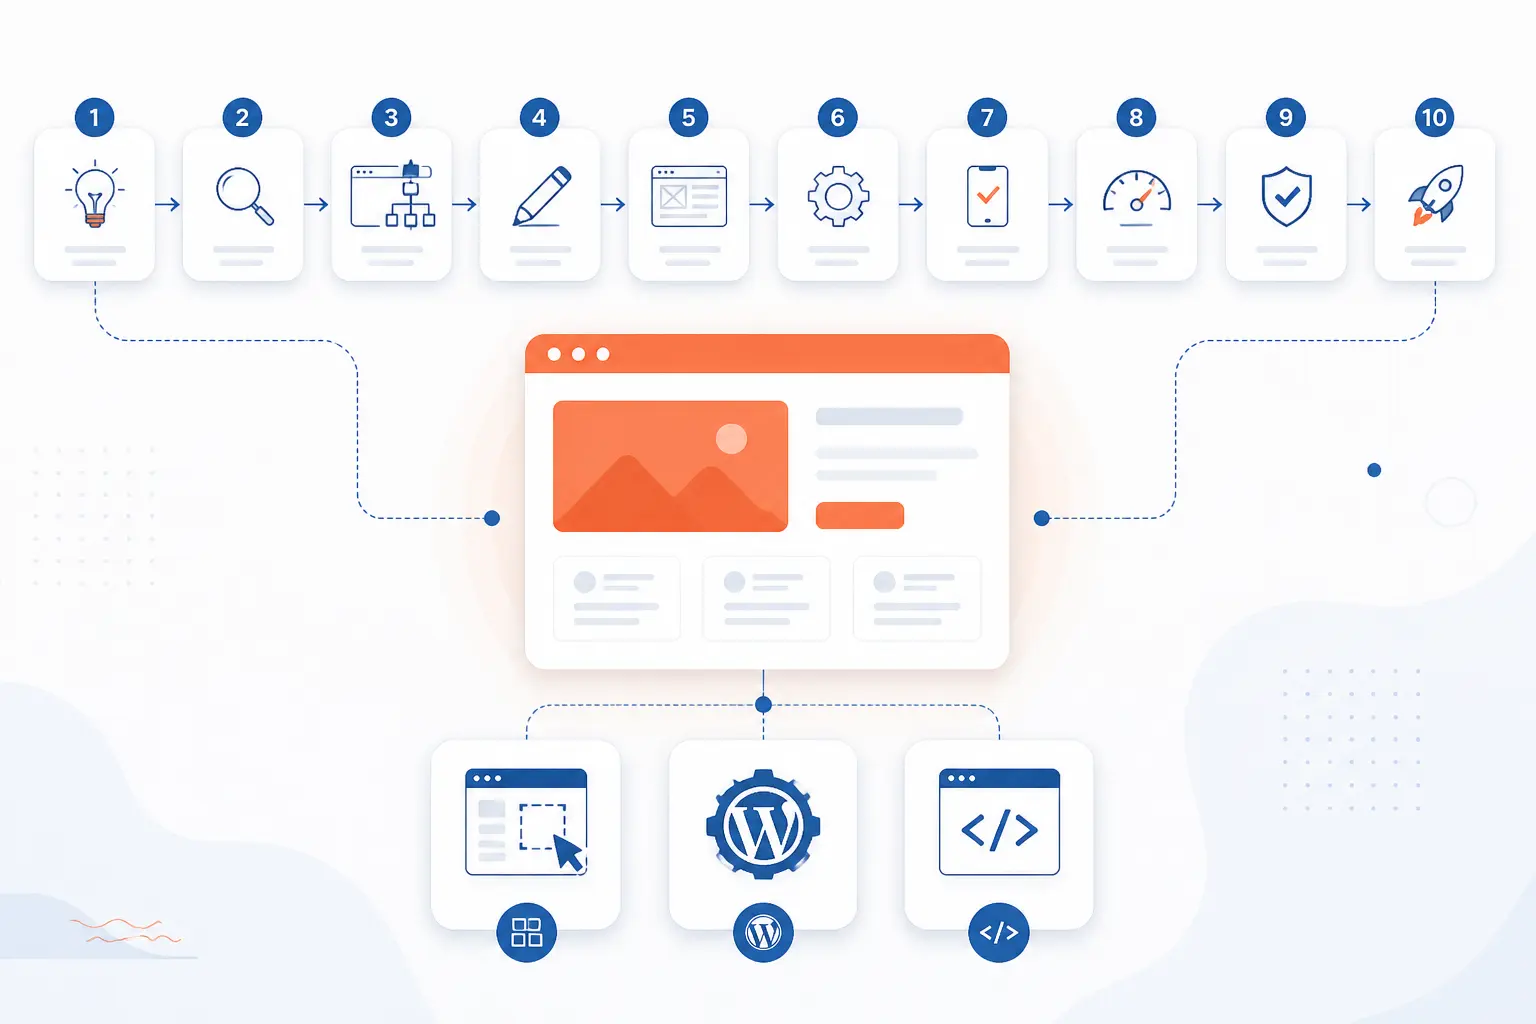
To build a website from scratch step by step, follow these ten actions in order and do not skip ahead. We use WordPress as the main hands-on path because it gives beginners a real website they control, while still being manageable. If you prefer a website builder or a code-first route, we show those options later so you can compare before you commit. For now, treat this section like a checklist you can complete in one sitting for setup and a few more sessions for content.
FURTHER READING: |
| 1. How to Speed Up Ecommerce Website With 10 Fixes |
| 2. How to Build a WordPress Website Step by Step |
| 3. What Is a Content Delivery Network and How Does It Work? |
1. Define Your Website Goal, Audience, and Brand
Write a one-sentence goal, name one target audience, and choose a simple brand style. A good beginner example is, “River City Dog Walking helps busy downtown pet owners book weekday walks online.” Then add one audience note, such as “people who work 9 to 5 in downtown apartments,” and three brand choices, such as navy blue, white, and a friendly sans-serif font. When this step is done, you should be able to explain your site in one breath without rambling.
We strongly recommend keeping your first goal narrow. A tutoring site may only need to collect contact forms. A bakery site may only need menu pages and pickup details. A portfolio may only need to show work samples and a contact button. If your goal is fuzzy, your home page will be fuzzy too, and visitors will feel it right away.
2. Choose the Best Website Builder or Platform for Your Needs
Choose WordPress if you want the same setup we use below, a website builder if you want the shortest path, or GitHub Pages if you want to learn by coding. For most small business, blog, and portfolio sites, we think WordPress is the best middle ground because it is flexible without forcing you to code every page. The self-hosted package on the official installation page recommends PHP 8.3 or greater and MySQL 8.0 or MariaDB 10.11 or greater, which also tells you what your hosting plan must support. Once you decide, stick with that route for your first version instead of second-guessing every platform you see.
If you are torn, use this rule. Pick a website builder when speed matters most. Pick WordPress when you want room to grow. Pick a code-first route when learning HTML, CSS, and Git matters as much as launching the site itself.
3. Pick and Register a Domain Name
Search for a short, easy-to-spell domain name and register it in your own account. Good examples are rivercitydogwalking.com, rivercitywalks.com, or meetrivercity.com. Avoid hyphens, odd spellings, and names that force you to explain them twice on the phone. When this works, your registrar dashboard should show the domain as active under your name, which matters because the registrant is the person or organization that owns the registration.
Use your real business email if you have one, or a personal email you control and will keep for years. Turn on auto-renew if you plan to keep the site long term. We have seen too many beginners lose momentum because the domain sat in a freelancer account or expired quietly.
4. Choose a Hosting Plan That Fits Your Site
Buy the simplest hosting plan that matches the platform you chose. If you are following the WordPress path, shared hosting is usually enough for a brochure site, personal site, or early blog. If you want a more WordPress-focused setup, choose WordPress hosting. If you are building something custom or expect heavier workloads later, cloud hosting or a cloud server gives you more control. If you use a website builder, hosting is usually bundled. If you use GitHub Pages, basic hosting for a static site is built into the service.
After checkout, open your hosting control panel and look for the WordPress installer, often labeled “WordPress,” “One-Click Install,” or “Applications.” Enter your site title, admin username, admin password, and admin email. A realistic example is site title “River City Dog Walking,” username rivercityadmin, and email [email protected]. You know this step worked when you can log in to yourdomain.com/wp-admin and see the WordPress dashboard.
5. Select a Template and Customize the Design
Open WordPress and install a theme from Appearance > Themes > Add New, then customize it from Appearance > Editor or the theme’s design panel. Choose a clean theme with a clear header, readable body text, and a strong button style before you worry about fancy effects. Set your colors, logo, and typography first. For our sample site, that could mean a navy header, white background, charcoal text, and a gold “Book a Walk” button. When this step works, your preview should already look like a real business instead of a generic demo.
Keep the layout simple on version one. Use one main accent color, one heading font, and one body font. We usually tell beginners to avoid rebuilding every template on day one because it turns a two-hour setup into a weekend rabbit hole.
6. Map Your Site Structure and Navigation
Create your basic pages in Pages > Add New, then set the home page in Settings > Reading. Start with Home, About, Services, Contact, and Blog if you plan to publish articles. In WordPress, create those pages first, then go to Settings > Reading, choose “A static page,” set Home as the homepage, and choose Blog as the posts page, as shown in the official Reading settings guide. You know this worked when visiting your domain shows the Home page instead of a list of posts.
Build navigation right after the pages exist. In newer block themes, open Appearance > Editor > Navigation or edit the header’s Navigation block and add Home, About, Services, Blog, and Contact in that order. Keep the top menu short. If a page is important but secondary, such as Privacy Policy or FAQs, place it in the footer instead of cramming it into the main menu.
7. Add the Core Pages Your Visitors Need
Create each page from Pages > Add New and build it with the block editor’s Inserter + button. The official editor documentation covers the Paragraph, Heading, Image, List, Buttons, and Columns blocks you will use most. A strong Home page usually needs a headline, short value statement, one main call to action, proof points, and a contact option. A Services page needs clear offers and pricing or starting prices. A Contact page needs a form, email, phone number, service area, and business hours if relevant.
Use real words instead of placeholders before you publish. “We walk dogs in downtown Springfield from 7 a.m. to 6 p.m.” is far better than “Lorem ipsum” or vague promises. When this step is done, every page in your menu should answer one practical visitor question.
8. Create Helpful Content and Optimize It for Search
Write each page for one visitor problem and give it a clear title, headings, and a useful call to action. Google’s starter guidance for site owners recommends making pages easy for users and search engines to understand, which is still the best beginner rule we know. For example, a Services page title like “Dog Walking in Downtown Springfield” is clearer than “What We Do.” Your H1 should describe the page, your H2s should break up the topic, and your body copy should answer the obvious questions a visitor would ask before contacting you.
Set clean URLs in Settings > Permalinks and choose Post name. The WordPress Permalinks screen documentation explains where to change the structure and confirms that saving the setting updates your URL format. Once this works, a page URL should look like yourdomain.com/services instead of a long string with dates or IDs.
Add images that help the page do its job. A portfolio should show finished work. A restaurant should show food, not stock office shots. A service site should show the owner, the work process, or the result. We think this is where many first sites either feel trustworthy or feel hollow.
9. Test Every Page and Launch Your Site
Open every page on your phone and laptop, click every menu item, and submit every form before you launch. Then run an audit in Chrome through DevTools > Lighthouse because that built-in tool checks performance, accessibility, best practices, and SEO in one place. You should see working buttons, readable text, correctly sized images, and no dead links. Fix broken navigation, typo-ridden headings, oversized images, and missing page titles before you invite anyone to visit.
Launch the site by making it public on your chosen platform. In WordPress, that usually means publishing the pages, pointing the domain to your host, and confirming the home page loads at the final address. In a website builder, click the Publish button. In GitHub Pages, give the deployment a few minutes and confirm the live URL loads after the site is built. The most common real snag here is DNS delay after connecting a custom domain, so give recent DNS changes a little time before assuming something is broken.
10. Maintain, Secure, and Promote Your Website
Turn on HTTPS, update your software, back up the site, and publish or share new content on a schedule. In WordPress, log in weekly and check for core, theme, and plugin updates. Renew your domain and SSL certificate on time. Add a simple promotion routine too, such as one blog post per month, one social post per new page, and one request for customer reviews after each completed job. You know this step is working when your site stays online, your browser shows a lock icon, and your content keeps improving instead of going stale.
Use a light maintenance checklist. Test your contact form monthly. Replace outdated offers. Remove broken links. Add fresh photos when your business changes. A website is not a brochure you print once. It is closer to a storefront window that needs occasional cleaning and rearranging.
Choose Your Starting Route Before You Build
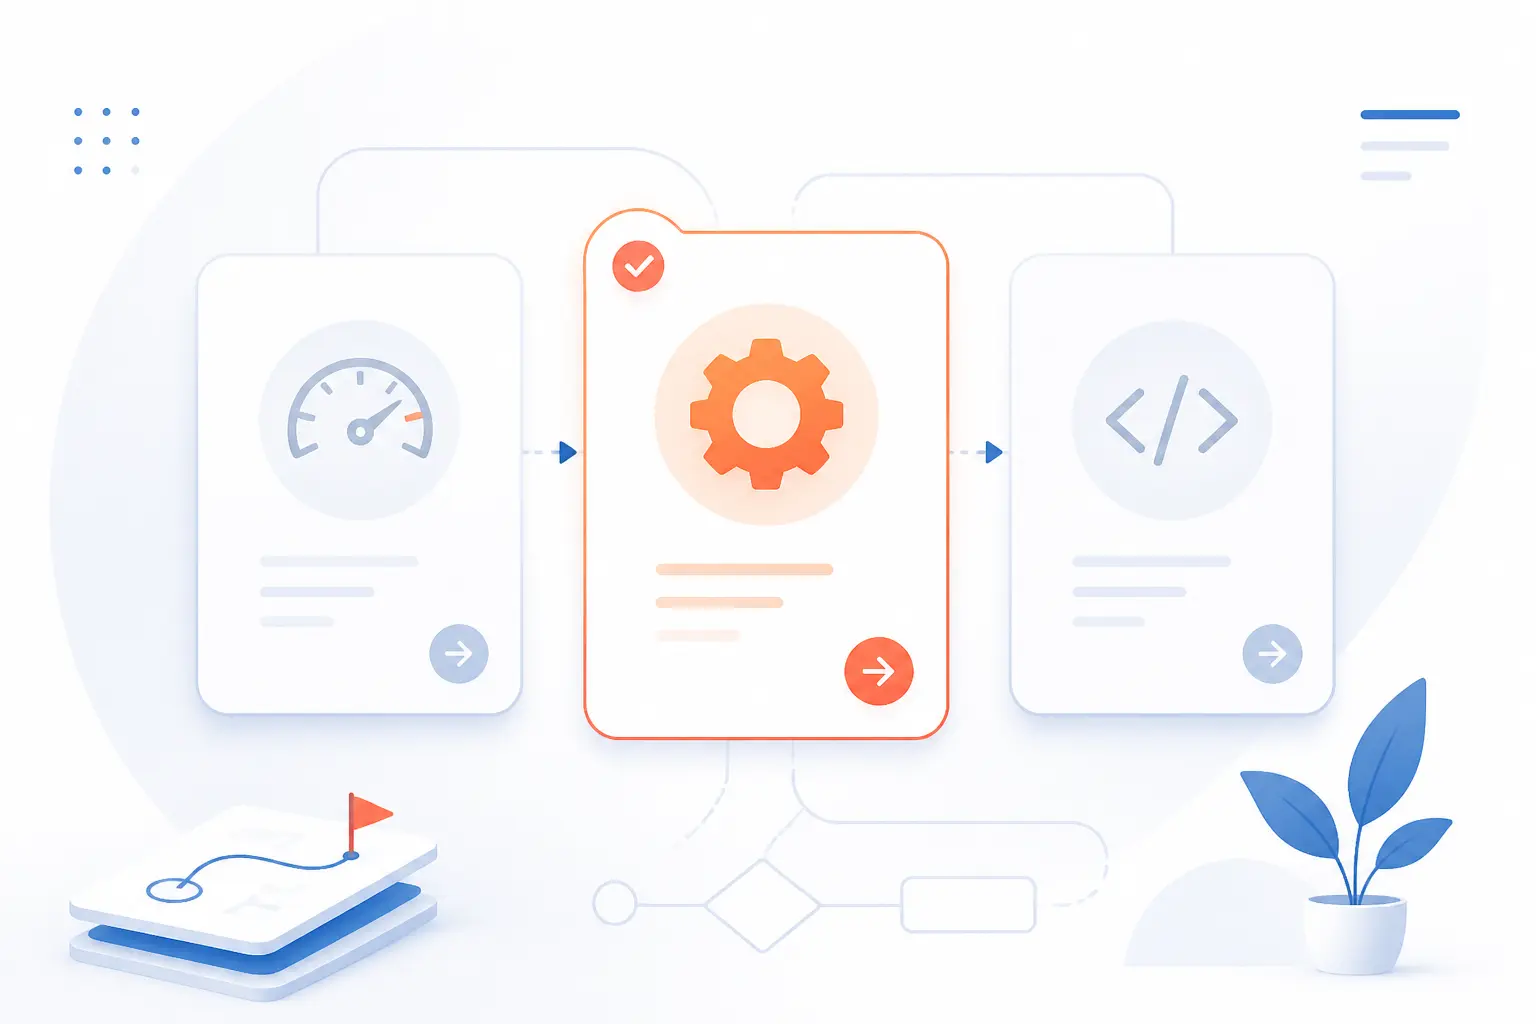
The best starting route depends on what you want most: speed, control, or hands-on learning. If you want the fastest beginner launch, pick a website builder. If you want long-term flexibility, pick WordPress. If you want to learn the web from the inside out, pick a code-first route with GitHub Pages. We suggest choosing one route now and ignoring the rest until your first version is live.
| Route | Best for | What you manage | Launch speed |
|---|---|---|---|
| Website builder | Beginners who want speed | Content and design | Fastest |
| WordPress | Blogs, business sites, growth | Content, plugins, hosting basics | Moderate |
| Code-first | Learning HTML, CSS, and Git | Everything in files | Slowest at first |
Use a Website Builder if You Want the Fastest Beginner-Friendly Launch
Pick a website builder when your main goal is to get online with the least technical setup. You will usually choose a template, replace the text and images, connect a domain, and click Publish. This route works well for a coach, freelancer, small restaurant, or event site that does not need custom logic. We like this option when the site’s job is simple and the owner cares more about speed than deep control.
The trade-off is that you work inside the builder’s rules. That is often fine for a first site. In fact, it can save beginners from breaking layouts they do not yet understand.
Choose WordPress if You Want More Flexibility and Room to Grow
Choose WordPress when you want a site you can shape over time without rebuilding from scratch later. It is a strong fit for service businesses, publishers, local companies, and anyone who expects to add more pages, posts, forms, or integrations. You can start with a small five-page site and expand into a blog, booking flow, or member area later. We usually recommend this route to readers who want ownership and a broad ecosystem, but still want a beginner-friendly editor.
The trade-off is that you must handle updates, hosting, and basic maintenance. That sounds like extra work, and it is, but it is also what gives you more control. If you are willing to learn a few dashboard menus, WordPress is a sensible long-term home.
Take a Code-First Route if You Want to Learn HTML, CSS, and GitHub Pages
Create a repository named {your-username}.github.io, then enable publishing in Settings > Pages. GitHub’s quickstart for Pages walks through the exact repository name, the Settings tab, and the Pages section where you choose the deployment source. Add an index.html file for the home page and a styles.css file for your styles, then commit the files. You know the setup worked when your site loads at https://{your-username}.github.io.
Connect your own domain later from Settings > Pages > Custom domain and follow the domain setup guide for the required DNS records. This route teaches you more, but it also asks more of you. If that sounds exciting rather than annoying, it is a great way to learn how websites actually fit together.
Plan the Pages and Site Elements That Matter Most
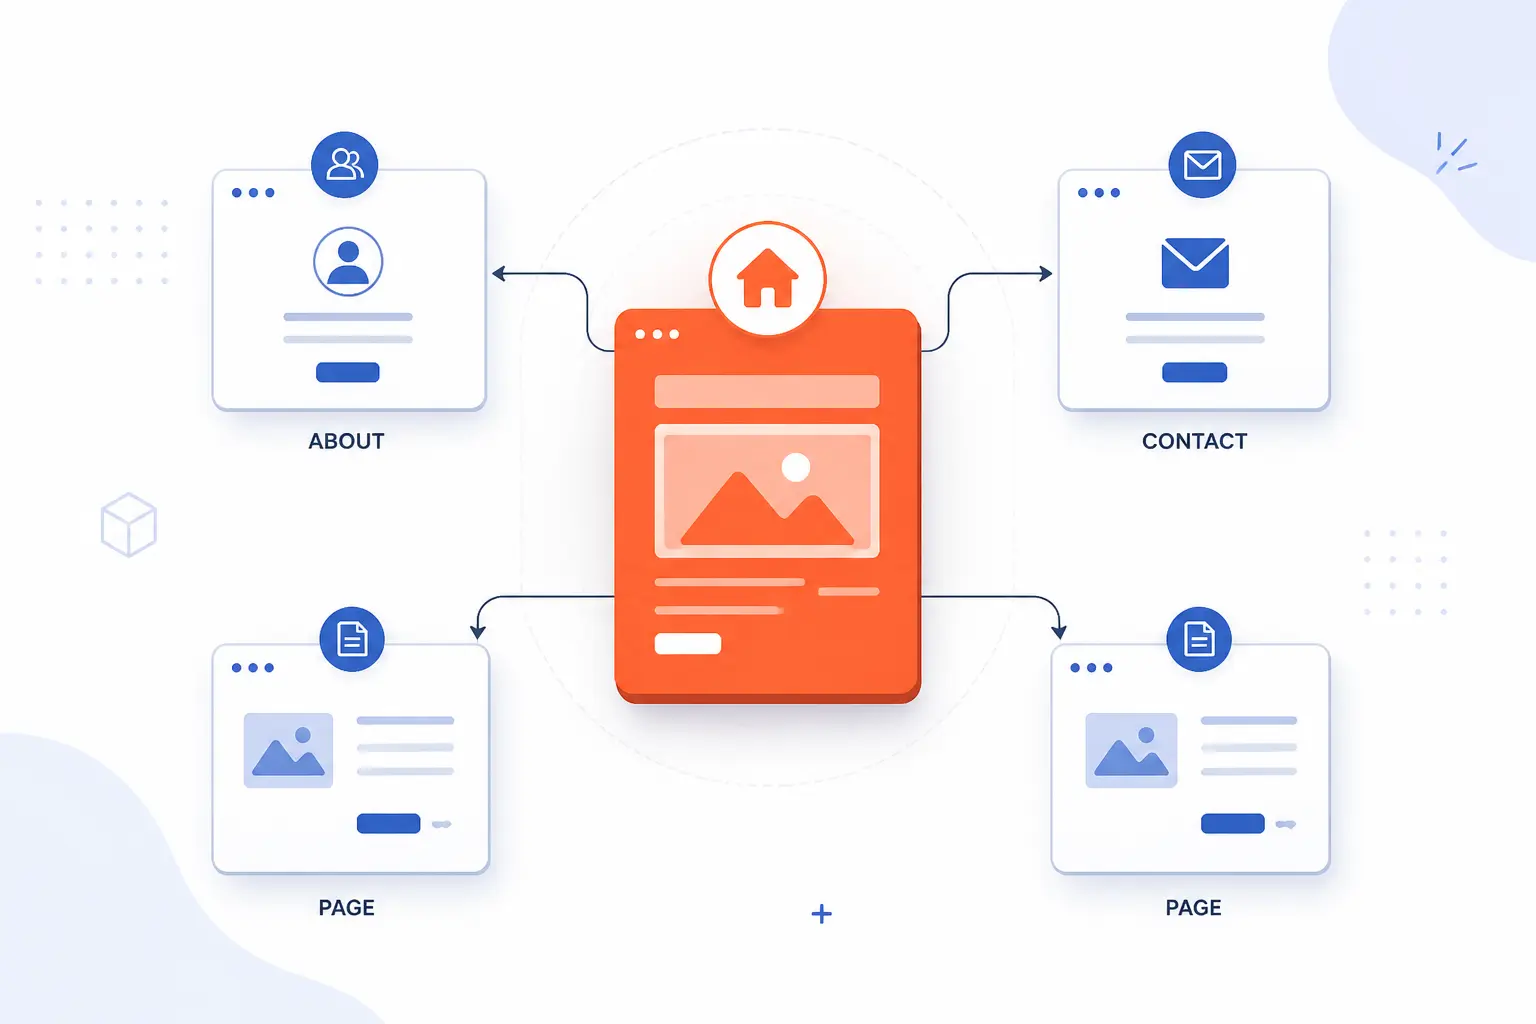
The pages that matter most are the ones that answer basic visitor questions fast. Most first websites need a Home page, an About page, a Contact page, and one page that does the core job, such as Services, Shop, Portfolio, or Blog. If visitors cannot tell who you are, what you offer, and what to do next within seconds, the site is not ready yet. We prefer a smaller site with sharp pages over a larger site full of filler.
Make the Home Page Explain Who You Are and What You Offer
Lead the Home page with a headline that says what you do, who you help, and what action comes next. “Dog walking for busy downtown pet owners” works. “Welcome to our website” does not. Follow that headline with a short supporting paragraph, one main button, and proof such as service areas, testimonials, or sample work. If a stranger lands there first, they should understand the offer without scrolling forever.
We think the Home page should act like a front desk. It should answer the first question, point people to the right room, and make the next click obvious.
Use About and Contact Pages to Build Trust
Write the About page to explain who is behind the site and why visitors should trust you. A short founder story, photo, experience summary, and values are usually enough. Then make the Contact page friction-free with a form, direct email, phone number if you take calls, and location or service area. If you only want email leads, say so plainly and save everyone time.
Trust grows when pages feel specific. “Serving downtown Springfield and the Riverside district” beats “serving your area” every single time.
Add Shop, Services, Portfolio, or Blog Pages Based on Your Goal
Create the page type that matches the site’s main job. A service business needs a Services page with clear offers, pricing, and FAQs. A designer needs a Portfolio page with project images and short case notes. A store needs product categories, product pages, and checkout. A publisher needs a Blog page with categories that make sense to readers. The trick is not to build every possible page. It is to build the page that moves the visitor toward your real goal.
A local accountant may only need Services, About, and Contact. A photographer may need Home, Portfolio, Packages, About, and Inquiry. A small online store may need Home, Shop, Cart, Checkout, FAQ, and Contact. Let the goal choose the pages.
Guide Visitors With Clear Navigation, Calls to Action, and a Useful Footer
Keep the top navigation short, use one main call to action, and treat the footer like a backup guide. Your main button might say “Book a Walk,” “Request a Quote,” or “Start the Project.” Repeat that same action in the header, on key pages, and near the bottom of longer pages. Then use the footer for practical links like Contact, Privacy Policy, social profiles, hours, and service area.
We often see beginners hide the call to action behind cute wording. Resist that urge. Clear beats clever when someone is deciding whether to trust a new site.
Build for Quality From the Start
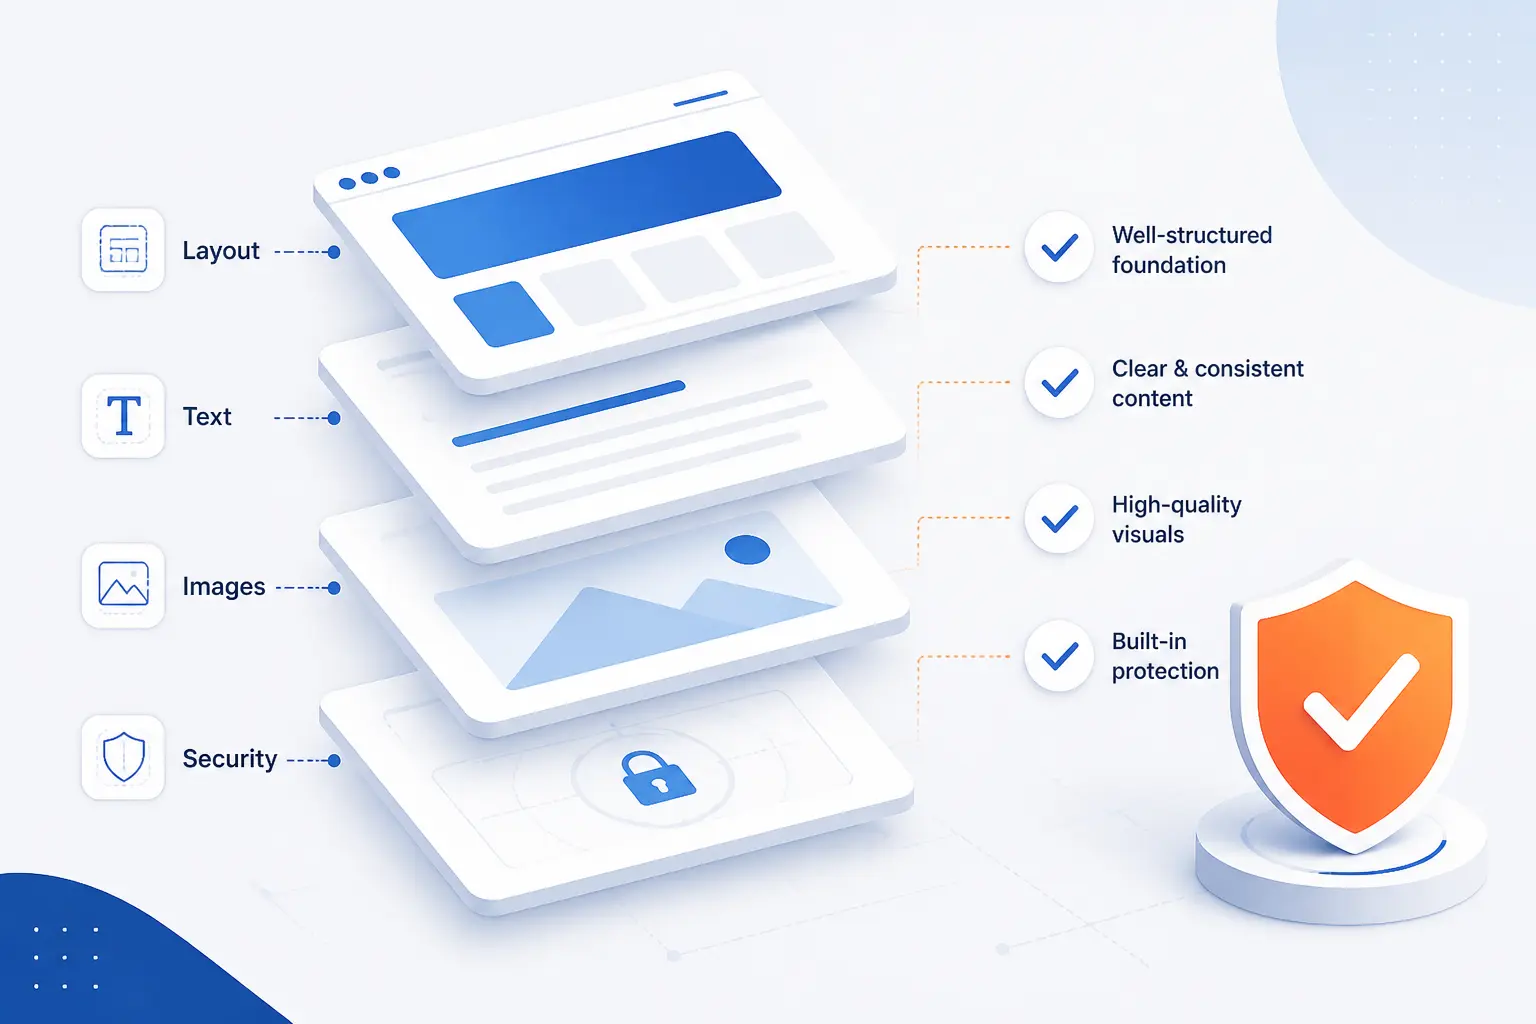
A good first website is clear, readable, fast enough, and safe to use. Quality is not a final coat of paint you add after launch. It is built into the writing, layout, images, accessibility choices, and security settings from the first draft. If you get these basics right early, you avoid painful cleanup later. We have found that simple sites usually outperform overdesigned ones because there is less to break and less to distract.
Keep Your Purpose Clear on Every Page
Give every page one main job and one main next step. A Home page should introduce the offer. A Services page should explain the work. A Contact page should make outreach easy. When a page tries to sell, educate, entertain, and explain your biography all at once, the result is usually mush. Trim the page until its purpose is obvious.
This sounds almost too basic, but it is one of the biggest differences between a page that converts and a page that just sits there. Visitors reward clarity.
Design for Mobile, Readability, and Fast Loading
Preview every page on a phone, keep paragraphs short, compress large images, and avoid decorative clutter. Use body text that is easy to read, enough spacing between sections, and buttons that are easy to tap. If the first screen on mobile is a giant banner image with no useful text, fix that before launch. Your visitors will not dig for the point.
We like to ask one blunt question here: can a busy person understand and act on this page while standing in line with one thumb? If the answer is yes, your design is probably on the right track.
Make the Site Accessible, Search-Friendly, and Secure
Add descriptive alt text where images carry meaning, use heading levels in order, and keep text contrast strong enough to read. The WCAG 2.2 standard calls for a contrast ratio of at least 4.5:1 for normal text, which is a solid beginner benchmark for readable pages. Also make links descriptive, label form fields clearly, and test keyboard navigation on important actions. When this works, your site is easier for more people to use and easier for search engines to understand.
Secure the site with HTTPS and current software versions. In practice, that means an SSL certificate, strong passwords, updates, and limiting who gets admin access. Search-friendly and secure often travel together because broken, hacked, or unreadable sites struggle everywhere.
FAQ
Yes, beginners can build a website from scratch with free tools, but free is not always the same as launch-ready. The right choice depends on whether you need a custom domain, professional branding, ecommerce, or just a learning sandbox. These short answers cover the decisions we hear most often at 1Byte.
Can I Create a Website From Scratch for Free
Yes, you can create a website from scratch for free. A free route usually means a subdomain, limited design freedom, or a platform-branded site, which is fine for testing ideas or learning. If you want a professional business site, we recommend paying for your own domain first because that one detail changes how trustworthy the site feels.
How Much Does It Cost to Build a Website
The cost can be very low if you do the work yourself. In practical terms, your main expenses are usually the domain, hosting, and possibly a paid theme, builder plan, or plugin. A simple brochure site can stay lean, while ecommerce, booking tools, or custom development push the cost up fast.
Can ChatGPT Build Me a Website
ChatGPT can help build parts of a website, but it should not be the only thing driving the project. It can draft page copy, suggest HTML and CSS, outline site structure, and help troubleshoot errors. You still need to choose the platform, verify facts, test the result, and make sure the site reflects your real business.
Do I Need Both Hosting and a Website Builder
No, you do not always need both hosting and a website builder. Many website builders include hosting, while self-hosted WordPress needs separate hosting. The simplest rule is this: if the platform says it hosts the site for you, do not buy extra hosting unless you know exactly why you need it.
How 1Byte Helps You Launch and Grow Your Website
At 1Byte, we help readers connect the moving parts that turn a draft into a live website. That usually starts with the basics, then expands only when the site has earned the extra complexity. Our practical view is simple: register the name, secure the connection, launch on the right hosting tier, and move up only when the site’s needs change. Because 1Byte is an AWS Partner, there is also a clear path for projects that outgrow a very simple start.
| Need | Useful 1Byte service | Best stage |
|---|---|---|
| Name and trust | Domain registration and SSL certificates | Before launch |
| Simple first site | WordPress hosting and shared hosting | Early build |
| More control or growth | Cloud hosting and cloud servers | After traction |
Register Domains and Protect New Sites With SSL Certificates
Register the domain first and add an SSL certificate before you promote the site anywhere. Domain registration gives your site a stable public address, while SSL certificates secure the connection and help browsers load the site over HTTPS. For a beginner build, those two pieces create the base layer of trust. We see them as the online equivalent of putting your name on the door and locking the front entrance.
Start Quickly With WordPress Hosting and Shared Hosting
Choose WordPress hosting or shared hosting when you want a straightforward launch path. WordPress hosting fits readers following the WordPress steps in this guide, and shared hosting works well when the site is simple and budget matters. Both routes make sense for first business sites, personal sites, and starter blogs. If your goal is to get version one live without overengineering it, this is usually the right place to begin.
Scale Smoothly With Cloud Hosting and Cloud Servers
Move to cloud hosting or cloud servers when the site needs more control, custom software, or room for heavier workloads. This route makes more sense once you have traffic, a more complex stack, or operational needs that outgrow a basic plan. We also like this path for developers who need a more configurable environment from the start. Since 1Byte is an AWS Partner, that move can fit neatly into a broader cloud direction when the project is ready.





Conclusion
To build a website from scratch, you do not need to know everything up front. You need a goal, a platform, a domain, a hosting setup, a small page plan, and the discipline to launch version one before chasing version ten. If we were guiding a beginner at 1Byte across the finish line, we would tell them to keep the first site small, specific, and useful, then improve it with real feedback.
Your next step is simple. Pick your route today, write your one-sentence goal, and claim your domain. What kind of website are you planning to launch first?