

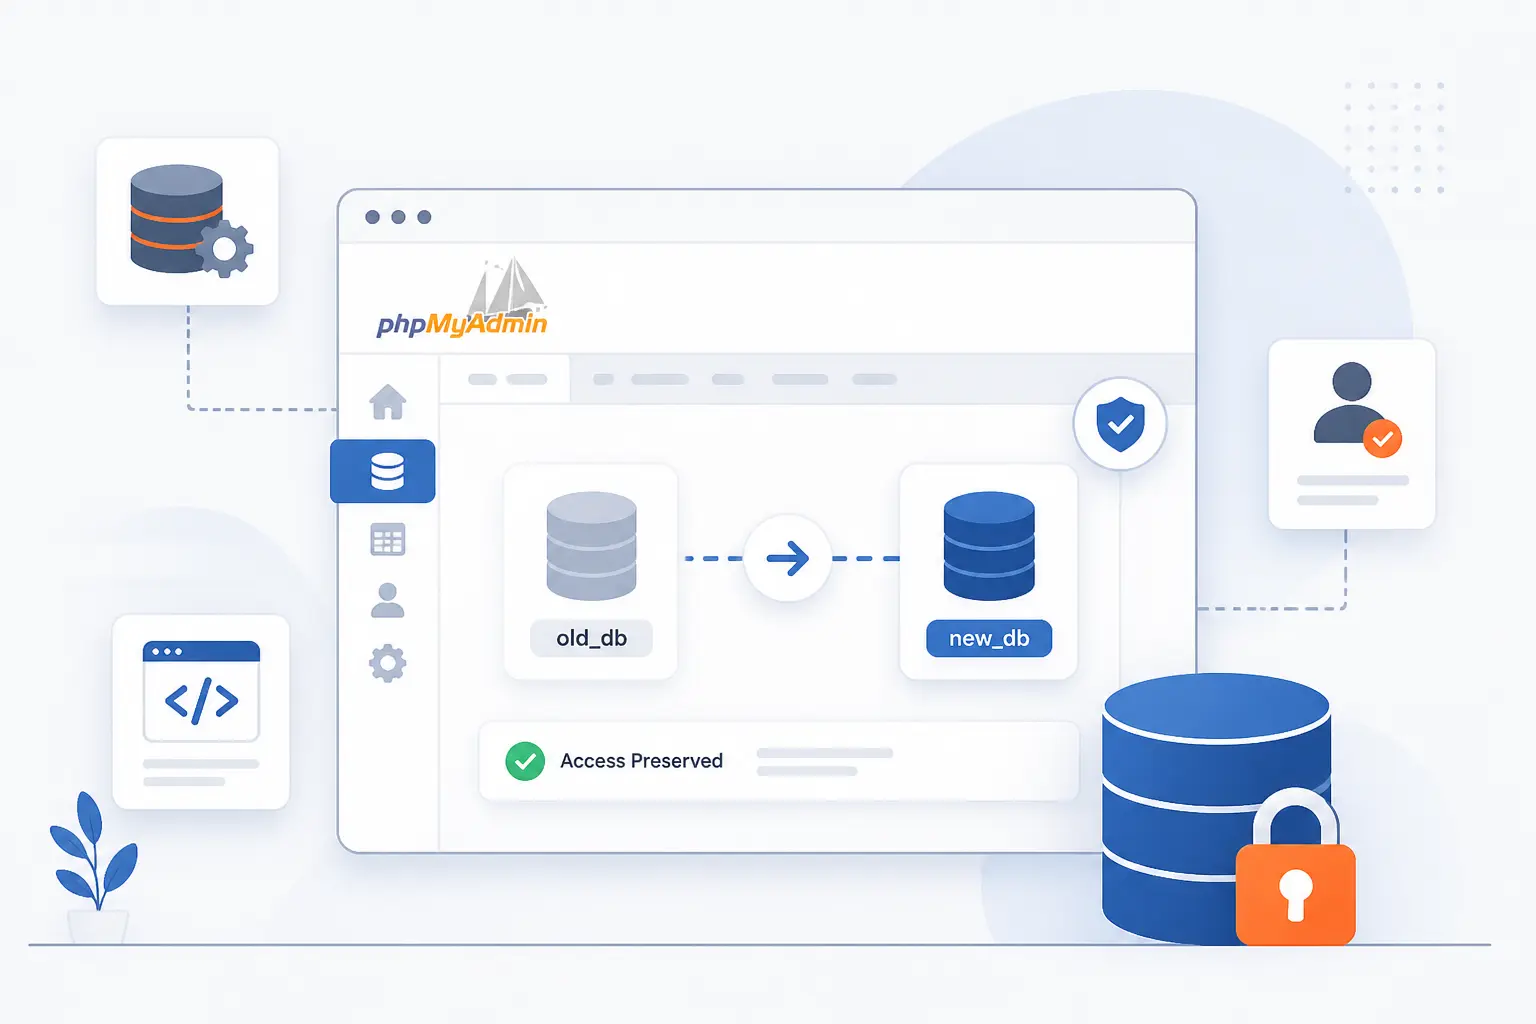
To rename database phpMyAdmin without losing access, we open the database in phpMyAdmin, run the rename from the Operations tab, reconnect the same database user in cPanel, and then update the application so it points to the new name. That is the full job. If we skip the user or config step, the website usually breaks even when the rename itself works. We also do this during a quiet window and keep a backup ready because active connections can be interrupted during the change.
How to Rename Database phpMyAdmin Step-by-Step
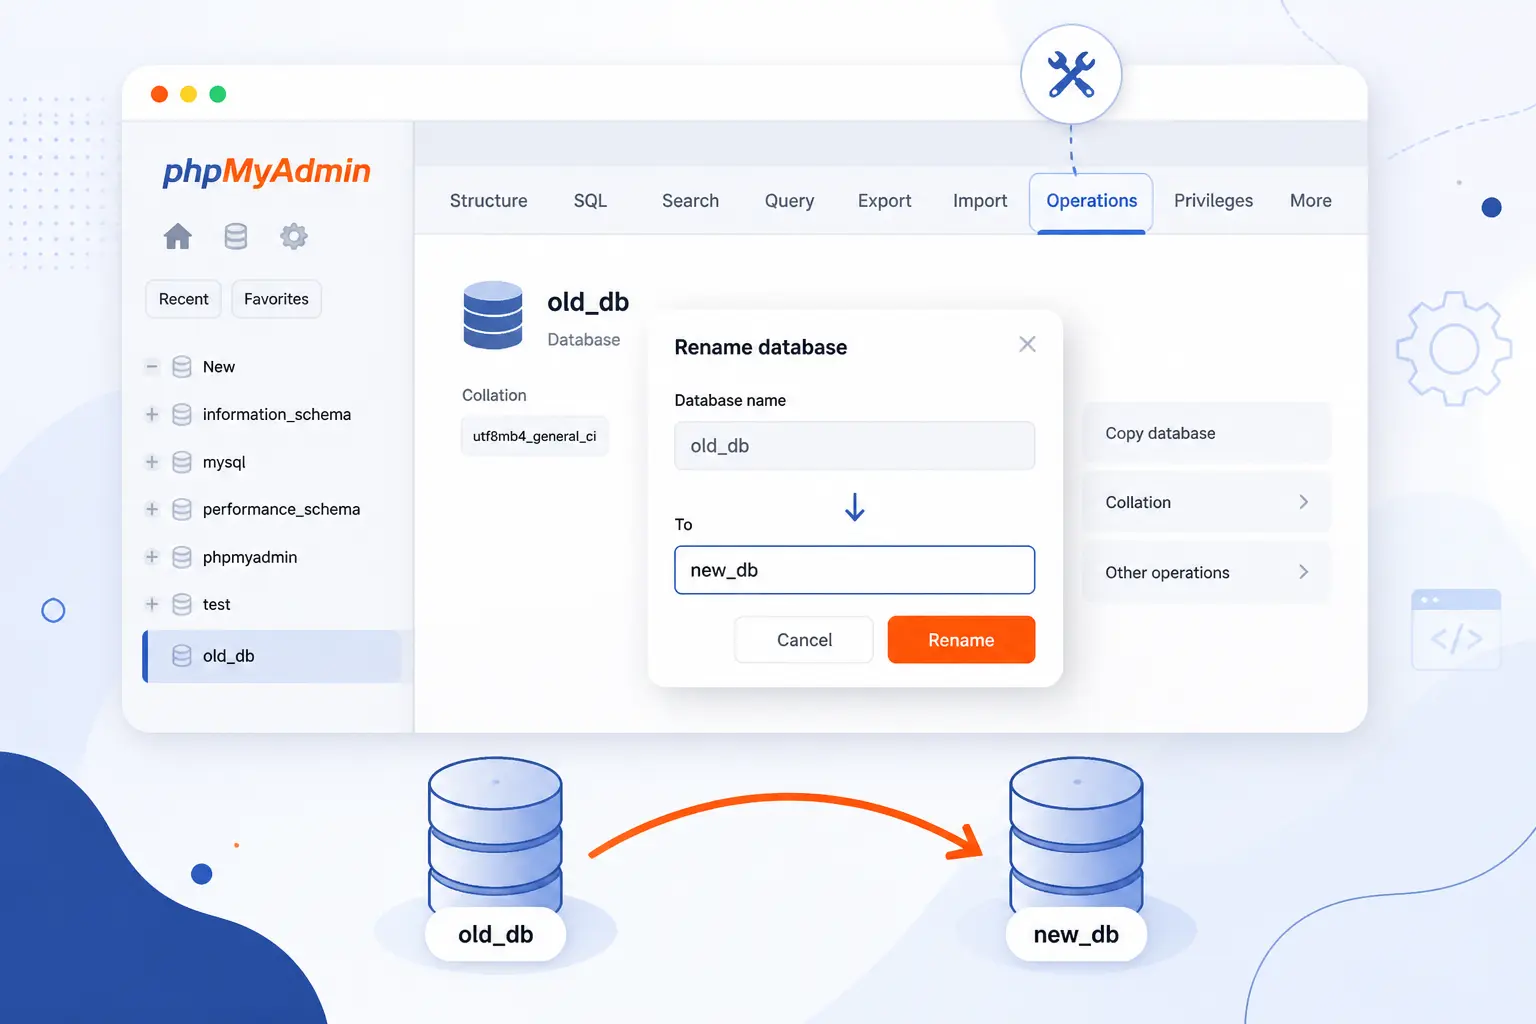
This is the exact workflow we use when phpMyAdmin exposes a database rename tool under Operations. phpMyAdmin supports database administration tasks, including renaming databases, and the cPanel version of the tool is meant for working with databases you already manage through the official phpMyAdmin guide. If your screen does not show a database rename box under Operations, stop and use cPanel’s own rename feature instead.
Download a backup before you touch the name. cPanel warns that renaming a database is potentially dangerous, terminates active connections, and requires manual application updates, so we do not skip the Backup interface even for a small site.
FURTHER READING: |
| 1. Public_Html Folder Missing in cPanel Recovery Guide |
| 2. Public_Html Permissions for Secure Reliable Access |
| 3. How to Block Websites on Chrome for Desktop and Mobile |
1. Note the Current Database User in cPanel
Open cPanel > Databases > Manage My Databases, and write down the exact database user shown for your database in the Current Databases table. In cPanel, the Privileged Users column lists the usernames that can access that database, and those names are the values your app uses as DB_USERNAME. Copy the full prefixed names, such as acct_wp_live and acct_wpuser, because the prefix matters. On older cPanel versions, this page is called MySQL Databases. When this step is done, you should have both the current database name and its user saved in a note from the database manager screen.
2. Open phpMyAdmin From cPanel
Open cPanel > Databases > phpMyAdmin. The phpMyAdmin window should open in a new tab or inside cPanel, and the left sidebar should list the databases attached to your account. If the icon is missing, your host may have disabled the feature described in the phpMyAdmin interface note.
3. Select the Database You Want to Rename
Click the database name you want to rename in the left sidebar. Use the exact database from Step 1, not a similarly named staging or test database. When the right pane reloads, you should see the database overview and its tables.
4. Open the Operations Tab
Click the Operations tab in the top navigation bar. This is the database-level screen for structural changes, not row edits or single-table work. When the tab opens, scroll until you find the section for renaming or copying the database. If you only see table tools, you clicked a table instead of the database.
5. Enter the New Database Name
Type the new name into the Rename database to field, or into the Copy database to field if your phpMyAdmin build uses a copy workflow for renames. Use a full cPanel-style name such as acct_wp_store, not just wp_store, because cPanel accounts often require the prefix. When the value is accepted, it should stay in the field exactly as you typed it. The most common failure here is entering an unprefixed name on a prefixed cPanel account.
6. Click Go and Confirm the Rename
Click Go, then confirm the action if phpMyAdmin asks for confirmation. If your screen shows a copy workflow instead of a dedicated rename box, submit the new name there and use the option that removes the original after copying so you end up with one database name, not two. Let the process finish completely before you close the tab. Once it succeeds, phpMyAdmin should return a result page instead of leaving you on the same form.
7. Reload the Database and Verify the New Name
Reload phpMyAdmin and verify that the new database name appears in the left sidebar. Open the renamed database and make sure your expected tables are still present. If the old name lingers in the tree for a moment, refresh the browser once before assuming the rename failed. This check tells you the schema move finished before you fix permissions and application settings.
8. Reattach the Existing User in cPanel and Grant All Privileges
Open Manage My Databases in cPanel, select the original user and the renamed database in Add User To Database, click Add, check ALL PRIVILEGES, and click Make Changes. We treat this as mandatory on shared hosting because MySQL does not automatically adjust every object privilege during a rename, copy, or move, and phpMyAdmin’s own privilege fix needs broader grant-table access that many shared hosting users do not have, as explained in the privilege-adjustment notes. When it works, cPanel returns to the main page and the user appears under Privileged Users for the renamed database. This is the most common failure point after a successful rename, so we never skip it.
9. Update Website Scripts and Application Settings
Edit your application config file and replace the old database name with the new one. For WordPress, open public_html/wp-config.php and change define( 'DB_NAME', 'acct_wp_live' ); to define( 'DB_NAME', 'acct_wp_store' ); using the wp-config.php reference as your format check. Leave the database user and password alone unless you intentionally changed them. If you run a custom PHP app, update the same value wherever the connection is defined, such as .env, config.php, or a framework database file. You know this step worked when the site loads normally and no longer reports an unknown database or access error.
Rename a Table When the Database Name Can Stay the Same
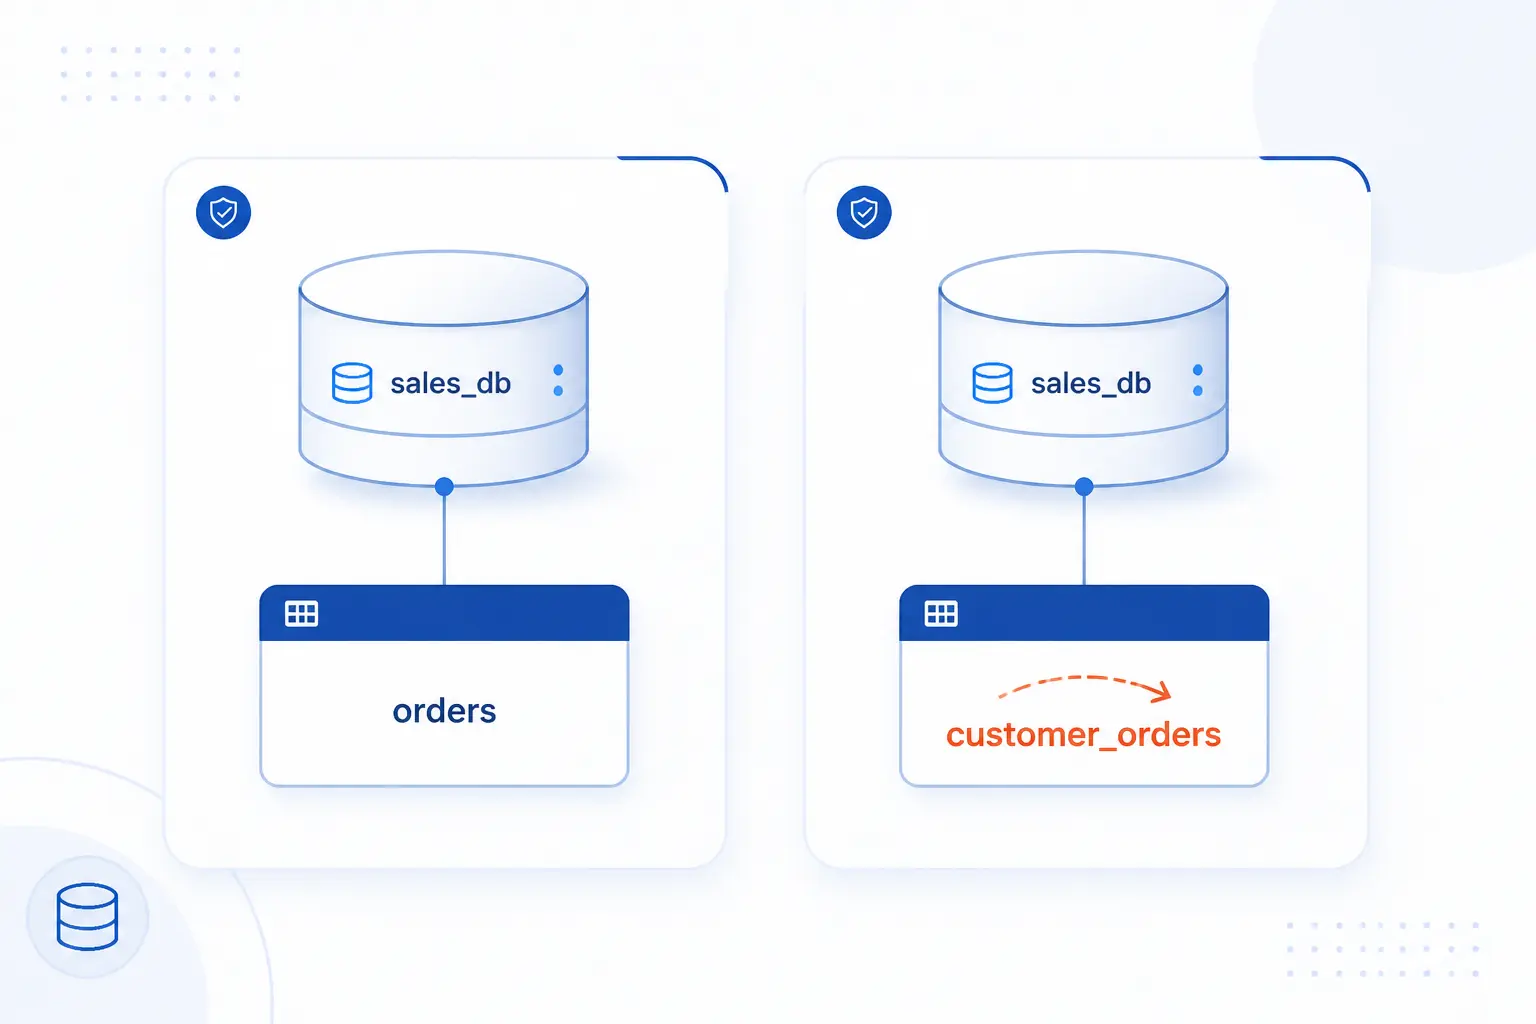
If the database name can stay the same, rename only the table. This is simpler because your site keeps the same database connection and you only update code that points at the old table name. Behind the scenes, phpMyAdmin is doing the same kind of object rename covered by the MySQL statement reference, but the interface is easier for beginners to follow.
Select the Table Inside the Chosen Database
Click the database in the left sidebar, then click the table you want to rename. Stay on the table page, not the database overview. When the page loads, you should see table tabs such as Structure and Operations for that specific table.
Use the Operations Tab to Reach Table Options
Click the Operations tab on the selected table. The table-level Operations screen is different from the database-level Operations screen, so check the page title before you continue. When it opens, look for the table rename area or table options.
Enter the New Table Name and Apply the Change
Type the new table name and apply the change with Go. A realistic example is changing orders_old to orders_archive. If you prefer SQL, the canonical command is RENAME TABLE orders_old TO orders_archive;, but we use the UI here because it reduces typing mistakes for beginners. If your application references the old table name anywhere, update those queries next.
Check the Left Navigation to Confirm the Updated Table Name
Check the left navigation and confirm that the old table name disappears and the new one appears. Open the renamed table once to verify that its rows and structure are still there. That quick visual test is enough for most small sites before you test the application itself.
FAQ
These are the short answers we give most often. Each one focuses on what you need to do next, not just the theory behind it.
How Do I Rename a Database in phpMyAdmin?
Open the database, click Operations, enter the new name, run the rename, then reattach the user in cPanel and update the application config. We treat the cPanel user step as required on shared hosting because the new database name often needs fresh privileges. If the rename box is missing under Operations, use cPanel’s own rename tool instead.
Can I Rename a MySQL Database Directly in phpMyAdmin?
Not with a native MySQL RENAME DATABASE command, because MySQL does not provide one. phpMyAdmin and cPanel handle the change by creating a new database name and moving the contents, which is why permissions and application settings need follow-up work. That is also why we tell beginners to verify the new name before reopening the site.
Why Do I Need to Reconfigure User Permissions After Renaming?
You need to reconfigure permissions because MySQL does not automatically adjust every privilege when a database is renamed, copied, or moved. phpMyAdmin can adjust privileges only if the account running the change can edit MySQL grant tables and use a global FLUSH privilege, which many shared hosting users do not have. Reattaching the user in cPanel with ALL PRIVILEGES is the reliable fix.
What Should I Update After Changing the Database Name?
Update every place your application stores the database name. For WordPress, that is usually DB_NAME in wp-config.php. For other apps, check environment files, framework database configs, deployment secrets, and any cron or backup scripts that still contain the old name.
How 1Byte Supports Database and Hosting Changes
1Byte supports these changes by giving us the surrounding tools we actually need after a database rename. The database rename itself is only one part of the job. We still need workable hosting access, a stable domain, valid SSL, and a sane upgrade path if the site outgrows entry-level hosting. That is where 1Byte fits in practical terms.
Register Domains and Add SSL Certificates Through 1Byte
Register domains and add SSL certificates through 1Byte to keep the public side of the site stable while we change backend database details. We like that split. Visitors should keep reaching the same domain over HTTPS even when we are fixing database names, cPanel permissions, or application config behind the curtain.
Run WordPress and Shared Hosting With Database-Friendly Management
Run WordPress and shared hosting with database-friendly management when you want simple access to phpMyAdmin, cPanel, and application files in one place. For a beginner workflow like this one, we want easy access to wp-config.php, database users, and database names without hopping across three different systems. That makes the rename-and-reconnect process far less error-prone.
Scale Projects With Cloud Hosting and Cloud Servers From 1Byte
Scale projects with cloud hosting and cloud servers from 1Byte when a project outgrows manual panel work. On larger sites, we often prefer scripted deployment, staging tests, and server-level database tools instead of renaming a live production database through a shared interface. Since 1Byte is an AWS Partner, we can think about that move as a practical next stage rather than a complete reset.






Conclusion
Renaming a database in phpMyAdmin without losing access comes down to four moves: rename the database, verify the new name, reattach the existing user in cPanel, and update the application config. Skip any one of those, and the website usually fails to connect even though the rename looked successful.
If you are about to do this on a live site, make the backup first and test during a low-traffic window. If your phpMyAdmin screen does not show the rename control, why not take the safer path and use cPanel’s own rename feature instead?