
Once your certificate has been issued and you have obtained the certificate file, which you can always download in your 1Byte account, you can proceed to install it on your Vesta Control Panel.
How to Install SSL Certificate in Vesta CP
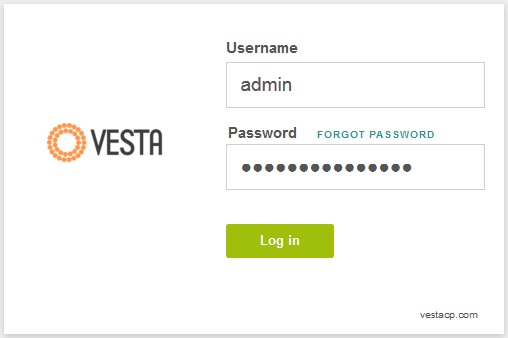
Step 1
Log in to your Vesta CP.
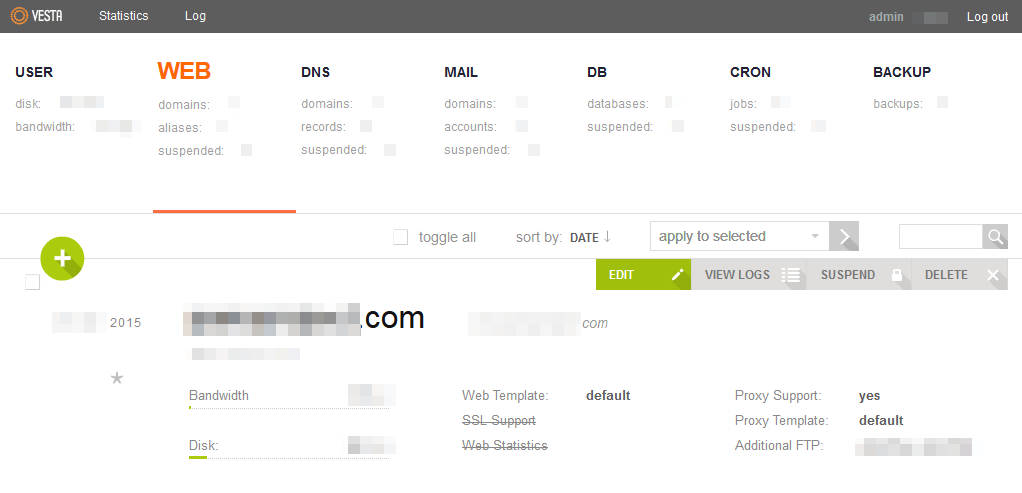
Step 2
Go to WEB, hover over the domain the certificate has been issued for and click Edit.
Step 3
On the next page locate SSL Support tab and check it.

Step 4
Now your certificate, Private Key (which you saved after CSR generation) and CA Bundle files should be put into the corresponding fields.
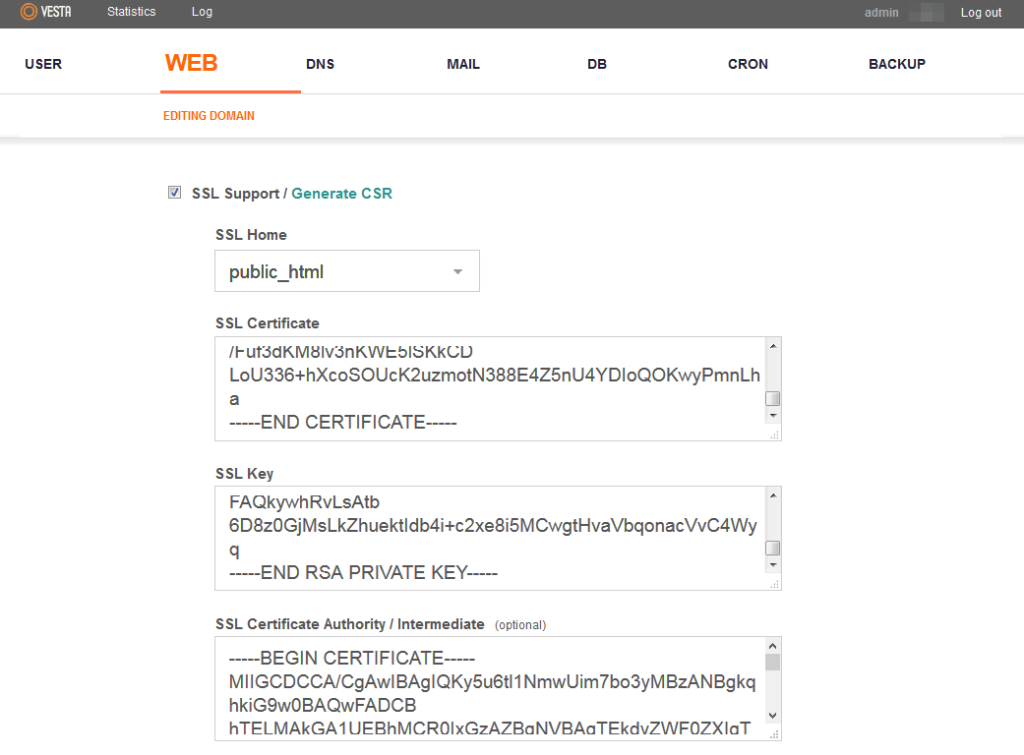
Keep in mind that the Private Key is not stored on Vesta CP server by default and thus it should be backed up after the CSR generation.
Step 5
Once these three fields are filled, push Save at the bottom of the page.

Your certificate has been installed and you can check it using these tools: https://ssl-checker.1byte.com/