

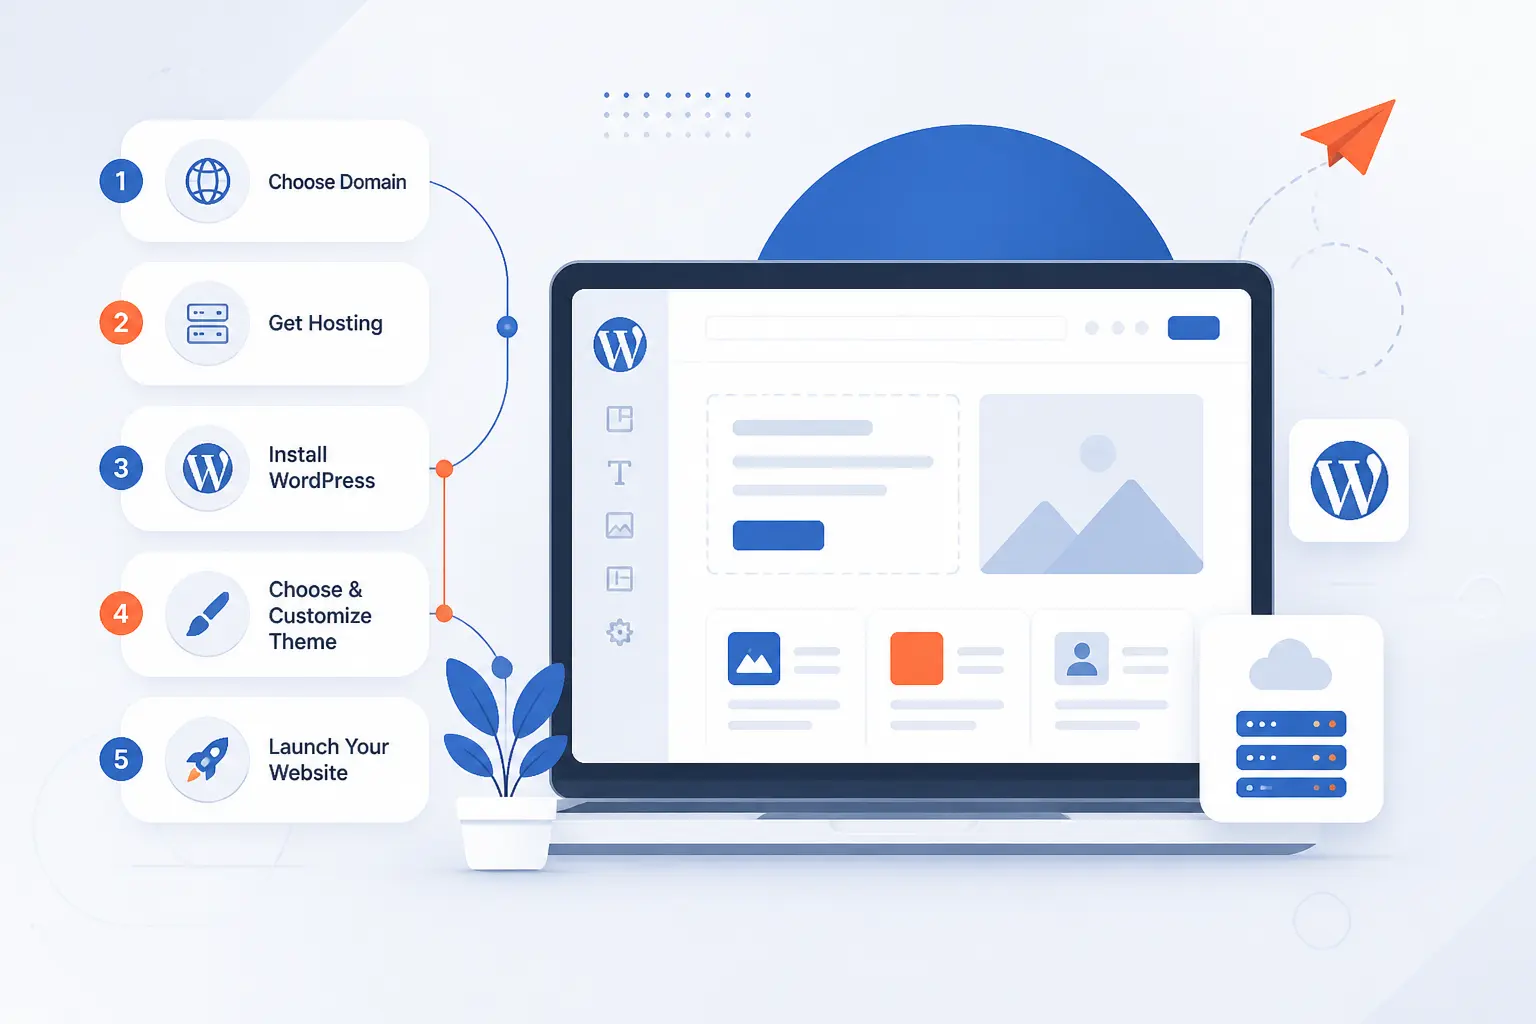
To learn how to build a WordPress website, we follow a simple order: define the site, choose the right WordPress path, install it, shape the design, add content, and launch carefully. That is the whole process in plain language. If you are brand new, you can still finish this by working step by step and resisting the urge to customize everything too early. We will show both WordPress.com and self-hosted WordPress so you can choose the route that fits your budget and comfort level.
How to Build a WordPress Website From Setup to Launch
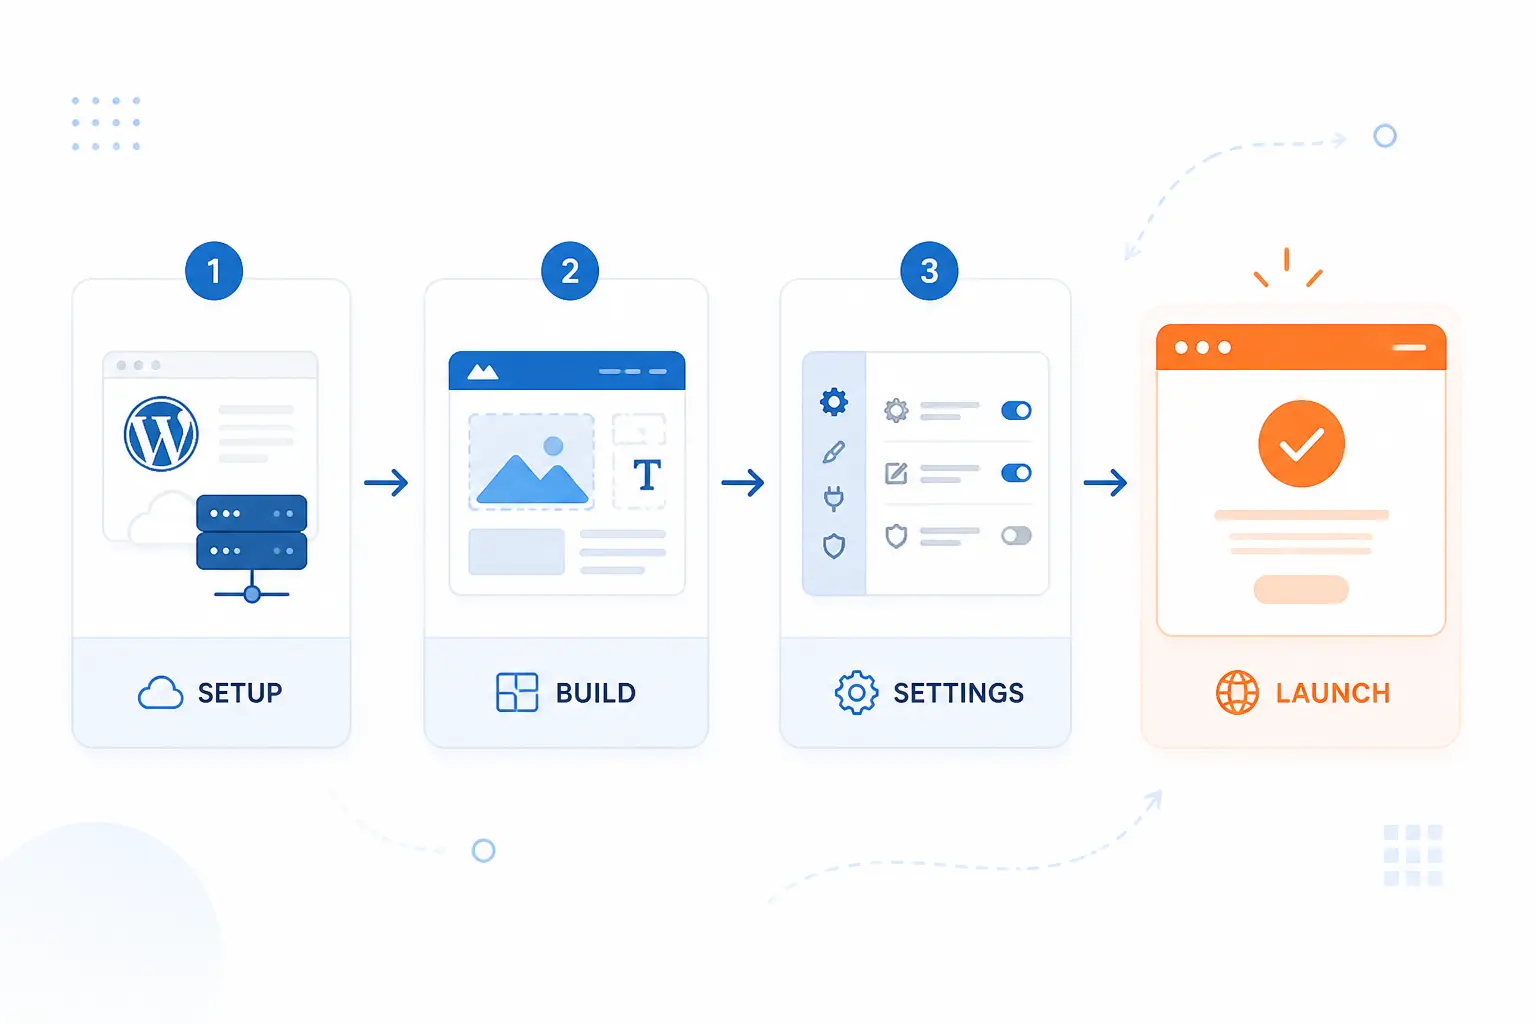
The fastest way to build a WordPress site is to make a few smart setup decisions before you touch colors, fonts, or plugins. We recommend finishing the ten steps below in order, because each one removes a common beginner mistake. By the end, you should have a live site with a homepage, navigation, core settings, and only the tools you actually need. This is the same order we would use for a first blog, a local business site, or a portfolio.
FURTHER READING: |
| 1. What Is a Content Delivery Network and How Does It Work? |
| 2. Cheapest Way to Host a Website on a Small Budget |
| 3. How to Monetize a Website for Sustainable Revenue Growth |
1. Clarify What Your Website Needs to Do
Write down one audience, one goal, and one main action before you open WordPress. For example, a bakery site might target local customers, showcase cakes, and push one action like “Order a custom cake.” A freelancer site might target startup founders and push “Book a discovery call.” When this step is done, you should be able to finish the sentence, “This site helps {who} do {what}.”
List the pages and features that goal requires. A simple business site usually needs Home, About, Services, Contact, and Privacy Policy. A blog needs a homepage, a posts page, categories, and maybe an email signup. An online store needs product pages, cart, checkout, and policy pages. If you cannot name the purpose in one sentence, your site plan is still too vague.
2. Pick WordPress.com or Self-Hosted WordPress
Choose WordPress.com if you want the platform to handle hosting for you, or choose self-hosted WordPress if you want deeper control over themes, plugins, files, and server settings. WordPress.com is the easier on-ramp for people who want fewer moving parts. Self-hosted WordPress is usually the better fit if you want full ownership of the hosting account, more deployment options, or room to grow into custom setups. Once you pick a path, you should know which dashboard, billing model, and setup flow you are following.
Use a simple rule here. Pick WordPress.com when you want convenience first. Pick self-hosted WordPress when you want flexibility first. From our side at 1Byte, we usually tell beginners to choose self-hosted WordPress if they already know they want their own domain, their own hosting account, and room to add advanced features later.
3. Choose a Domain Name and Hosting Plan
Search for a domain name you can say out loud, then buy it with a hosting plan that meets the core server requirements. A strong domain is short, easy to spell, and close to your brand, such as MapleTrailStudio.com or RiveraLawGroup.com. For self-hosted WordPress, your hosting plan should support modern PHP, a current MySQL or MariaDB version, and HTTPS. When this step works, your domain appears in your registrar or hosting dashboard and is ready to connect to your site.
Pick the smallest plan that fits your first six months, not your daydream traffic. A brochure site or new blog usually starts fine on shared hosting or entry WordPress hosting. Choose managed WordPress hosting if you want a simpler admin experience. Choose cloud hosting or a cloud server only if you expect custom workloads, higher traffic, or you already know how to manage infrastructure.
4. Install WordPress
Install WordPress through your platform’s setup flow, through a one-click installer, or with WP-CLI if you manage the server yourself. On WordPress.com, your site is provisioned during signup, so you can move straight into editing. On many self-hosted plans that use Softaculous, open the control panel, launch WordPress Manager, and click Install. If you have SSH access and want the canonical command, use the official CLI reference and run the standard install like this:
wp core install –url=example.com –title=Example –admin_user=supervisor –admin_password=strongpassword –[email protected]
Enter real values when you run it. For example, replace example.com with oakandpineinteriors.com and replace the admin email with your own address. When the installation succeeds, you should see a success message in the terminal or a login link in your hosting panel, and you should be able to sign in at /wp-admin. A real snag on CLI installs is installing WordPress in a subdirectory and forgetting to update the site URL afterward.
5. Configure Your Core Settings
Open Settings > General, Settings > Reading, and Settings > Permalinks, then set your site title, tagline, timezone, homepage behavior, and URL structure. Use a real site title like “Oak & Pine Interiors” instead of “My Blog.” In Settings > Reading, choose whether your homepage shows latest posts or a static page. In Settings > Permalinks, pick Post name so your URLs look like /about/ or /services/interior-design/ instead of a plain query string.
Set the admin email carefully and make sure it is one you check. Also verify the site language, date format, and time zone now, because those details quietly affect scheduling, forms, and notifications later. When this step is complete, your URLs look clean, your homepage behaves the way you expect, and new posts publish on the right schedule.
6. Select and Customize a Theme
Go to Appearance > Themes > Add New, activate one theme, and customize it before you add too much content. If you are using a block theme, use the block theme handbook as your mental model and edit the design in Appearance > Editor. If you are using a classic theme, your main design controls usually live in Appearance > Customize. When this step works, your site has one consistent layout, readable typography, and a header and footer that match your brand.
Keep your first theme choice boring in the best way. Choose something clean, maintained, and close to your goal. A restaurant site does not need a magazine theme. A personal blog does not need a store-heavy layout. We would rather see a simple theme customized well than a flashy theme fighting you on every page.
7. Create Your Essential Pages and First Posts
Create your main pages in Pages > Add New, then publish your first article in Posts > Add New. Use the page creation guide if you want the official structure behind pages and parent pages. Start with Home, About, Contact, Privacy Policy, and one service or offer page. When this step is complete, visitors can understand who you are, what you offer, and how to reach you.
Write short first drafts. Your homepage can start with a clear headline, one supporting paragraph, a button, and a few trust-building sections. Your About page only needs a straightforward story and a photo. Your first blog post can be a welcome article, a tutorial, or an answer to a question customers ask all the time. Good enough beats unfinished perfection every single time.
8. Set Up Menus and Site Structure
Build your main navigation in Appearance > Editor > Navigation for block themes, or in Appearance > Menus for classic themes. The site editor reference confirms that the Navigation area lives inside the Site Editor when you use a block theme. Add your key pages in a sensible order, such as Home, About, Services, Blog, and Contact. When this step works, your header menu appears on the front end and every item opens the right page.
Keep your structure shallow. Most beginner sites work best with five to seven top-level items. If you need subpages, group them under one parent page like Services or Resources. The most common confusion here is looking for Appearance > Menus while using a block theme, because navigation moves into the Site Editor in that setup.
9. Add the Plugins You Actually Need
Open Plugins > Add New and install only the features your site cannot do without. Typical first needs are a contact form, SEO help, backups, image optimization, spam control, and analytics. Install one plugin per job, activate it, and check its settings before you move on. When this step works, each plugin appears in your installed list and adds one clear capability you can verify on the front end or in the dashboard.
Use a stricter rule than most beginners do. If you cannot explain what a plugin solves, do not install it yet. Too many overlapping plugins create conflicts, clutter menus, and make future troubleshooting miserable. A lean site is easier to maintain and usually faster to load.
If you are on WordPress.com and do not see the Plugins menu, check the plugin availability notes for your plan. You should either use the built-in features you already have or move to a paid plan that allows plugin installs. The success sign here is simple: you can open the Plugins screen and install or manage tools without guessing.
10. Review Your Site and Launch It
Test every important page, every menu link, every form, and the mobile layout before you announce the site. Open the homepage, About page, contact form, blog page, and privacy page on both desktop and phone. Check that images load, buttons work, headings are readable, and HTTPS is active. When this step is complete, your site looks finished to a stranger, not just to you.
Review Settings > Reading one last time and make sure the “Discourage search engines from indexing this site” option is off if you are ready for public traffic. Then share the site with one friend or coworker and ask them to complete one task, such as finding your services page or sending a message through the form. Fresh eyes catch strange little problems that owners miss.
Choose the Right WordPress Path Before You Start
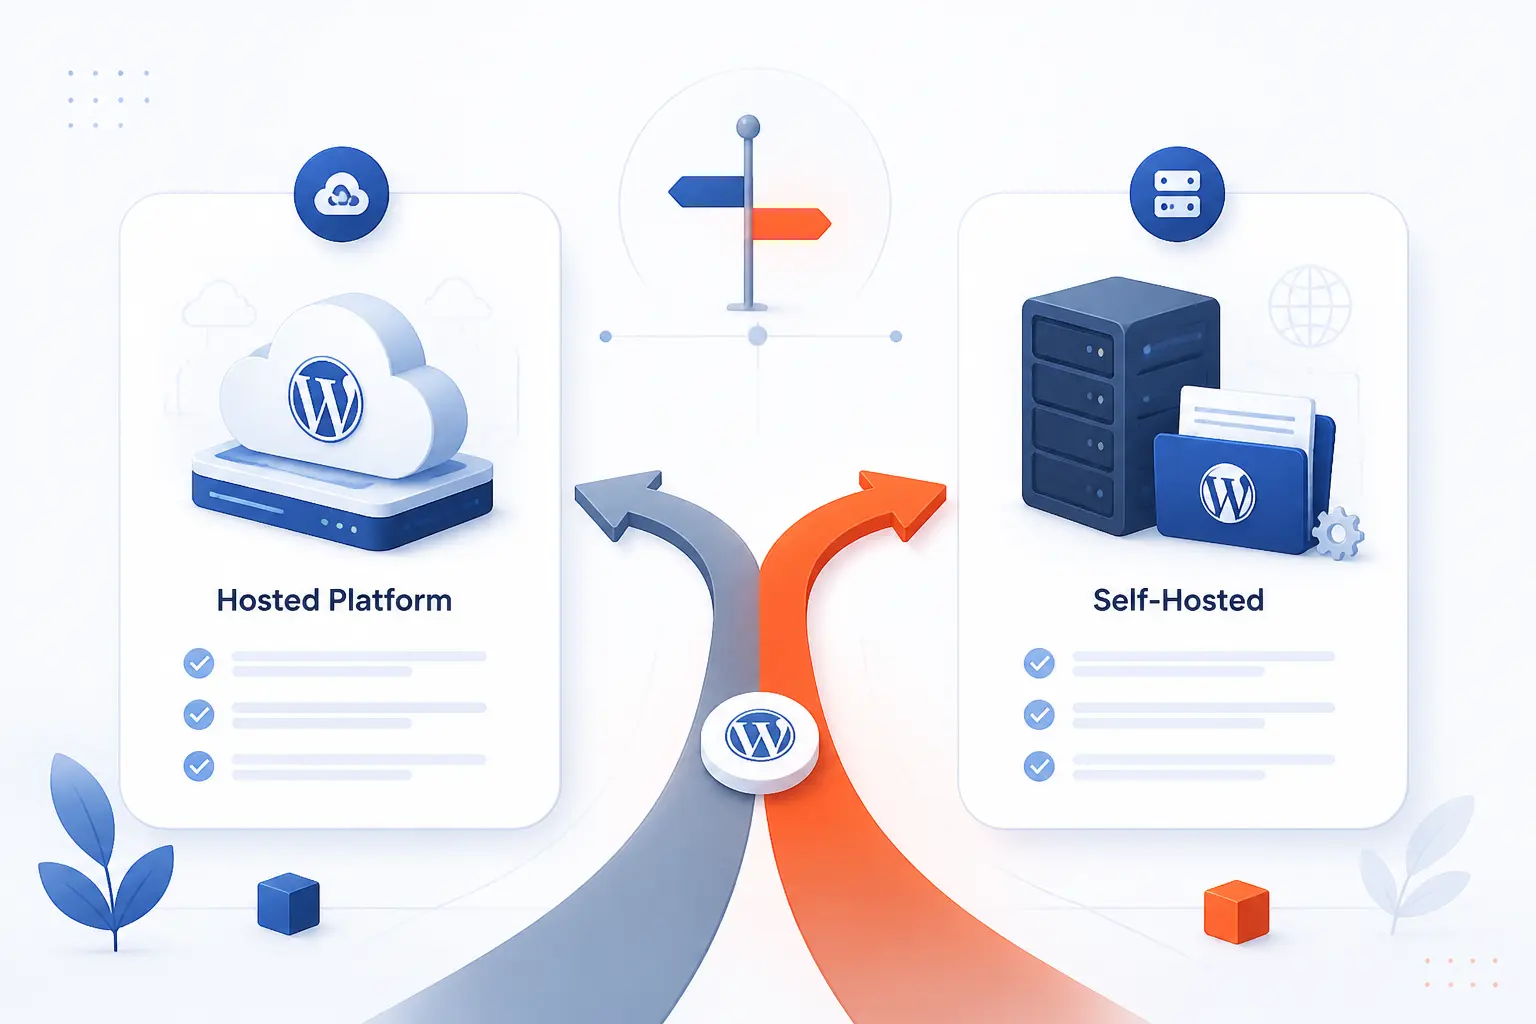
The right path depends on how much control you want and how much setup you want to avoid. WordPress.com handles more of the platform for you. Self-hosted WordPress gives you more control over hosting, files, and infrastructure. We recommend choosing the path first, because nearly every later step feels easier once that decision is settled.
| Option | Who manages hosting | Best for |
|---|---|---|
| WordPress.com | The platform | Beginners who want less setup |
| Self-hosted WordPress | You or your host | Owners who want more control |
| Managed hosting | The hosting provider | People who want self-hosted control with less admin work |
Compare WordPress.com and WordPress.org
Understand this difference first: WordPress.com is a hosted service, while self-hosted WordPress is software you run on hosting you choose. With WordPress.com, the platform handles more of the server side. With self-hosted WordPress, you decide where the site lives and how far you want to customize it. If you want file access, server-level control, or the freedom to move between hosts easily, self-hosted WordPress is usually the stronger long-term choice.
We think most confusion comes from the names, not the technology. The editing experience can feel familiar on both paths, but the ownership model is different. That matters later when you need special plugins, staging, migration control, or custom infrastructure.
See What the Free WordPress.com Plan Includes
Start with the hosted free option if you want to publish fast and keep costs at zero at the beginning. According to the free plan details, it includes a WordPress.com subdomain, managed hosting, SSL, the block editor, basic stats, themes, and 1 GB of storage. That makes it a real starting point for a personal blog, a simple résumé site, or a test project. The tradeoff is that you will run into limits sooner if you want a custom domain, deeper monetization, or more advanced extensions.
Know When Managed Hosting Makes Setup Easier
Choose managed hosting when you want self-hosted flexibility without doing every server task yourself. The practical win is that hosting, updates, security basics, and platform setup are handled more cleanly for you. WordPress.com’s managed hosting notes explain the appeal of an all-in-one setup for people who want to build the site, not babysit the stack. From our perspective at 1Byte, managed hosting makes the most sense for beginners launching a business site who want fewer technical chores from day one.
Keep Your Site Improving After Launch
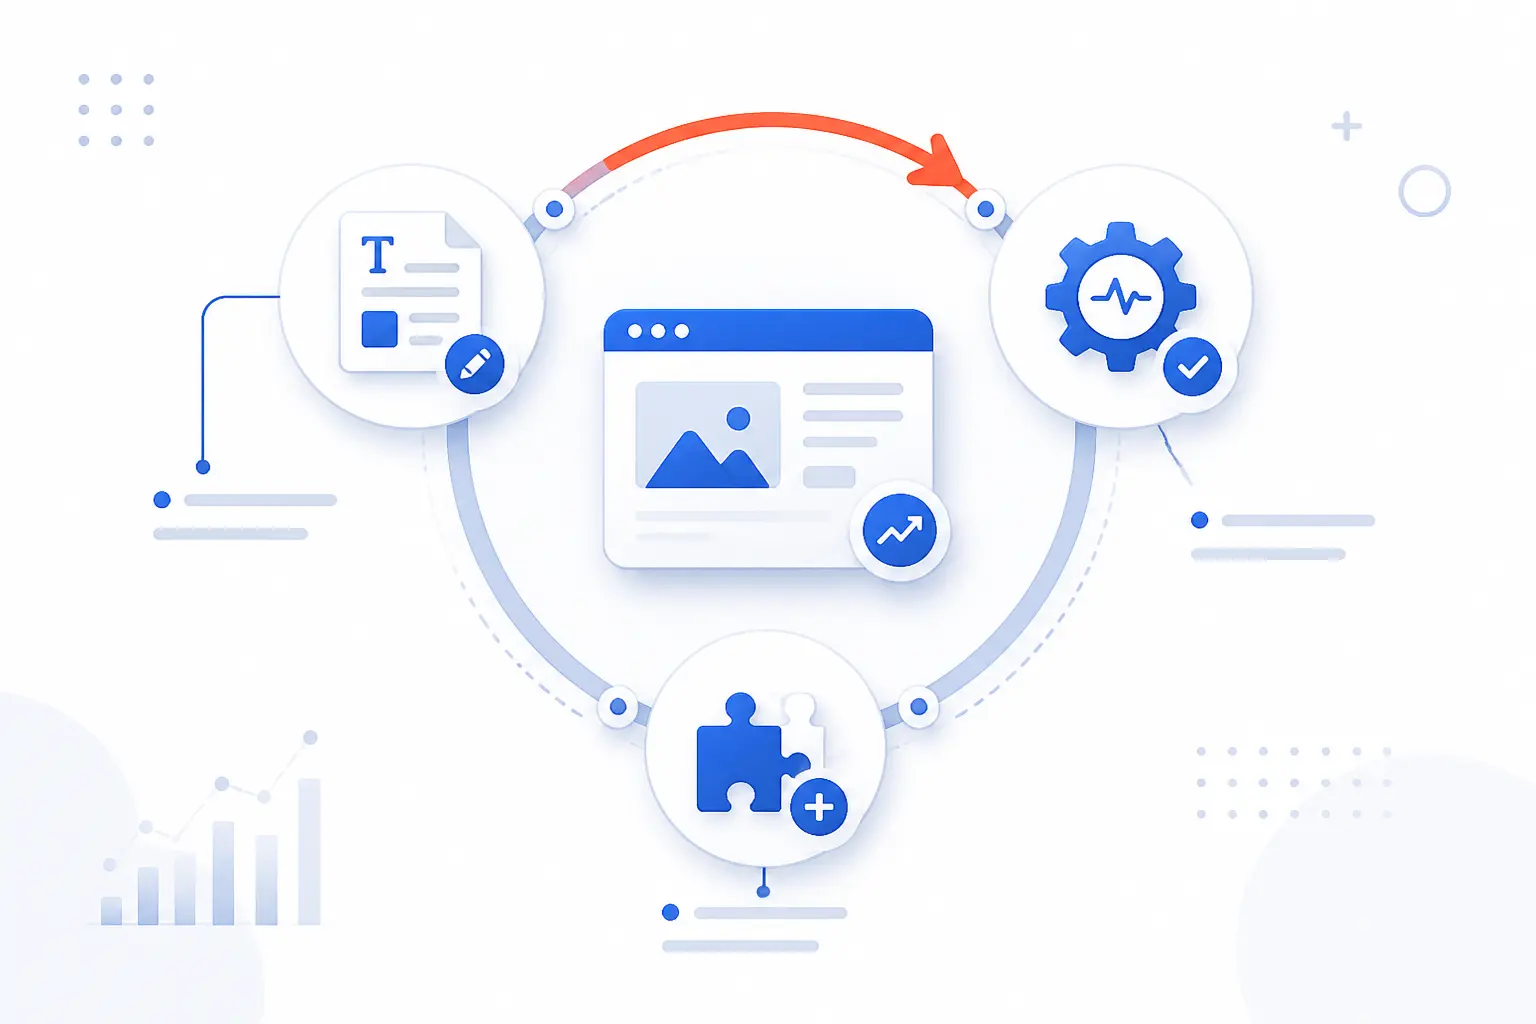
Launching your site is the start of the real work, not the end of it. After launch, the three jobs that matter most are publishing useful content, keeping the site healthy, and adding new features only when the business case is clear. We have seen many new site owners stall because they treat launch day like the finish line. A better mindset is to treat launch as version one.
Publish New Content and Build Your Reach
Publish on a simple schedule you can keep for three months. For a business site, that might be two helpful posts a month. For a portfolio, it might be one new case study each month. For a local service business, write answers to common questions customers already ask by phone or email. Consistency beats volume, especially when you are still building the habit.
Share each new piece in one or two places your audience already uses. That could be LinkedIn, an email list, a neighborhood Facebook group, or a client newsletter. We prefer this focused approach to the “post everywhere” habit, because scattered promotion burns energy fast and rarely brings the best readers.
Monitor SEO Speed Backups and Analytics
Check search visibility, page speed, backups, and traffic every month in one short review session. Look for broken links, slow pages, form failures, image bloat, and plugin updates you have ignored for too long. If you track only one thing at first, track which pages people visit most and whether those pages lead to your main action. That tells you where to improve copy, calls to action, and internal links.
Keep your maintenance routine boring and repeatable. Update the core software, update themes, update plugins, verify backups, and test the contact form. It is not glamorous work, but it is the kind that keeps small problems from becoming expensive ones.
Expand Into E-Commerce Memberships or Multilingual Content
Add store features when you are ready to sell products, bookings, or digital downloads from the same site. A common next step is the store plugin page, which is the standard route for turning a content site into an online shop. A realistic example is a bakery that starts with a brochure site, then adds online cake orders once the traffic is steady. Build the basic site first, then add commerce after the content and navigation are already solid.
Add membership features when you want gated content, paid communities, or subscriber-only resources. This is useful for coaches, educators, and niche publishers. The key is to map the user journey before you install anything, because pricing, access rules, and email flows matter more than the plugin itself.
Add language support when your audience genuinely needs it, not because it sounds impressive. If you want a visual translation workflow, the translation plugin page shows one practical route for building multilingual content. We would only expand here after your main language site is clear, complete, and already converting visitors.
FAQ
Yes, beginners can build a useful site with WordPress, and most first-time questions come down to setup order rather than coding skill. The short answers below focus on what you need to know to get moving. We will stay practical and skip the fluff. If you can follow menus, fill in forms, and make simple decisions, you can do this.
Can a Beginner Build a Website on WordPress?
Yes, a beginner can build a website on WordPress. The editor, themes, and page settings are made for non-developers, and a simple site can be launched without writing code. The biggest challenge is usually making clear choices about structure and content, not learning the buttons.
Can I Build a WordPress Website Myself?
Yes, you can build a WordPress website yourself. Most blogs, portfolios, brochure sites, and small business sites are fully doable alone if you follow a clean process. You may only need outside help later for custom design, custom development, or advanced migrations.
Can I Build a WordPress Website for Free?
Yes, you can build a WordPress website for free. The easiest free route is a WordPress.com site on its free plan, or a local test site on your own computer. The catch is that a polished public site usually adds at least a domain name and often hosting or premium tools later.
Do I Need Coding Skills to Build a WordPress Site?
No, you do not need coding skills to build a WordPress site. WordPress documentation also states in its installation FAQ that you do not need PHP knowledge for normal use. Basic CSS can help with small design tweaks later, but it is optional for a standard beginner site.
How Much Does It Cost to Build a WordPress Website?
It can cost nothing at the low end and grow into recurring monthly or annual costs as your needs expand. Your main cost categories are domain registration, hosting for self-hosted sites, and any paid themes or plugins. We suggest starting lean, then paying only for tools that solve a real problem.
How Long Does It Take to Build a WordPress Site?
A simple WordPress site can be built in an afternoon, while a polished business site often takes a weekend or a few focused evenings. The actual build is usually faster than writing the copy and choosing images. If you prepare your content first, launch tends to happen much sooner.
How 1Byte Supports Your WordPress Launch
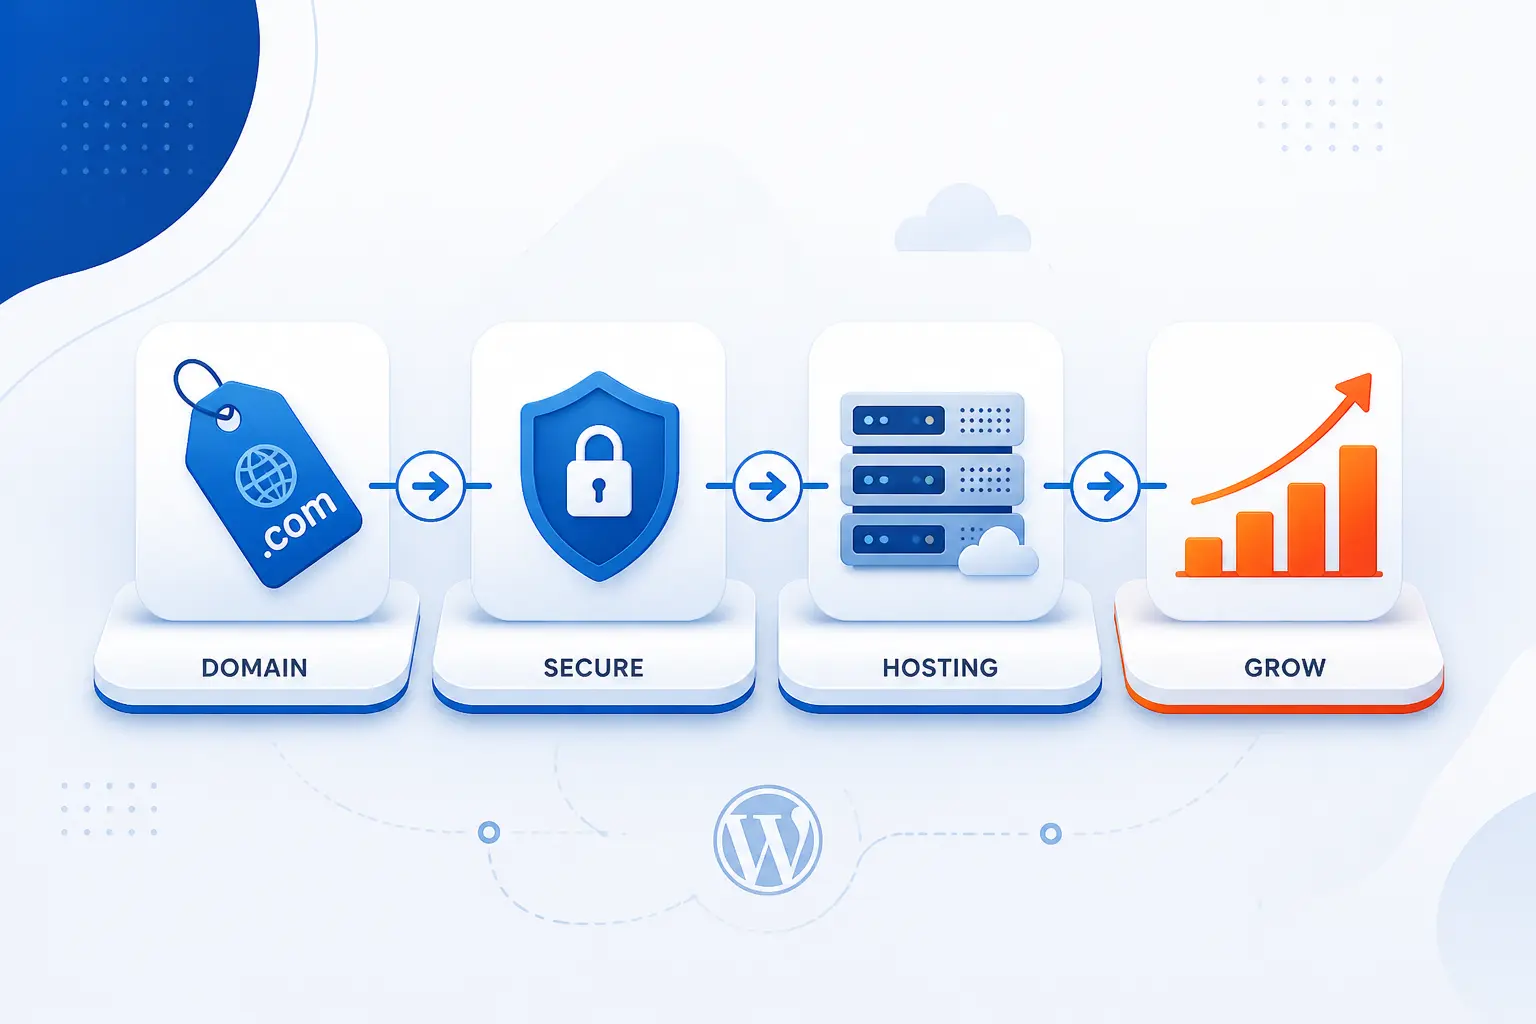
At 1Byte, we support a WordPress launch at the moments that matter most: choosing a domain, securing the site, starting on the right hosting tier, and scaling when traffic grows. That is the practical lens we like to use. A beginner does not need every option on day one, but they do need a path that makes sense from day one to growth. As an AWS Partner, we also understand the handoff from a starter site to more serious cloud infrastructure when the time comes.
Register Your Domain Name and Add an SSL Certificate
Register your domain and attach an SSL certificate first so your site has a clear address and HTTPS from the start. For a new WordPress site, that means pairing domain registration with an SSL certificate before you begin sharing links publicly. It keeps the launch cleaner, avoids mixed-message URLs, and helps visitors trust the site immediately.
Start Fast With WordPress Hosting and Shared Hosting
Start on WordPress hosting or shared hosting when your goal is to get online quickly without overbuilding the stack. WordPress hosting is the natural fit when you want an environment aimed at WordPress from the start. Shared hosting can also work well for smaller sites, especially for blogs, portfolios, and early-stage business pages that do not need custom infrastructure yet.
Scale With Cloud Hosting and Cloud Servers as Your Site Grows
Scale into cloud hosting and cloud servers when your site needs more headroom, more control, or more specialized workloads. That usually happens after traffic grows, plugin demands increase, or the site becomes part of a larger application stack. Because 1Byte is an AWS Partner, this path makes practical sense for owners who want to move from a simple WordPress launch to cloud-backed growth without changing the platform itself.




Conclusion
That is how we would approach how to build a WordPress website if we were starting from scratch today. The key is not secret tools or fancy design tricks. It is choosing the right path, keeping the structure simple, and launching version one before you get stuck polishing every pixel.
If you have been putting this off, start with Step 1 and write your one-sentence site goal right now. Then move straight into your domain and hosting choice while the idea is still fresh. What kind of site are you planning to launch first?