

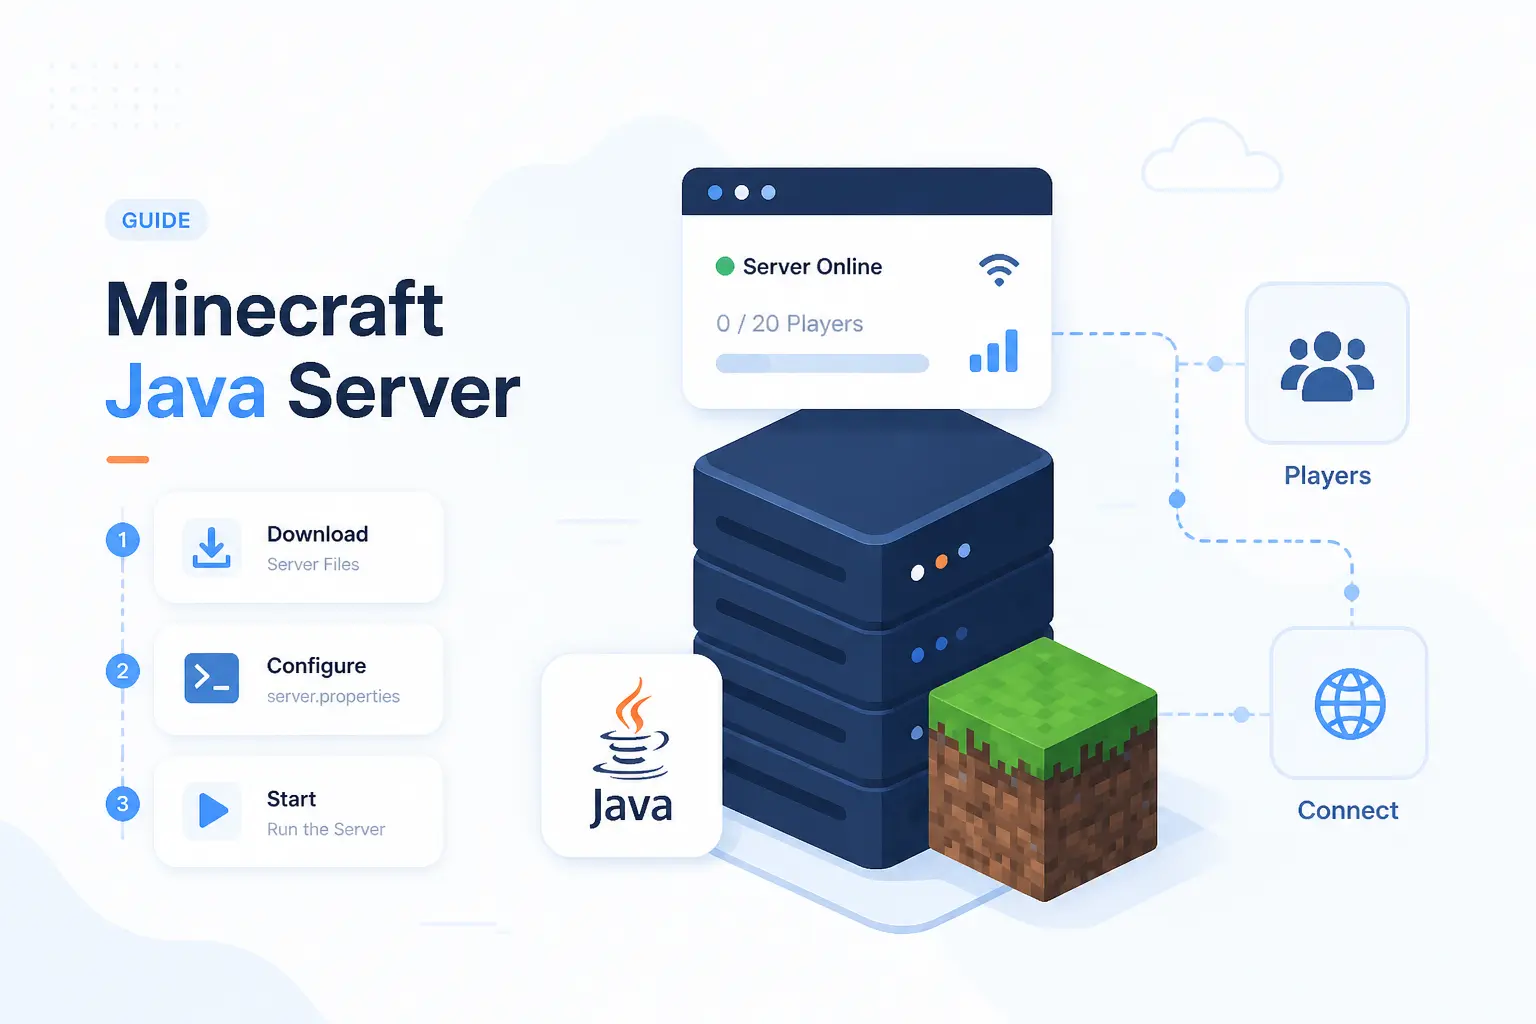
To learn how to make a minecraft server for Java Edition, we need to do six things in order: use the Java version of the game, install the right Java runtime, download the official server file, run it once, accept the EULA, and then open remote access if friends will join from outside your home. That is the whole path. We are going to follow it step by step, with the vanilla server first, because the cleanest setup is the easiest one to debug. If you can copy commands, edit one text file, and log in to your router, you can finish this even if you have never hosted a game before.
How to Make a Minecraft Server Step by Step
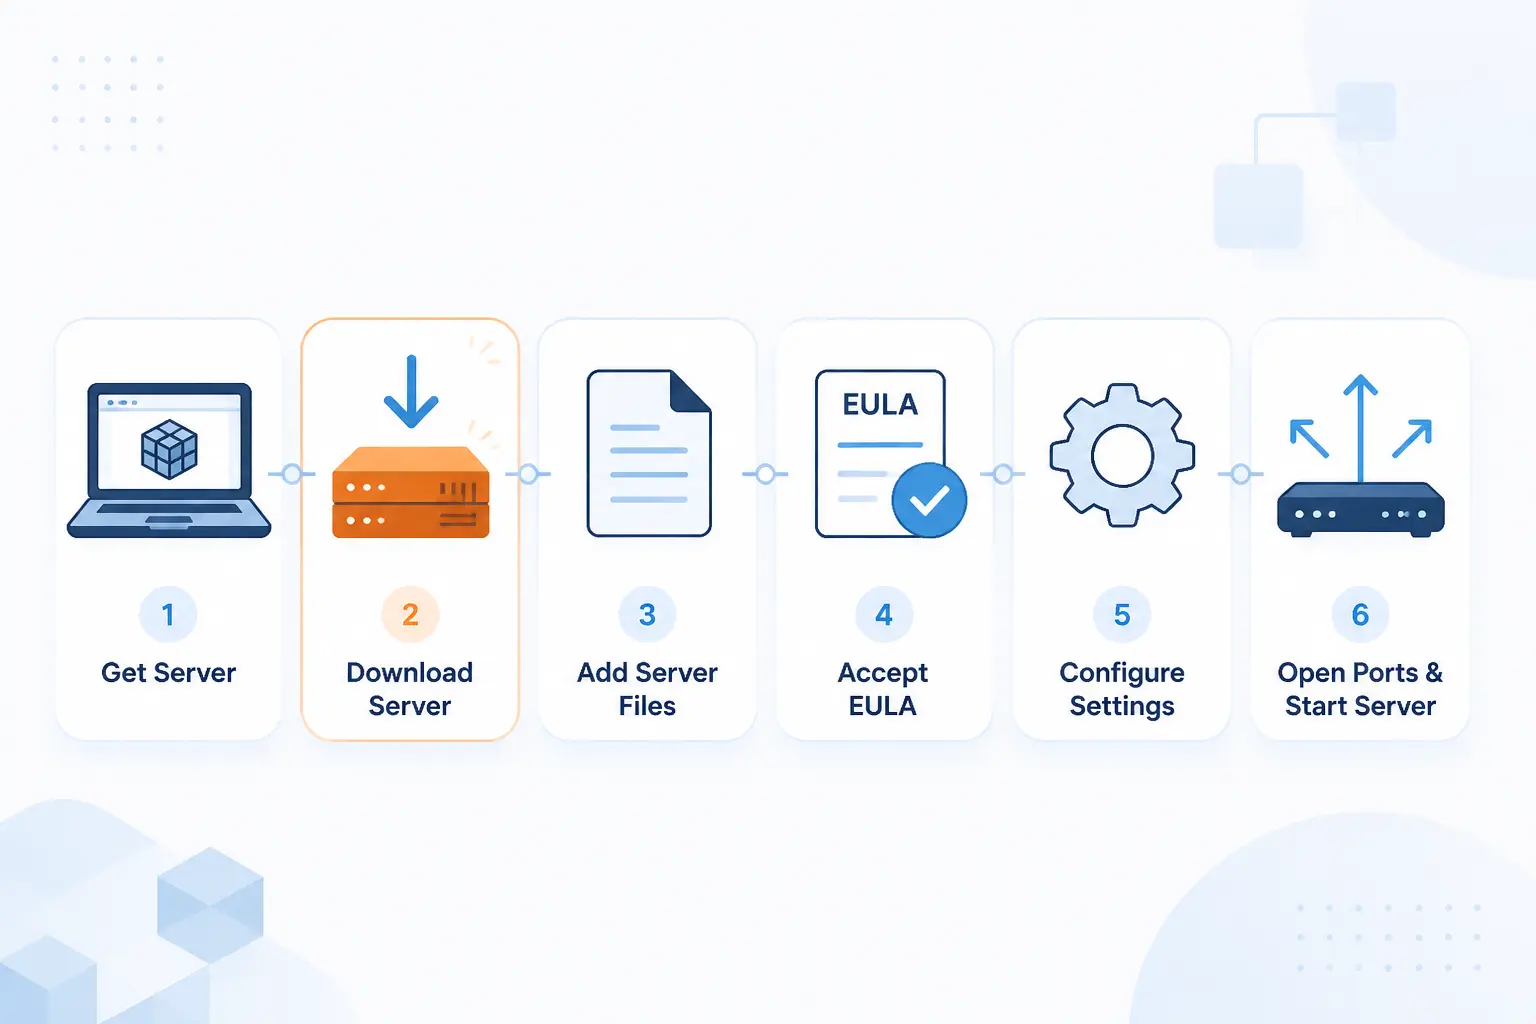
The direct answer is simple: install JDK 21, download the Java server JAR, run it once to generate files, accept the EULA, edit server.properties, test with localhost, and then forward port 25565 if outside players need access. We are using the vanilla Java server because it matches Minecraft’s official download flow and keeps the first setup honest. Current Java server builds use Java 21, so we do not recommend guessing with older Java versions.
1. Confirm You Are Setting Up a Minecraft Java Edition Server
Check that every player will use Minecraft: Java Edition before you touch the server files. This setup is only for Java Edition, and Java players can only join games hosted with Java Edition. If one of your friends is on console, phone, or a Bedrock-only install, stop here and use Bedrock server software instead. We always do this check first because building the wrong server is the fastest way to lose an evening.
2. Install or Update Java on the Computer That Will Host the Server
Run java -version in Command Prompt or Terminal, and if the output does not show version 21, install JDK 21 from the JDK 21 install guide before you continue. On Windows, use the .msi installer. On macOS, use the .dmg. On Linux, install the package that matches your distro and CPU. When this step works, your terminal output should include 21. The most common failure on Windows is that Java is installed but not available on PATH, which Minecraft’s server download page explicitly calls out.
3. Download the Minecraft Server File and Move It Into a Dedicated Folder
Download the JAR from the official server download page and move it into a folder used only for this server. Good beginner folder names are C:\Minecraft-Server on Windows or ~/minecraft-server on macOS and Linux. Keep the folder clean. We want the JAR, the generated config files, logs, and world data all in one place. When this step is done, you should see the downloaded file sitting alone in that folder, with a name like minecraft_server.1.21.9.jar or similar.
4. Open Command Prompt or Terminal and Go to the Server Folder
Open Command Prompt or Terminal and change into the exact folder that holds your server JAR. On Windows, a typical command is cd C:\Minecraft-Server. On macOS or Linux, a typical command is cd ~/minecraft-server. If your folder name has spaces, wrap the path in quotes, like cd "%USERPROFILE%\Desktop\Minecraft Server". You have done this correctly when the prompt now points at your server folder instead of your home directory.
5. Run the Server Once to Generate the Required Files
Run java -jar minecraft_server.1.21.9.jar nogui from that folder, replacing the file name with your exact JAR name if yours is different. We deliberately use the minimal launch command first because it removes extra variables and matches Minecraft’s own basic server flow. On the first start, the server creates files such as eula.txt and server.properties, then stops because you have not accepted the EULA yet. That stop is normal. If you prefer the graphical interface later, Minecraft notes that you can remove nogui.
6. Accept the EULA in the Generated File
Open eula.txt, change eula=false to eula=true, and save the file. That is the only edit you need in this step. When it works, the file will still be named eula.txt, but the line will now read eula=true. We recommend making only that one change here, then moving on, because mixing EULA edits with gameplay settings makes early troubleshooting muddier than it needs to be.
7. Launch the Server Again and Let the World Finish Loading
Run the same launch command again and wait for the world to finish generating. Use java -jar minecraft_server.1.21.9.jar nogui, or your own exact JAR name if it differs. When this step works, the console stays open instead of shutting down, and the server is ready to accept commands. We do not change anything else yet. First we want a plain, stable boot.
8. Edit Server Properties and Set Up Operator or Whitelist Access
Open server.properties, set your starter values, save the file, stop the server with stop, and then launch it again. Good beginner values are motd=1Byte Survival, gamemode=survival, difficulty=easy, max-players=5, white-list=true, and enforce-whitelist=true. Minecraft’s server properties include keys such as gamemode and motd, and Java Edition still uses the white-list property name here. When the restart finishes, those settings are live.
Type op {your-player-name} in the running server console to make yourself an operator, then type whitelist add FriendName for each player you trust. A real example would be op 1ByteAdmin and whitelist add AlexBuilder. You should see a confirmation message after each command. The most common failure here is turning on white-list=true and forgetting to add anyone, which blocks non-ops from joining. We strongly prefer whitelisting private servers because random scans of open home-hosted servers are not a fairy tale. They happen.
9. Test the Server on Your Host Machine and Local Network
Open Minecraft, go to Multiplayer, click Add Server or Direct Connection, and enter localhost on the host computer first. If you named the server, you can put anything you like in Server Name, such as 1Byte Test. When this works, you will join your own server without leaving the machine that hosts it. We always test localhost before touching the router because it tells us the Java server itself is alive. You can review the official server address steps if you want to match the in-game menu names exactly.
Join from a second device on the same router by entering the host machine’s local IPv4 address next, such as 192.168.1.50:25565. Use ipconfig on Windows or your network settings on macOS and Linux to find that local address. When this works, the second machine joins over your home network without any public internet trickery. If this LAN test fails on Windows, check the LAN play instructions and make sure your home network profile is set to Private rather than Public.
10. Port Forward Your Router and Share the Correct External Address With Friends
Create a port forwarding rule in your router’s web admin for port 25565 and point it to the host machine’s local IPv4 address. The menu name varies by router, but it is usually something like Port Forwarding, Virtual Server, or NAT Forwarding. A realistic rule looks like this: Internal IP: 192.168.1.50, Internal Port: 25565, External Port: 25565, Protocol: TCP or TCP/UDP. When the rule is correct, friends on a different internet connection can reach your server. We prefer keeping the internal IP reserved in the router’s DHCP settings if your router supports it, because a changed local IP is a classic port-forwarding headache.
Share your public IPv4 address with trusted friends in the form {your-public-ip}:25565, such as 203.0.113.25:25565. Do not give them your local address like 192.168.1.50, because that only works inside your own house. Minecraft’s own help article also warns against sharing your public IP publicly, and we agree. Give it only to people you trust.
Choose the Right Hosting Option for Your Minecraft Server
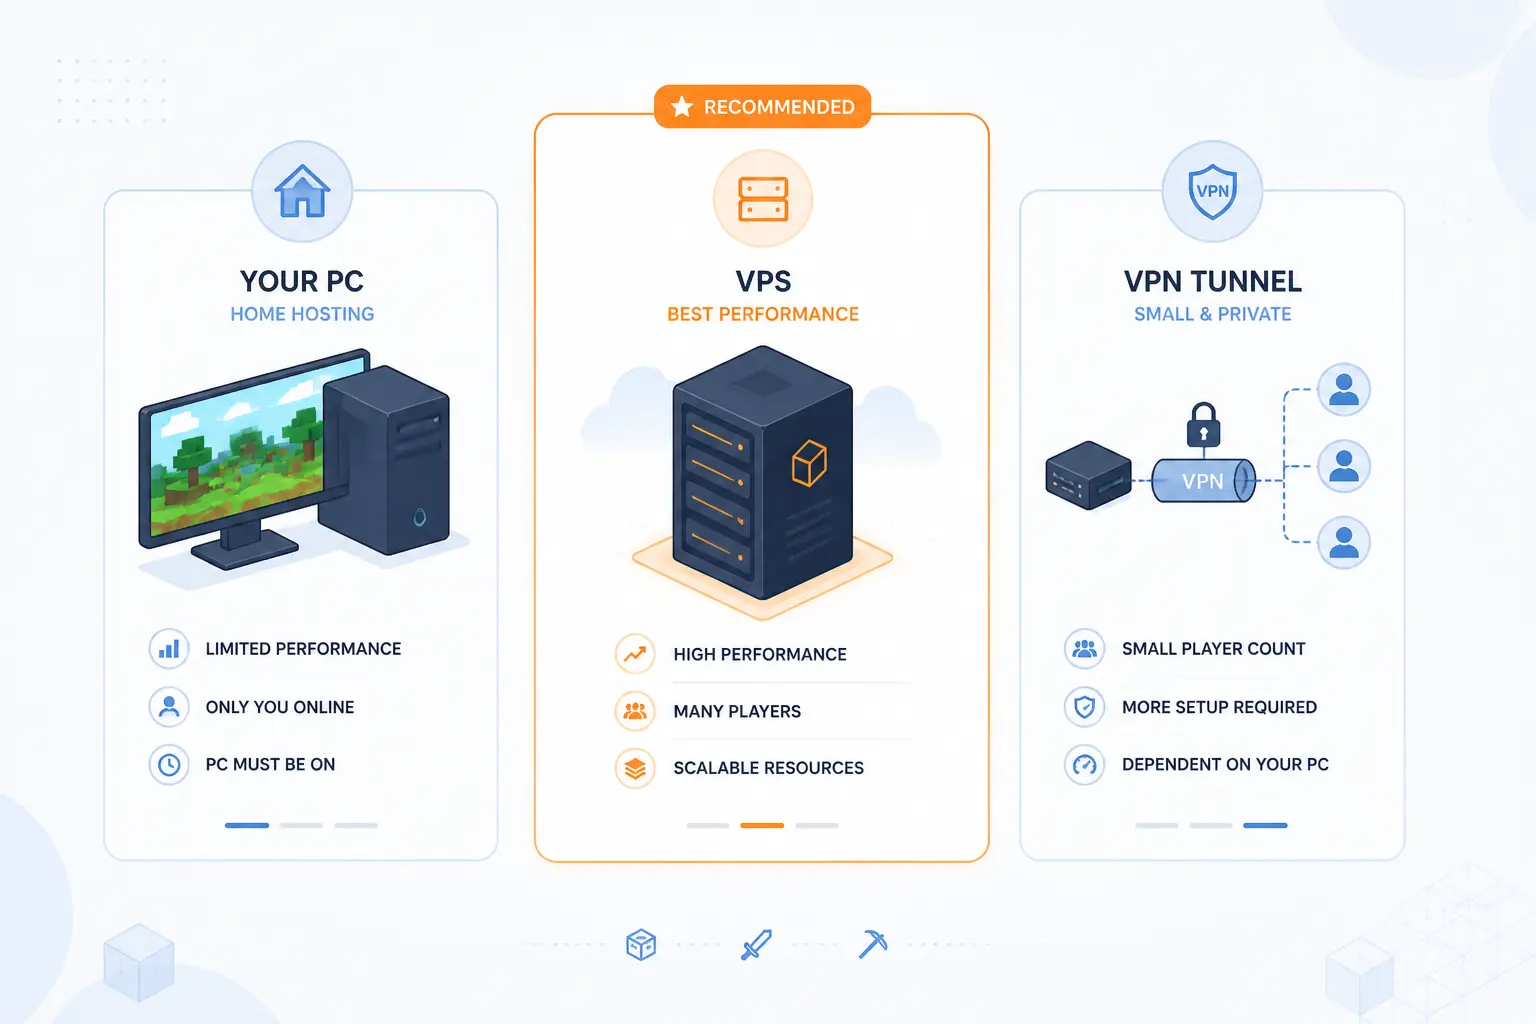
The short answer is this: keep the server on your own computer for small, occasional play, move it to a VPS or dedicated server when uptime matters, and use a VPN approach only when you want a private shortcut for a small friend group. We see many beginners overcomplicate this part. The best option is usually the one that matches how often people actually play, not the one that sounds the most “serious.”
| Option | Best for | Main tradeoff |
|---|---|---|
| Your own computer | Small private worlds and casual sessions | Your PC must stay on to keep the world online |
| VPS or dedicated server | Always-on worlds and tighter admin control | Monthly cost and a little more server administration |
| VPN approach | Trusted friend groups who want private access | Every player must install and use the same VPN tool |
Run the Server on Your Own Computer for Small Private Play
Keep the server on your own computer when you only need a small private world and you can leave that machine running. This is the cheapest cash-out-the-door option, and it is perfect for families, roommates, or a few friends who play at the same time each week. The host can also play on the same computer, and LAN or direct server joins work fine as long as the machine stays online. We usually tell beginners to start here, because it teaches the moving parts without introducing cloud billing on day one.
Move to a VPS or Dedicated Server for Better Uptime and Control
Move the world to a VPS or dedicated server when you want the server online even while your gaming PC is shut down. This is the point where self-hosting at home starts feeling like babysitting. An offsite server makes sense for regular communities, long-running survival worlds, or groups in different time zones. We also like this route when you want to separate gaming from hosting, because a crash on your desktop should not take your world down with it. If your group expects the world to be there every evening, this is usually the grown-up move.
Use a VPN Approach Only for Limited Friend Groups
Use a VPN approach only when every invited player is willing to install the same client and you want to avoid exposing a public home IP. A mesh VPN tool such as this mesh VPN app creates a private peer-to-peer network between devices, which means your friends can connect over that private network instead of through a public router rule. This is handy for small trusted groups. We would not use it for a public community, because it adds friction for every player and turns account access in the VPN tool into part of your game admin job.
Avoid Common Problems When You Make a Minecraft Server
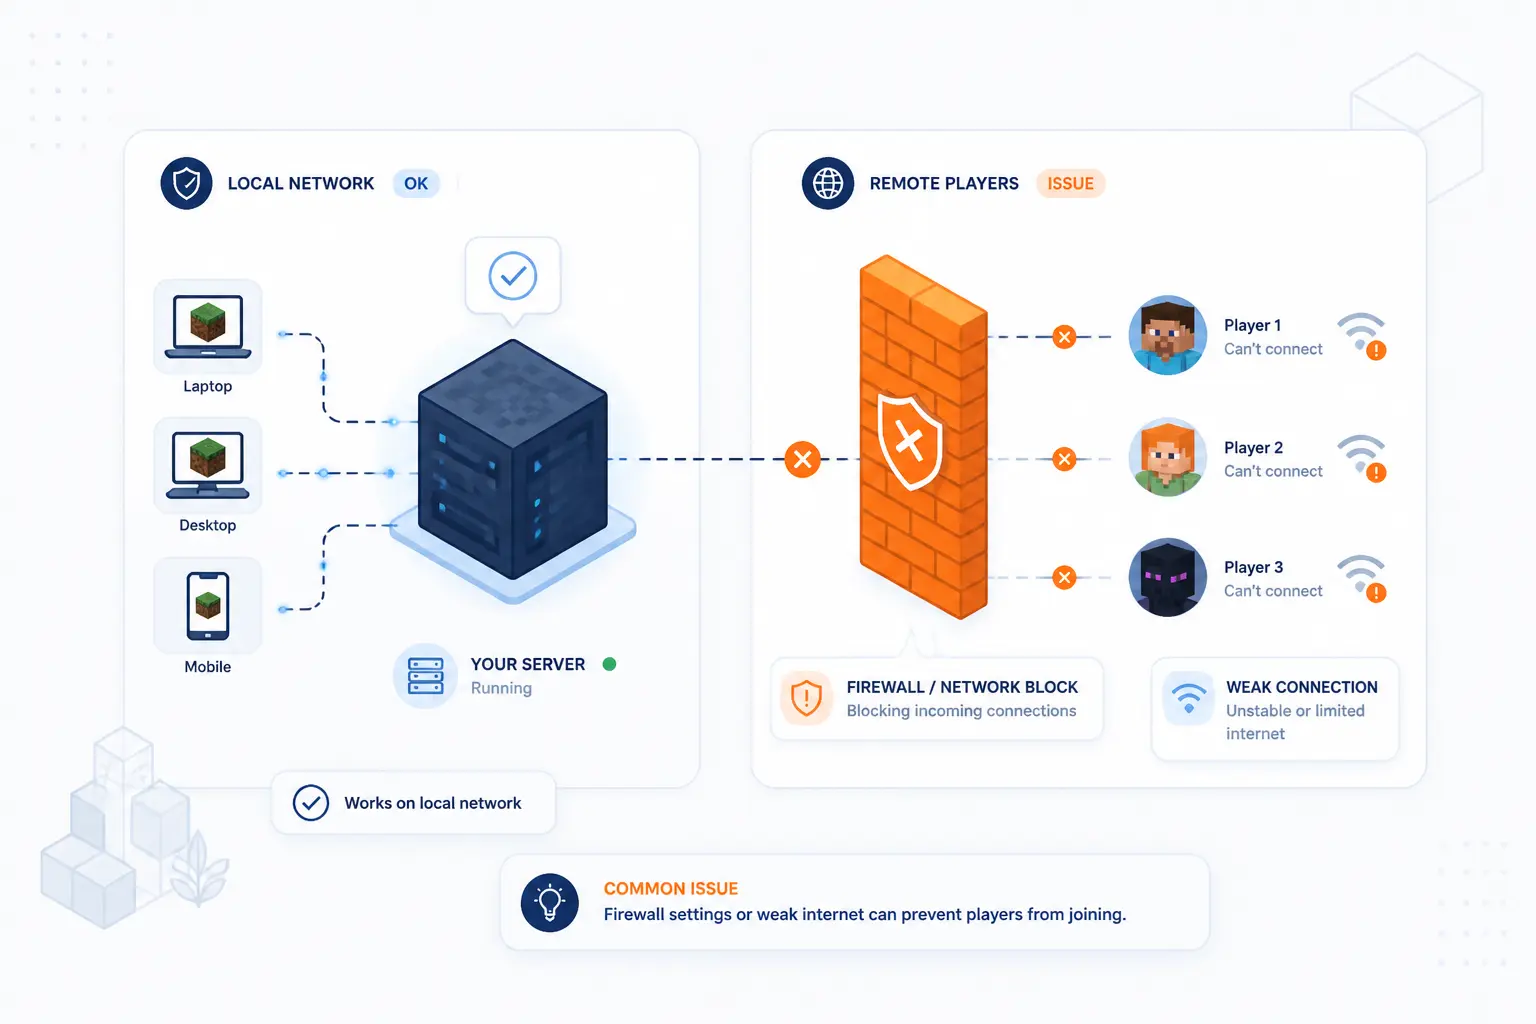
Most failures happen after the server itself already works. If localhost works but remote friends cannot join, the issue is usually the firewall, the port-forwarding rule, or the IP address you shared. If the world loads but feels unstable, Wi-Fi is often the weak link. We like this part of troubleshooting because it is mechanical. Once you isolate where traffic breaks, the fix is usually plain.
Use Wired Networking Instead of Wi Fi When Reliability Matters
Plug the host machine into your router with Ethernet whenever you care more about stable play than convenience. In a wireless vs. wired overview, Cisco explains that wireless networks use radio waves while wired networks use cables, and Cisco’s wireless troubleshooting material also notes that interference is a frequent source of instability. That matters for a game server, because lag spikes and dropped sessions feel worse than a slow web page. Our opinion is blunt here: if the server matters, wire it.
Keep Internal and External IP Addresses From Getting Mixed Up
Use the host machine’s local IPv4 address for port forwarding, and give friends your public IPv4 address with :25565 at the end. A local address usually looks like 192.168.x.x or 10.x.x.x. A public address looks like 203.0.113.25:25565. If you reverse those, the server can look perfectly healthy to you and completely dead to everyone else. This mix-up is so common that we treat it as the first thing to check after any failed remote join.
Fix Firewall and Port Forwarding Issues Before Testing Remote Access
Allow inbound traffic for Java or TCP port 25565 in your firewall before you test remote access. On Windows, the exact path is Windows Defender Firewall with Advanced Security > Inbound Rules > New Rule, then choose Port, select TCP, enter 25565, choose Allow the connection, and apply it to your Private profile. Microsoft’s firewall rules documentation explains that inbound exceptions are required when an application needs to receive traffic and no allow rule already exists. When this works, the server joins locally, the router points to the right local IP, and a friend on a different network can finally connect.
Set your home network profile to Private on Windows if LAN access keeps timing out. The path is Settings > Network & Internet > Properties, then switch Network profile type from Public to Private. Minecraft’s LAN troubleshooting guide calls this out specifically for home-network play on Windows PCs.
FAQ About How to Make a Minecraft Server
Here are the short answers we give beginners most often after the first test join, the first timeout, or the first “wait, which version are we on?” message.
How Do I Create My Own Minecraft Server?
Download the official Java server JAR, install JDK 21, run the JAR once, change eula=false to eula=true, restart the server, and then edit server.properties. After that, test with localhost, then your local IPv4, and finally port forward 25565 if friends will connect from outside your home.
Can I Make a Minecraft Server for Free?
Yes, you can make one for free in cash terms by hosting it on your own computer and internet connection. The tradeoff is that your machine must stay on, your home network does the work, and performance depends on your hardware and connection quality.
Can I Self Host a Minecraft Server?
Yes, you can self host a Minecraft Java server on Windows, macOS, or Linux as long as Java runs from the command line and your network is configured correctly. Minecraft’s own server download page says the self-run setup is only for Java Edition and notes that Windows may require PATH work so Java can be called from the command line.
How Do I Create a Server in Minecraft to Play With Friends?
Create the dedicated Java server first, then invite friends in one of two ways. For home-network play, they join your local IPv4 address, and for internet play, they join your public IPv4 address with :25565 after you set port forwarding.
Is This Setup Only for Minecraft Java Edition?
Yes, this setup is only for Minecraft Java Edition. Minecraft states that the downloadable server on its Java server page is for Java Edition, and multiplayer requirements also say Java players can only join Java-hosted games.
How 1Byte Can Support Your Minecraft Server Setup
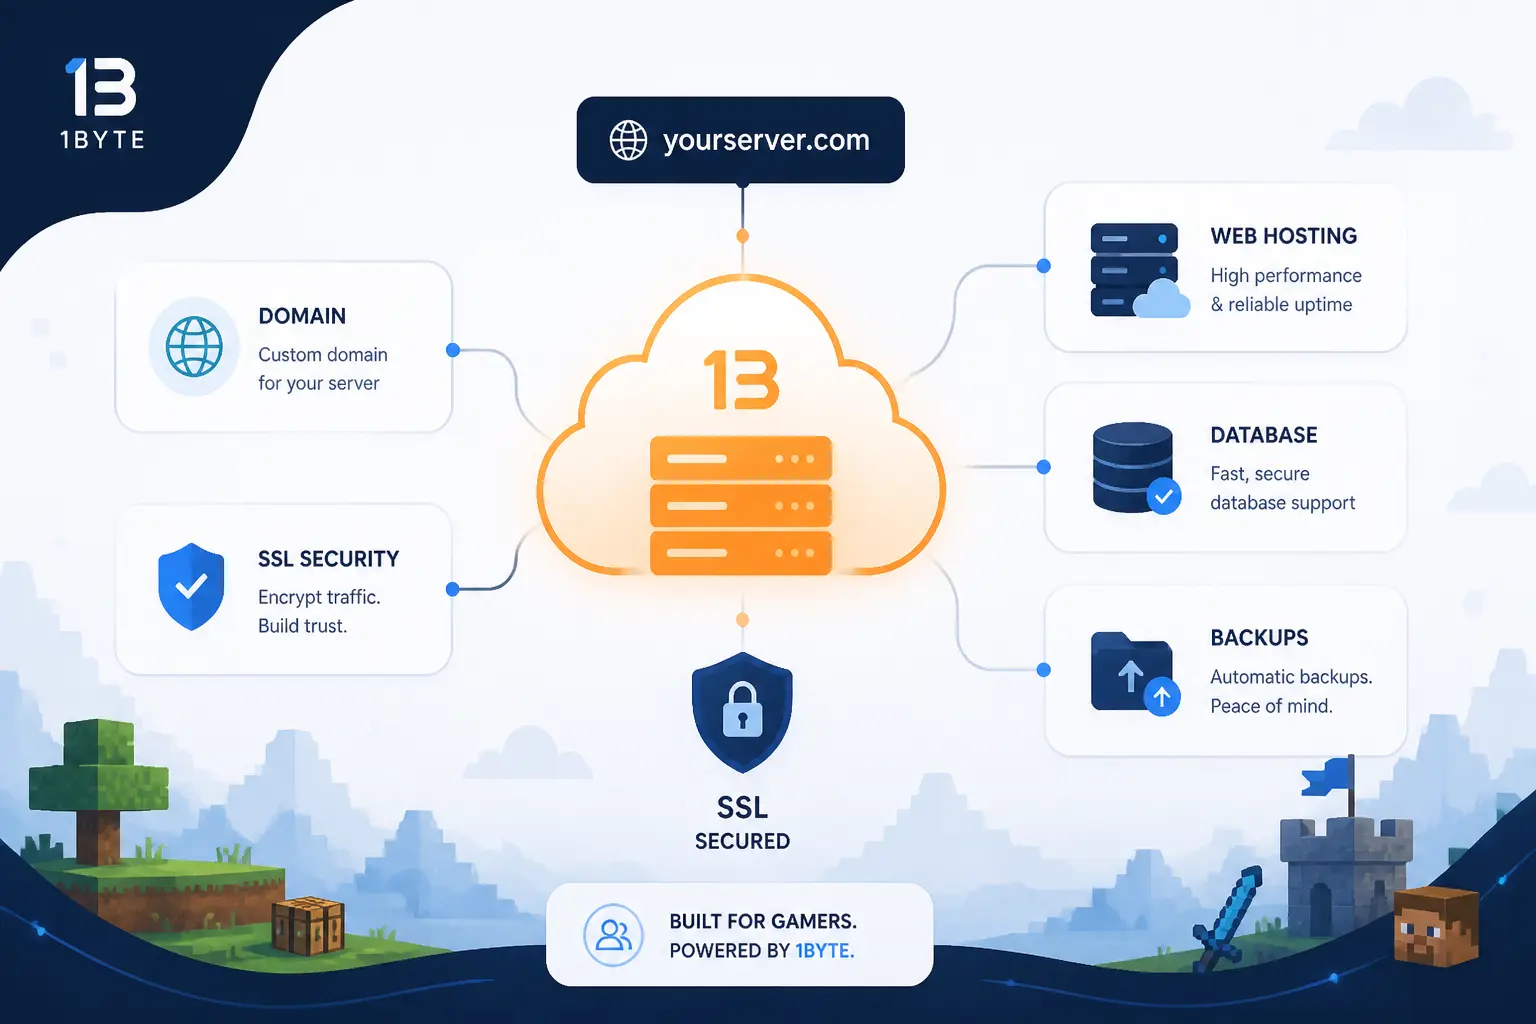
If you want help around the server rather than one more late-night networking puzzle, we at 1Byte can support the practical pieces. The split is straightforward: cloud hosting and cloud servers fit the game server itself, domain registration and SSL certificates help with naming and securing related web services, and WordPress hosting or shared hosting can support the player community around the world. We are also an AWS Partner, which matters when you want a familiar cloud path instead of a one-off home lab.
Use 1Byte Cloud Hosting and Cloud Servers for Scalable Minecraft Performance
Use 1Byte cloud hosting or cloud servers when you want your world online even while your home PC is shut down. That is the practical upgrade path after a self-hosted server proves the idea works. We like this move for survival worlds that become routine, because it lets the game live in its own environment instead of competing with your desktop, your downloads, and your household Wi-Fi.
Connect 1Byte Domain Registration and SSL Certificates to Your Server Brand and Related Web Services
Connect 1Byte domain registration to your server if you want a memorable address for the project, such as play.{your-domain.com}, instead of asking friends to remember raw numbers. Use 1Byte SSL certificates for the website, control panel, downloads page, or other related web services that sit beside the game server. We think this is where a small friend world starts feeling like a real community.
Support Your Community With 1Byte WordPress Hosting or Shared Hosting for Guides, Forums, and Updates
Support your community with 1Byte WordPress hosting or shared hosting when your server needs more than just the game itself. A simple site for rules, mod lists, downtime notices, screenshots, patch notes, and beginner guides saves a shocking amount of repeated chat support. If the world keeps growing, that little site becomes the glue that keeps everyone on the same page.







Conclusion
That is the full beginner path for how to make a minecraft server without wandering through ten conflicting forum posts. Start with the vanilla Java server, keep the first boot simple, test locally before blaming the internet, and only then open the server to outside players.
If you finish step 9 and localhost works, you are already most of the way there. The rest is networking, not magic. Do you want to keep this world on your own PC for now, or is it already time to move it onto cloud hosting and treat it like a real long-term server?