
Creating an AWS account for free is straightforward and opens access to Amazon’s powerful cloud services without upfront costs. Amazon Web Services (AWS) is the world’s most broadly adopted cloud platform, offering over 200 fully featured services. Millions of users rely on AWS – the customer base reached 4.19 million by 2025 – from startups to large enterprises. Many of these users start small: 92% of AWS customers spend less than $1,000 per month, which shows that beginners and small projects thrive on AWS’s free or low-cost offerings. It’s no wonder many newcomers ask how to create AWS account free so they can experiment with cloud computing without incurring charges. This guide will explain the benefits of AWS’s Free Tier, the prerequisites, and each step to create an AWS account for free in simple terms. It also provides tips to use your free account safely, backed by the latest information and stats.

Why Use the AWS Free Tier?
AWS Free Tier is a program that lets new users explore AWS services at no cost for a limited time. It’s an ideal way for beginners and students to learn cloud computing. By creating an AWS account free of charge, one can try over 30 AWS services at no cost under certain usage limits. For example, Amazon offers 5 GB of free Amazon S3 storage for new accounts (initially for the first year). Similarly, AWS Lambda allows 1 million function invocations per month free on an ongoing basis. These free usage allowances give new users a generous sandbox. AWS’s dominance in the cloud market is another motivation – it holds about 30% of the global cloud infrastructure market, making AWS skills highly valuable. Using the free tier, a beginner can get hands-on practice on the same platform powering countless businesses.
The AWS Free Tier program was enhanced in mid-2025 with a new credit-based system for new accounts. Now, when signing up, each new user gets $100 in AWS credits immediately and can earn up to $100 more by learning key services (like launching an EC2 server or setting a budget). These credits apply toward any usage that would normally incur fees. AWS also introduced two account plans at sign-up: a Free Account plan and a Paid Account plan. The Free plan ensures no charges will occur – it won’t let you spend beyond your free credits. However, it’s time-limited: the free plan expires after 6 months or when your credits run out, whichever comes first. (Don’t worry – AWS will send email alerts as your credits deplete or as the 6-month mark approaches.) If you reach those limits, you can choose to upgrade to the Paid plan to continue using AWS. The Paid plan lets you access all AWS services without the 6-month limit, and any remaining credits will still offset your costs for up to 12 months from sign-up. In short, the Free plan is perfect for learning and prototyping with zero risk of surprise bills, while the Paid plan is for going into production when you’re ready.
AWS Free Tier does come with usage limits to keep everything free. Each service has specific free usage caps – as long as you stay within these, you won’t incur charges. For example, under the old system the free tier covered 750 hours per month of a t2.micro virtual server, roughly one small server running full-time. In the new credit model, your $100 credits would similarly cover a few months of a small server’s runtime. AWS also provides always-free services (over 30 of them) that remain free indefinitely under certain limits. This includes things like the Lambda and DynamoDB examples above. Be aware that the Free plan blocks a few high-end services that could burn through your $100 credits too quickly. These restrictions protect beginners from accidentally using expensive resources. For typical learning scenarios (like trying EC2, S3, or deploying a small app), the free account covers everything you need.
Prerequisites to Create an AWS Account for Free
Before you begin the sign-up process, make sure you have the following on hand:
- Email Address: A valid email is required to register your AWS account. You’ll use it to log in as the root user.
- Credit or Debit Card: AWS requires a credit/debit card for identity verification when creating a new account. Note: Having a card on file does not mean you will be charged for free-tier usage. If you stay within the free limits, AWS will not bill you. The card is only used to verify identity and enable billing later if you choose to upgrade or exceed free limits.
- Phone Number: A phone capable of receiving SMS or calls is needed for a verification step. AWS will send a code to verify your identity.
- Basic Personal Info: If signing up as an individual, you’ll need to provide your name, address, and possibly an organization name (you can select “Personal” account if it’s just for you). Business users can choose a Company account, but beginners should select personal.
- A Few Minutes of Time: The whole process is guided and usually takes about 5–10 minutes to complete.
With these prerequisites ready, you can proceed with confidence that you have everything needed. The next section breaks down each step to create an AWS account for free, with clear instructions.

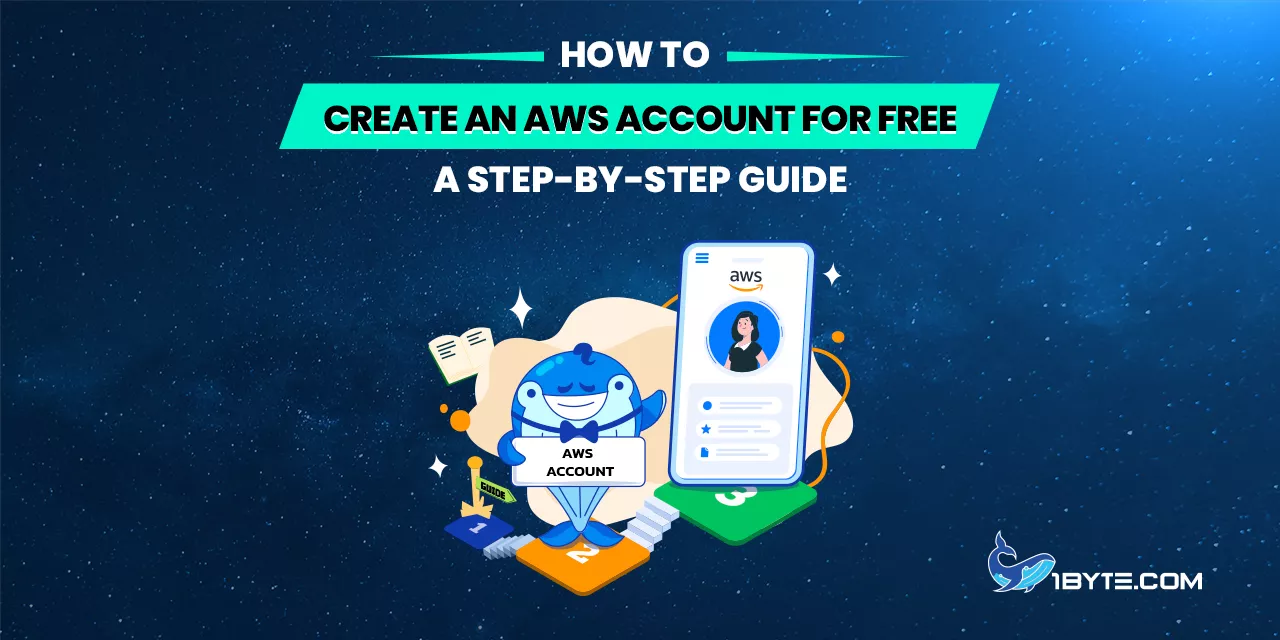
Step-by-Step: How to Create an AWS Account for Free
Creating your AWS account is a multi-step process, but each step is simple. Follow this guide step by step. (Each step is written in order and in active voice for clarity.)
Go to the AWS Sign-Up Page
First, navigate to the AWS home page in your web browser. Click the “Create an AWS Account” button (sometimes labeled “Create Free Account”) on the top right of the page. This will start the sign-up wizard for a new account.
Enter Your Email and Choose a Password
You will be prompted to enter your email address and a password for your new AWS account. AWS will also ask for an AWS account name (choose a name that identifies your account, like “My Cloud Test” or your own name). Make sure to use an email you have access to; a verification code will be sent to it. After filling in these details, click “Verify email address.” Check your email for a code from AWS and enter it to confirm your email. Once verified, proceed to the next step.
Set Your Root User Password
After email verification, you will set up the root user credentials. AWS will ask you to create a secure password for the account (the root user password). Choose a strong password and confirm it by typing it again. This password, together with your email, will be how you log in to AWS. Keep it safe. When ready, click the button to continue to the next step.
Choose Account Type (Personal or Professional)
Next, AWS will ask for account details. Select “Personal” account if you are an individual user or learning AWS (this is recommended for most beginners). The other option, “Business,” is for company accounts and may request company details. After selecting Personal, fill in your personal information such as full name, phone number, and address. Ensure the info is accurate. Once done, click “Continue” to proceed.
Enter Payment Information
In this step, you need to provide your credit or debit card details. AWS asks for a card to verify identity and enable billing, even if you plan to use only the free tier. Enter your card number, expiration date, and cardholder name exactly as on the card. AWS may also ask for billing address (often it auto-fills from your personal info). Double-check the details and submit. Important: AWS might perform a small temporary charge (e.g. $1) on the card for verification. This is not a fee; it will be refunded automatically. After entering payment info, click “Verify and Continue.”
Verify Your Identity (Phone Verification)
Now AWS needs to confirm you’re a real person. Choose your verification method – typically SMS (text message) or Voice call to the phone number you provided. For most users, SMS is easiest. AWS will send a 4-digit or 6-digit verification code to your phone. Enter that code on the verification screen. If using a phone call, an automated call will dictate the code. After inputting the code, click “Continue.” If the code is correct, you’ll see a confirmation that your identity is verified.
Select the Account Plan (Free vs. Paid)
This is a new step in 2025’s signup process. AWS will ask you to choose between a Free account plan and a Paid account plan. For a beginner who wants to avoid charges, choose the Free (6 months) plan. This plan is designed for learning and ensures you won’t be billed during the free period. (The Paid plan is for immediate unrestricted use and would charge you if you exceed free credits.) On the sign-up screen, the Free plan option will mention $100 free credits and a 6-month duration, while the Paid plan option mentions full access with pay-as-you-go beyond credits. Select Free plan to proceed. You can always upgrade to paid later if needed.
The AWS sign-up now lets new users choose a Free plan (6-month limited) or a Paid plan. The Free plan (shown above) provides up to $200 in credits and prevents any charges until upgraded. It’s ideal for experimenting with AWS at no cost. In contrast, the Paid plan also grants credits but allows usage of all AWS services and normal billing once credits are used.
Choose a Support Plan
After the account plan, AWS will prompt you to select a support plan. Select “Basic Support – Free”. This is the default support tier and doesn’t cost anything. (The other options like Developer or Business support are paid and meant for heavy usage or enterprise needs – you can ignore those for now.) With Basic Support, you still have access to documentation, customer service for account issues, and AWS community forums. It’s perfectly fine for getting started. Choose Basic and click “Continue” or “Complete Setup.”
Complete Registration and Log In
That’s it – your AWS account registration is complete! AWS will show a confirmation that your account is created. Click on “Go to AWS Management Console” or a similar button. You might need to log in with the email and password you set to access the AWS console for the first time. Use your root account credentials (email and the password from step 3). Upon logging in, you’ll arrive at the AWS Management Console – the web dashboard where you can start using AWS services. AWS might also send a welcome email with some getting started links. Congratulations, you have successfully created an AWS account for free and are ready to explore the cloud.

Tips for Using Your AWS Free Account Safely
Once your account is set up, you can start launching services within the Free Tier limits. Here are some tips and best practices to make the most of your free AWS account and avoid any unintended charges:
Track Your Free Credits and Usage
AWS provides tools to monitor your usage and credit balance. The AWS console homepage has an “Explore AWS – Free Tier” widget that shows how many credits you have left and days remaining in your free plan. AWS will also send email alerts when you’ve used 50%, 75%, and 90% of your credits, and when your free period is nearing its end. Keep an eye on these notifications. They’ll give you ample warning before you run out of free capacity.
Stay Within Free Tier Limits
Each service has specific free usage limits (e.g., a certain number of hours, requests, or gigabytes). For instance, if you create an EC2 micro instance (virtual server), consider stopping or terminating it when not in use so you don’t accidentally exceed the free usage hours. A single t2.micro instance running 24/7 for a month is roughly 750 hours (about $8.70 in value), which would be covered by credits or the old free allowance. If you run multiple instances or larger instances, you could exceed the free limits faster. Similarly, Amazon S3’s free tier offers 5 GB of storage – if you upload more than that, you could incur tiny charges. Plan your usage according to the free limits published by AWS. (AWS’s Free Tier page lists the exact limits per service; it’s worth reviewing.)
Use AWS Budgets and Alarms
As a new user, one of the first things you should do in the AWS console is set up a simple billing alarm. AWS Budgets is a free tool that lets you create a budget (e.g., $0 budget or $5 budget) and get alerts if your account’s month-to-date spend approaches that amount. In fact, AWS’s new free tier encourages users to create a budget by even rewarding $20 in extra credits for setting up a budget alarm. Taking a moment to configure this provides peace of mind. If somehow a service goes beyond the free tier (or if you accidentally switch to paid plan and incur costs), you’ll know quickly and can take action.
Be Careful with Services Not in Free Tier
Some advanced services (like certain data analytics or enterprise tools) aren’t covered by the free tier credits and might be off-limits on a free plan. When exploring, stick to the popular basic services at first – EC2, S3, Lambda, RDS, etc. These are either covered by free usage or will draw from your credits. Avoid launching very large instances or expensive resources. The AWS console usually labels which services or actions might incur costs beyond free tier. If in doubt, do a quick check if that service has a free tier offering.
Clean Up Resources
AWS services are pay-as-you-go, so if you’re done experimenting with something, it’s wise to delete or stop the resource. For example, if you create an EC2 virtual machine to test a website, terminate it when you finish. If you set up a database, delete it after use if it’s not needed. This practice ensures you don’t accidentally accumulate charges by forgetting something running. It also conserves your free credits for other experiments.
Understand the 6-Month Free Plan Policy
If you chose the Free plan at sign-up, remember that it automatically ends after 6 months if you don’t upgrade. AWS will warn you as that date approaches. At the end of 6 months (or earlier if you used all $200 credits), your account will be frozen/closed unless you upgrade to a paid plan. Upgrading simply means you’re willing to pay for any usage beyond the free tier. You can upgrade at any time to continue using AWS seamlessly. If you decide not to upgrade, be sure to save any data you need before the free period ends. (AWS retains your data for 90 days after a free account expires, giving you a final chance to retrieve it by upgrading.) For long-term projects, plan to transition to a paid account or move your workloads elsewhere after the free trial.
Leverage Educational Offers
If you are a student or educator, you might qualify for additional free credits through programs like AWS Educate or the AWS Academy. AWS Educate offers learning resources and sometimes credit grants to students for cloud experimentation. These can supplement the standard free tier. It’s worth mentioning slightly that such programs exist, as they can further reduce costs for beginners (though they may have their own application process and terms).
Conclusion
Creating an AWS account for free is just the beginning. As powerful as AWS is, having a trusted local partner can make your cloud journey even smoother—and that’s where we come in.
At 1Byte, we’ve helped thousands of users across Southeast Asia take their first steps into the cloud. With our Tier III-ready data centers, we deliver reliable, high-performance infrastructure that meets global standards while staying close to home.
We’ve supported several projects and smart-city pilot initiatives. Whether you’re launching your first website, building cloud-native apps, or scaling enterprise systems, we’ve got the tools to help you grow.
Our service catalog covers everything from cloud servers, domain registration, VPS, and SSL certificates, to managed hosting, dedicated servers, and storage backup solutions. For developers exploring AWS, we offer hybrid cloud consulting, data migration, and technical support in English—real people, local presence, zero hassle.
Even if you start with a free AWS account, we’re here to help you plan for what comes next. Cloud doesn’t have to be complex. With 1Byte, it’s fast, local, and built around you.