
During SSL setup, if you’re using a Windows-based system, there might be occasions where you need to generate your Certificate Signing Request (CSR) and Private Key outside the Windows keystore. This can be beneficial, for instance, if you wish to back up your SSL certificate or import it to multiple servers. Here are the steps you’ll follow to generate a CSR using the OpenSSL application tool:
Step 1: Install OpenSSL on your Windows PC
1.1. Click Here and navigate to the Third Party OpenSSL Related Binary Distributions table.
Note: we recommend this Binaries list as it gives options to download the ready-to-run executable application files. This is more convenient than downloading binary files from the official site.
1.2. Select one of the OpenSSL for Windows options by choosing the Description that applies to you.
1.3. You’ll find a download section like this example where you scroll down and see Download Win32/Win64 OpenSSL. Download the latest Light OpenSSL depending on your Windows version i.e. ‘Win32’ or ‘Win64’. If you don’t know what Windows you have, download 32-bit OpenSSL.
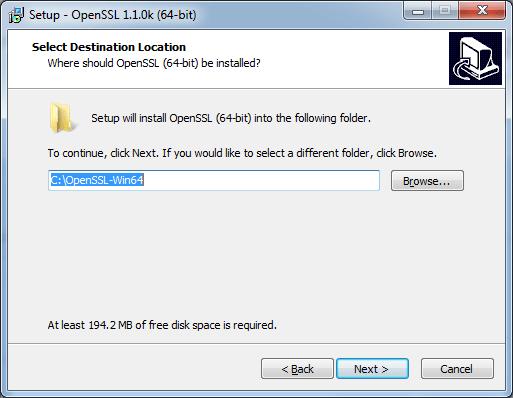
1.4. Double click to start the installation, and follow the steps. Once done, you’ll have the OpenSSL application installed on the server. Here are some of the setup screens you’ll see:
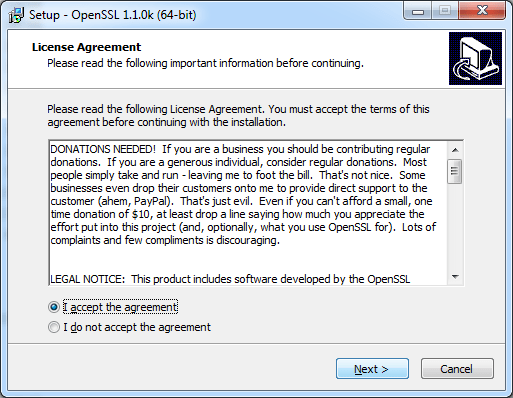
Note: by default, the OpenSSL base folder will be downloaded to the C Drive on your PC. It will be named after the OpenSSL version you selected.
Step 2: OpenSSL Configuration Steps
2.1. Open Cmd (Windows command line). To do this, press win+R on your keyboard. Then type cmd and click OK.
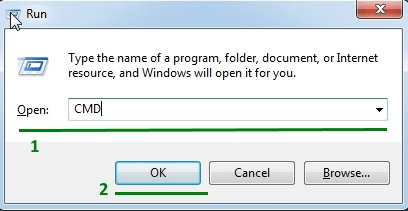
Next, you’ll see the cmd terminal:
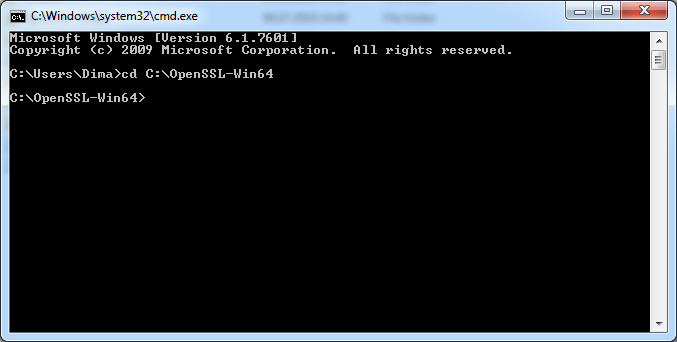
2.2. Go to the OpenSSL base folder by running (adding) the following command in the cmd:
cd *OpenSSL base folder*
Note: the path to the location of the installed OpenSSL base folder in your PC will look something like C:\OpenSSL-Win32 or C:\OpenSSL-Win64.
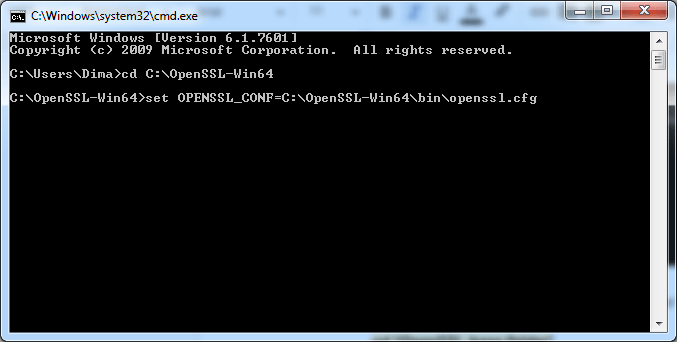
2.3. Now run the following command in the cmd:
set OPENSSL_CONF=*OpenSSL base folder*\bin\openssl.cfg
2.4. Restart your computer to apply the changes.
Step 3: Generate the CSR Code
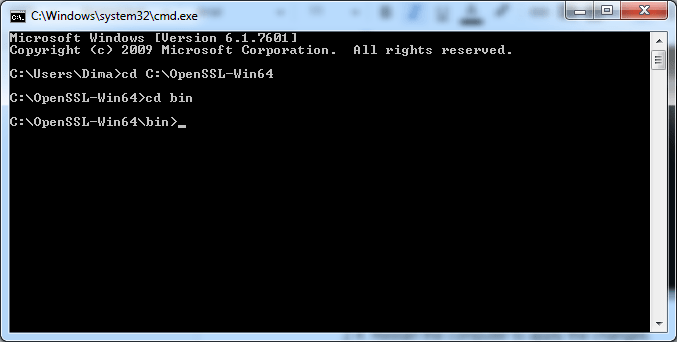
3.1. Go to the subfolder \bin of your OpenSSL folder by running this command:
cd bin
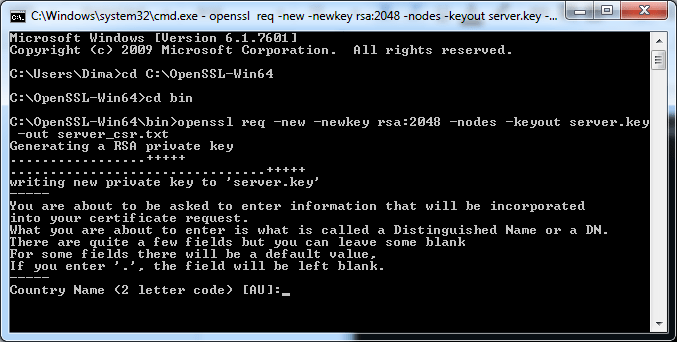
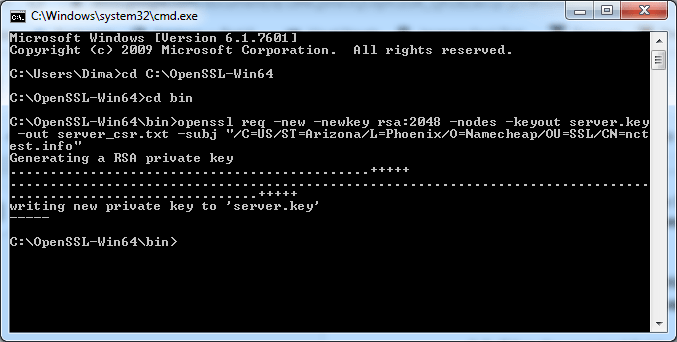
3.2. Generate the CSR code and Private key for your certificate by running this command:
openssl req -new -newkey rsa:2048 -nodes -keyout server.key -out server_csr.txt
Note: server.key and server_csr.txt are the Private key and the CSR code files. Feel free to use any file names, as long as you keep the .key and .txt extensions.
Tip: if you want to generate the Private key and CSR code in another location from the get go, skip step 3.1. and replace the openssl part of the command with *OpenSSL base folder*\bin\openssl.exe:
*OpenSSL base folder*\bin\openssl.exe req -new -newkey rsa:2048 -nodes -keyout *Some path*\server.key -out *Some path*\server_csr.txt
3.3. Fill in the required fields:
- Country: use a valid 2-letter country-code.
- State or Province: Use your state or Province name, or use the Locality name if you have none.
- Locality or City: use your city, town or other locality name.
- Company: use your company/organization name or put NA (Not Applicable).
- Organizational Unit: use your unit or department name or put NA (Not Applicable).
- Common Name: put your domain name here (i.e. www.example.com or example.com), put *.domain_name (i.e. *.example.com) if you are using a Wildcard type SSL.
Note: for ‘Email Address’, ‘challenge password’ and ‘optional company name’, simply press Enter to leave them empty, as these are the legacy fields.
Alternatively, you can run the following command with all parameters already listed. Replace the default information with the actual values in the command before you copy-paste it to the cmd and press Enter:
openssl req -new -newkey rsa:2048 -nodes -keyout server.key -out server_csr.txt -subj “/C=*Country*/ST=*State or Province*/L=*Locality or City*/O=*Company*/OU=*Organizational unit*/CN=*Common Name*”
3.4. This will create a Private key (.key) and a CSR code (.txt) files in the *OpenSSL base folder*\bin. Open the CSR file directly with any text editor, or with Notepad using this command:
notepad server_csr.txt
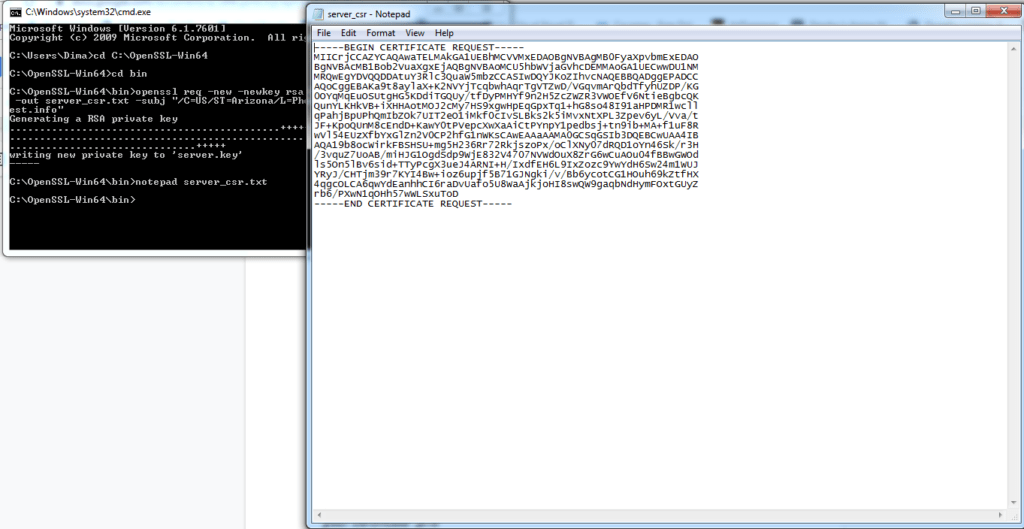
3.5. Copy the created code, including —–BEGIN CERTIFICATE SIGNING REQUEST—– and —–END CERTIFICATE SIGNING REQUEST—– to activate your SSL Certificate.
Note: if the CSR was generated this way but the certificate needs to be installed on a Windows server (i.e. IIS), you’ll need to generate the PFX file from the certificate and Private key. To do that, use this command:
openssl pkcs12 -export -out *your certificate*.pfx -inkey server.key -in *your certificate*.p7b
Or instead of that command you can use an online tool like this https://ssl-checker.1byte.com/ssl-converter. Then go ahead and import it onto the Windows server.