

CSR stands for Certificate Signing Request. It is utilized to transmit essential information such as the domain name, the location of the applicant or organization, and the public key to the Certificate Authority (CA).
How to Creating a CSR in Plesk Onyx
To generate a CSR in your Plesk Panel, follow these steps:
Step 1
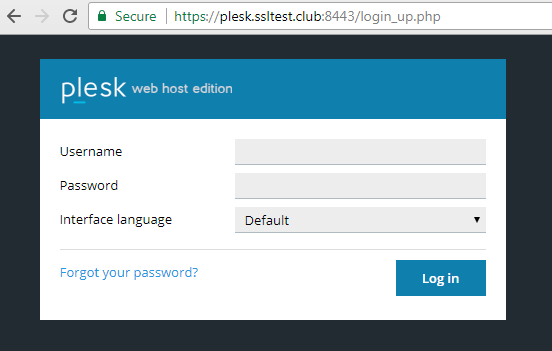
Login to the Plesk control panel.
Step 2
Depending on the Plesk account type, you can see two web interfaces:
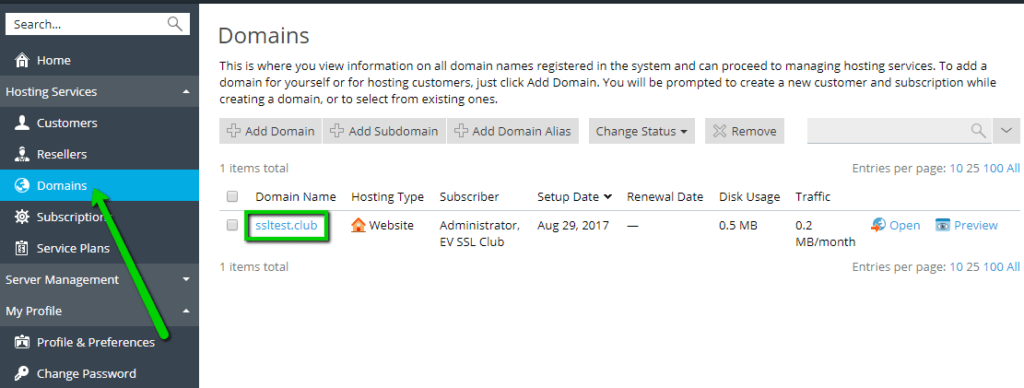
- Service Provider view is the default for Server Administrator and Reseller accounts.
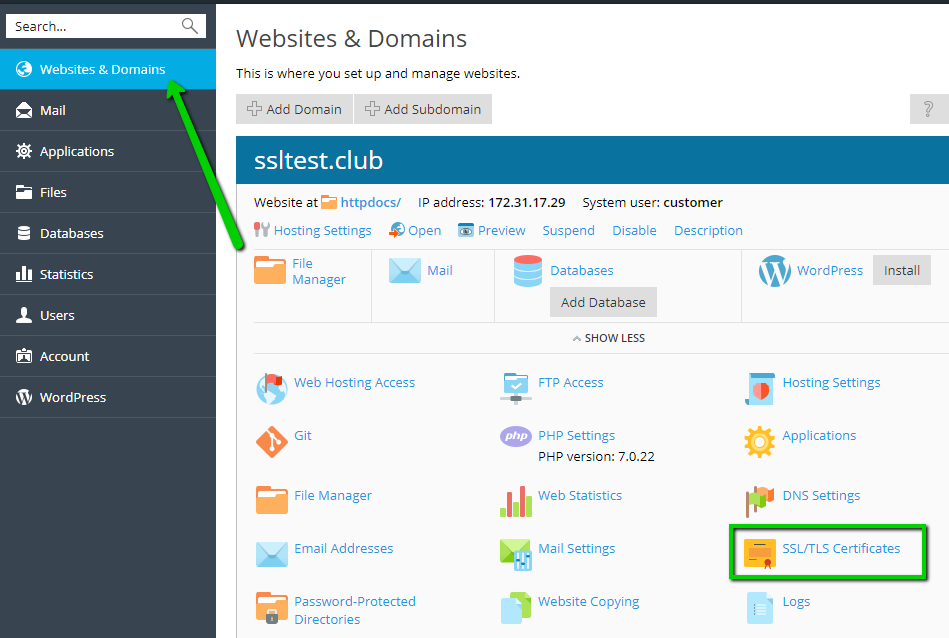
- Power User view is the default for Customer account.
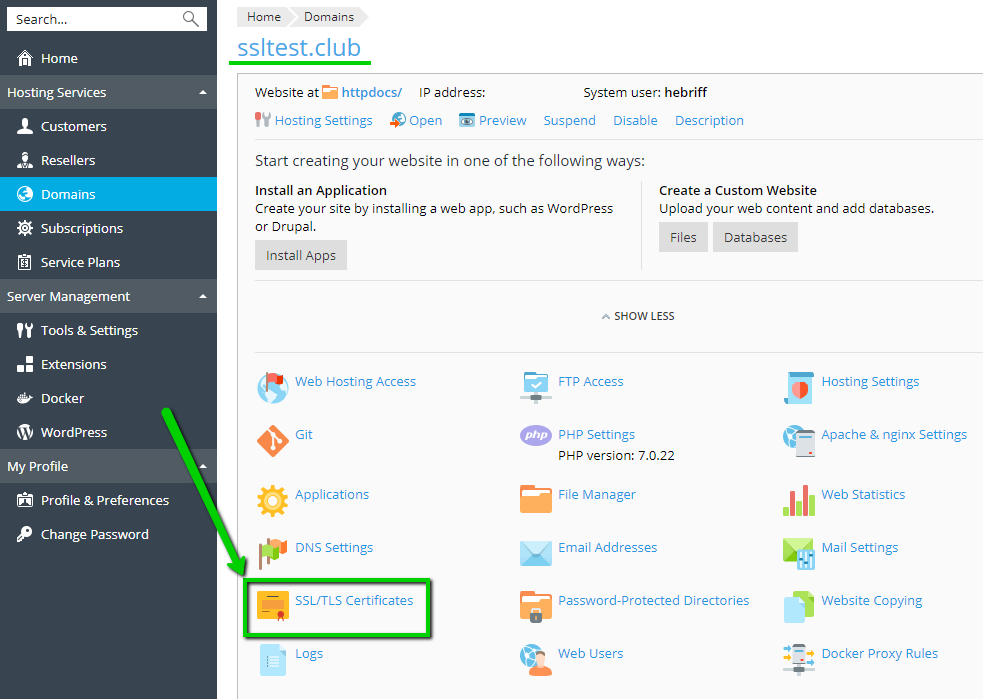
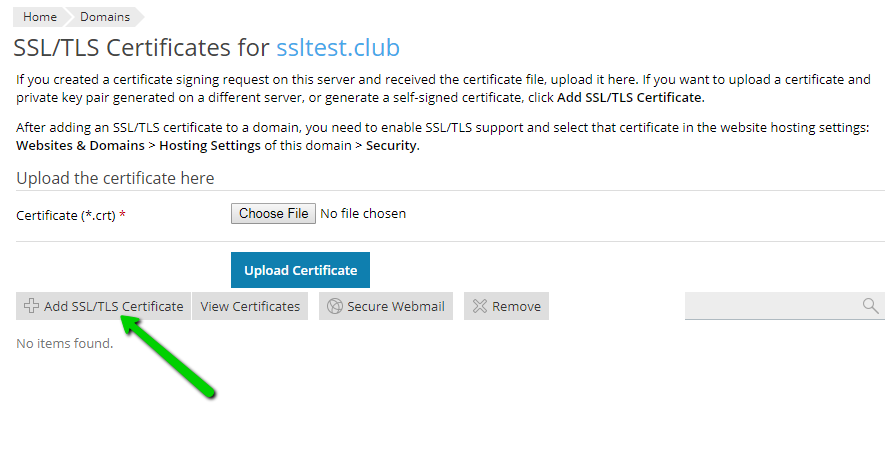
Click SSL/TLS Certificates.
a) For Service Provider view, go to Domains section and click on your domain name that you are going to secure.
b) For Power User view, go to Websites & Domains >> Find the right domain name and click SSL/TLS Certificates.
Step 3
Further instructions will be the same for both views. Click Add SSL/TLS Certificate.

Step 4
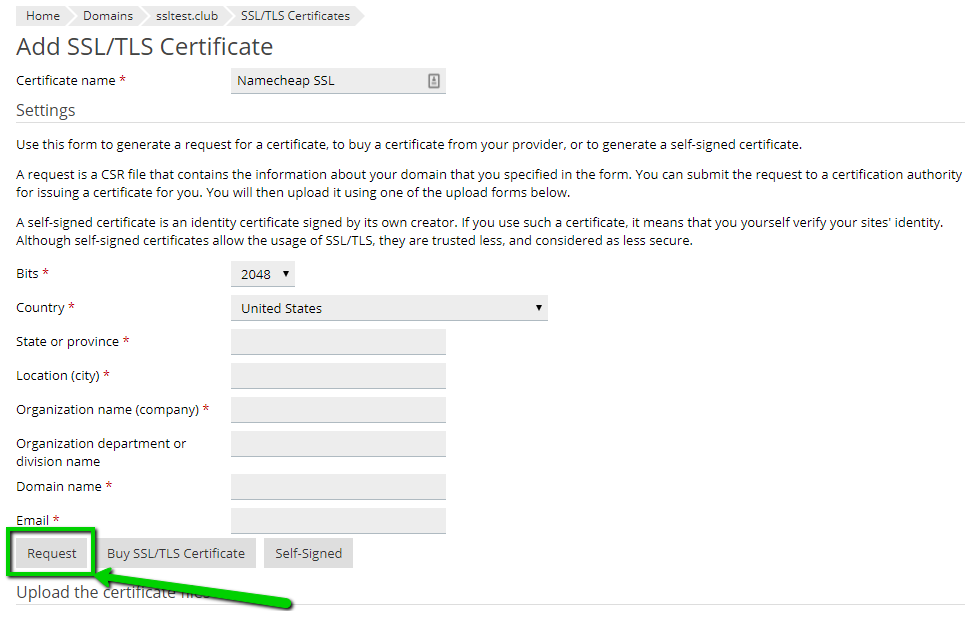
Fill out all the necessary fields on this page and click Request:
- Certificate Name – it can be any friendly name to distinguish a particular SSL certificate in Plesk Panel.
- Bits – is a length of public key, 2048-bit is a minimum security standard nowadays.
- Country – choose your country from the list, it will be shown in the CSR as two-letters country code.
- State or province – state, county or region where the company or applicant is located.
- Location (city) – is a locality or city of the country.
- Organization name (company) – is the officially registered name of the organization that applies for a certificate. If you do not have any, put NA here.
- Organization department or division name – is the name of the department or division within your organization. This is an optional field.
- Domain name – is a fully qualified domain name (FQDN) that should be secured. The subdomain can be entered as well. To generate a CSR for a Wildcard certificate, put the server hostname in this format: *.domain.com.
- Email – put your email here.
More information about CSR requirements can be found here.
Step 5
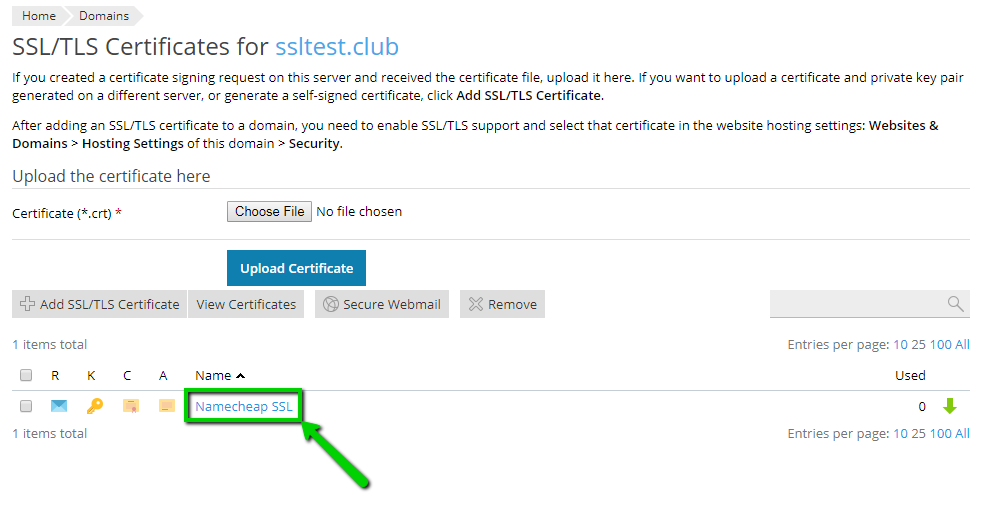
New SSL certificate container will appear in the list. Click on it to find a CSR code and a private key generated along with CSR. A private key is required for further SSL installation to one or multiple hosting servers.
Step 6
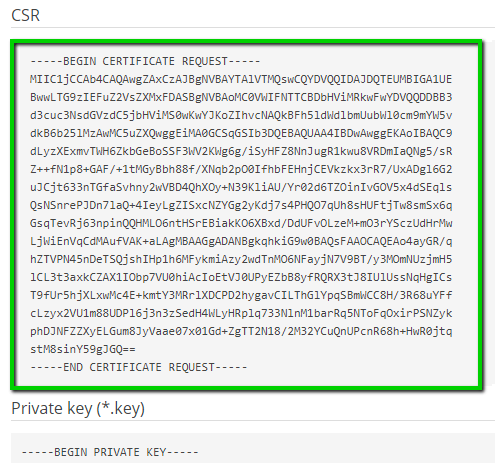
Scroll down in order to find the CSR code. Copy all of it including header —–BEGIN CERTIFICATE REQUEST—– and footer —–END CERTIFICATE REQUEST—–.
Step 7
Login to your 1Byte account and start SSL activation process according to this guide.