

Installing the SSL certificate in Exchange 2013 follows the CSR generation process, which was carried out in the Exchange Administration Center via the web interface. The certificate file required for installation can be downloaded from your 1Byte account by following this guide. We recommend saving the files to your computer for future use.
How to Install SSL Certificate in Exchange 2013 EAC
Note: To import the PFX certificate file, you’ll need to follow these steps. To install the .p7b pr .cer file, proceed with the steps below.
Step 1
Log into your EAC account.
Step 2
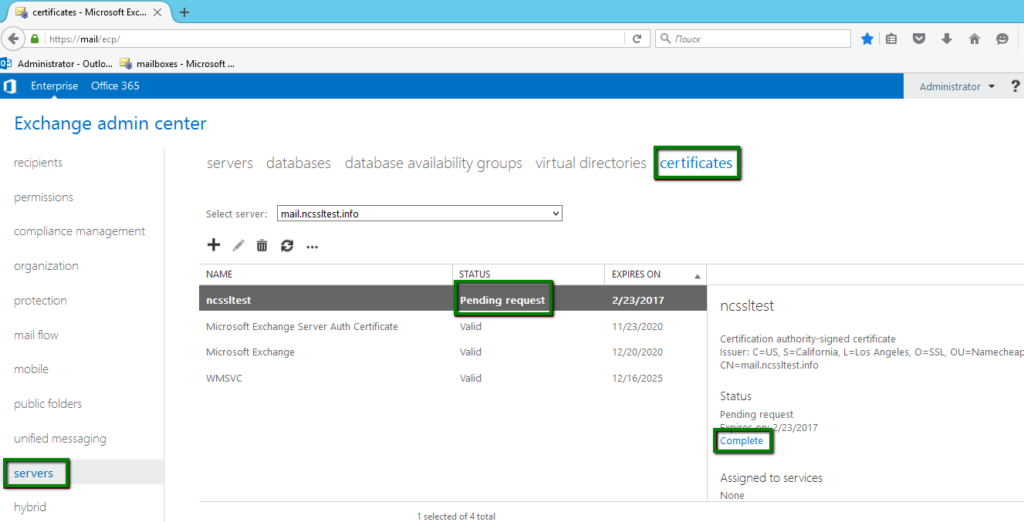
Go to Servers >> Certificates, locate and highlight the pending request, then click on Complete in the right menu bar.
Step 3
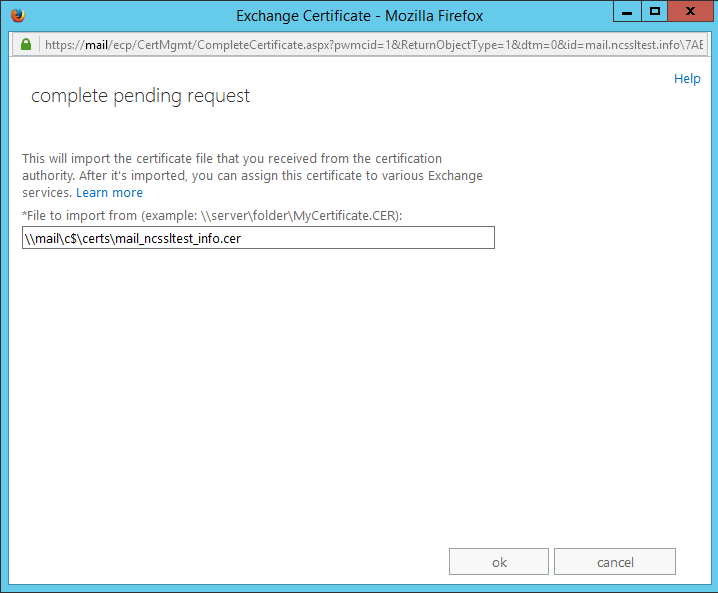
Specify the path to the certificate you have saved. In this example the file was saved on the disc C:// in the certs folder.
Step 4
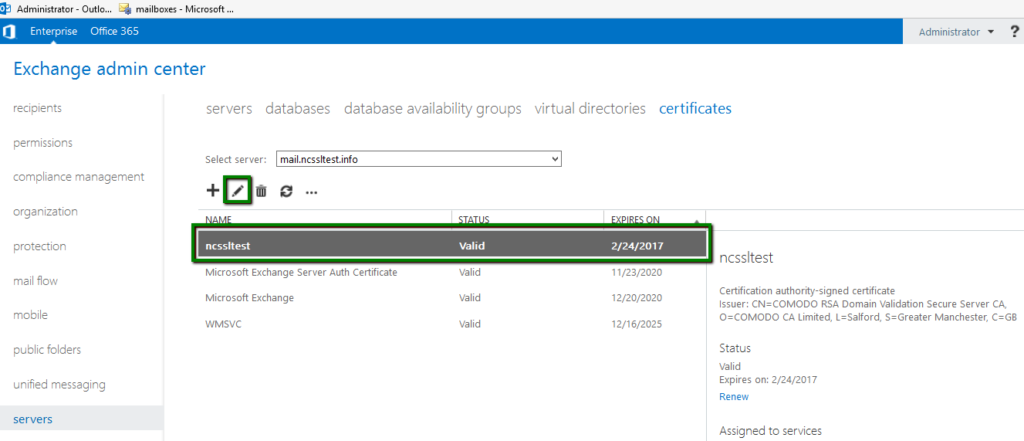
When the pending request is completed and you are returned to the Certificates menu, the Status column will show that the certificate is now valid.
The installed certificate is not automatically enabled for the Exchange services such as IIS (for OWA, Outlook Anywhere, ActiveSync, etc.), POP, IMAP or SMTP. This should be done manually by enabling the certificate for these services by clicking on the edit button for the highlighted certificate.
Step 5
Edit the configuration of the certificate and select the services for which you would like to enable your certificate, then click Save.
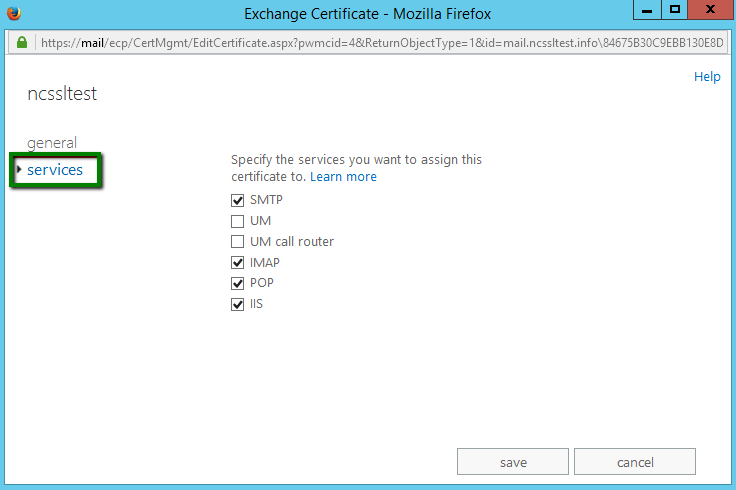
While performing this action, you may notice that some services cannot be unchecked. This is because Exchange 2013 does not allow you to disable the certificate from services which require it. Instead, you may assign another certificate for these services which will automatically overwrite the the existing one.
Step 6
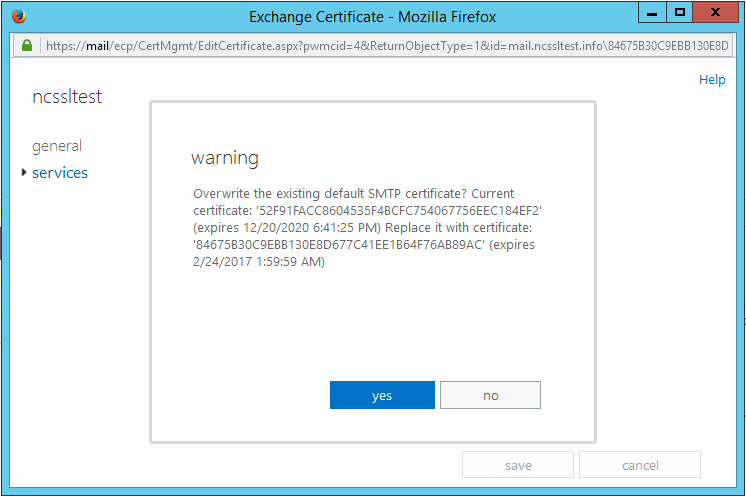
If you are overwriting the existing certificate, you will receive the warning shown below. Usually it happens because the self-signed server certificate was installed by default. Click Yes to confirm overwriting.
The certificate is now installed on the server. You can check it by opening the domain name in the browsers and checking the certificate details. If all steps were performed correctly, the browser will show green https without warnings, and in the certificate details you will see the certificate issuer information. Another way to check certificate installation is by using online checkers such as https://ssl-checker.1byte.com/. Remember to specify the correct ports (e.g., 995 for POP3-SSL, 993 for IMAP-SSL, etc.) when using this checker.