The following instructions will guide you through the SSL installation process on cPanel. If you have more than one server or device, you will need to install the certificate on each server or device you need to secure.
Prerequisite
- Your website must be up and running
- If you don’t have a website or your website is not up. Please refer to this post
FURTHER READING: |
| 1. Install SSL Certificate on Cloud Hosting Site |
| 2. SSL Certificate Installation on IIS 8 & 10 |
| 3. SSL Certificate Installation on Windows using Certeq |
Brief Introduction to SSL and How Does It Work?
A web server and browser can establish an encrypted connection thanks to the security protocol known as Secure Sockets Layer (SSL). It offers a secure connection and shields transferred data from unauthorized access or modification.
Website owners must purchase an SSL certificate from a Certificate Authority in order to obtain one (CA). The CA will produce the certificate using the CSR, or Certificate Signing Request.
The certificate will be installed on a server, and the CSR is an encrypted text generated on that server. It contains data such as the domain name of the website, contact information, and the public key used to encrypt the data sent.
The web server will send a copy of the certificate for verification when a visitor’s browser tries to access the website.
An SSL-protected connection will be established if the procedure is successful. The website will have a URL that begins with HTTPS, and depending on the browser, the address bar will show a padlock icon.
The 6 Steps to Install SSL Certificate on Shared Hosting Site
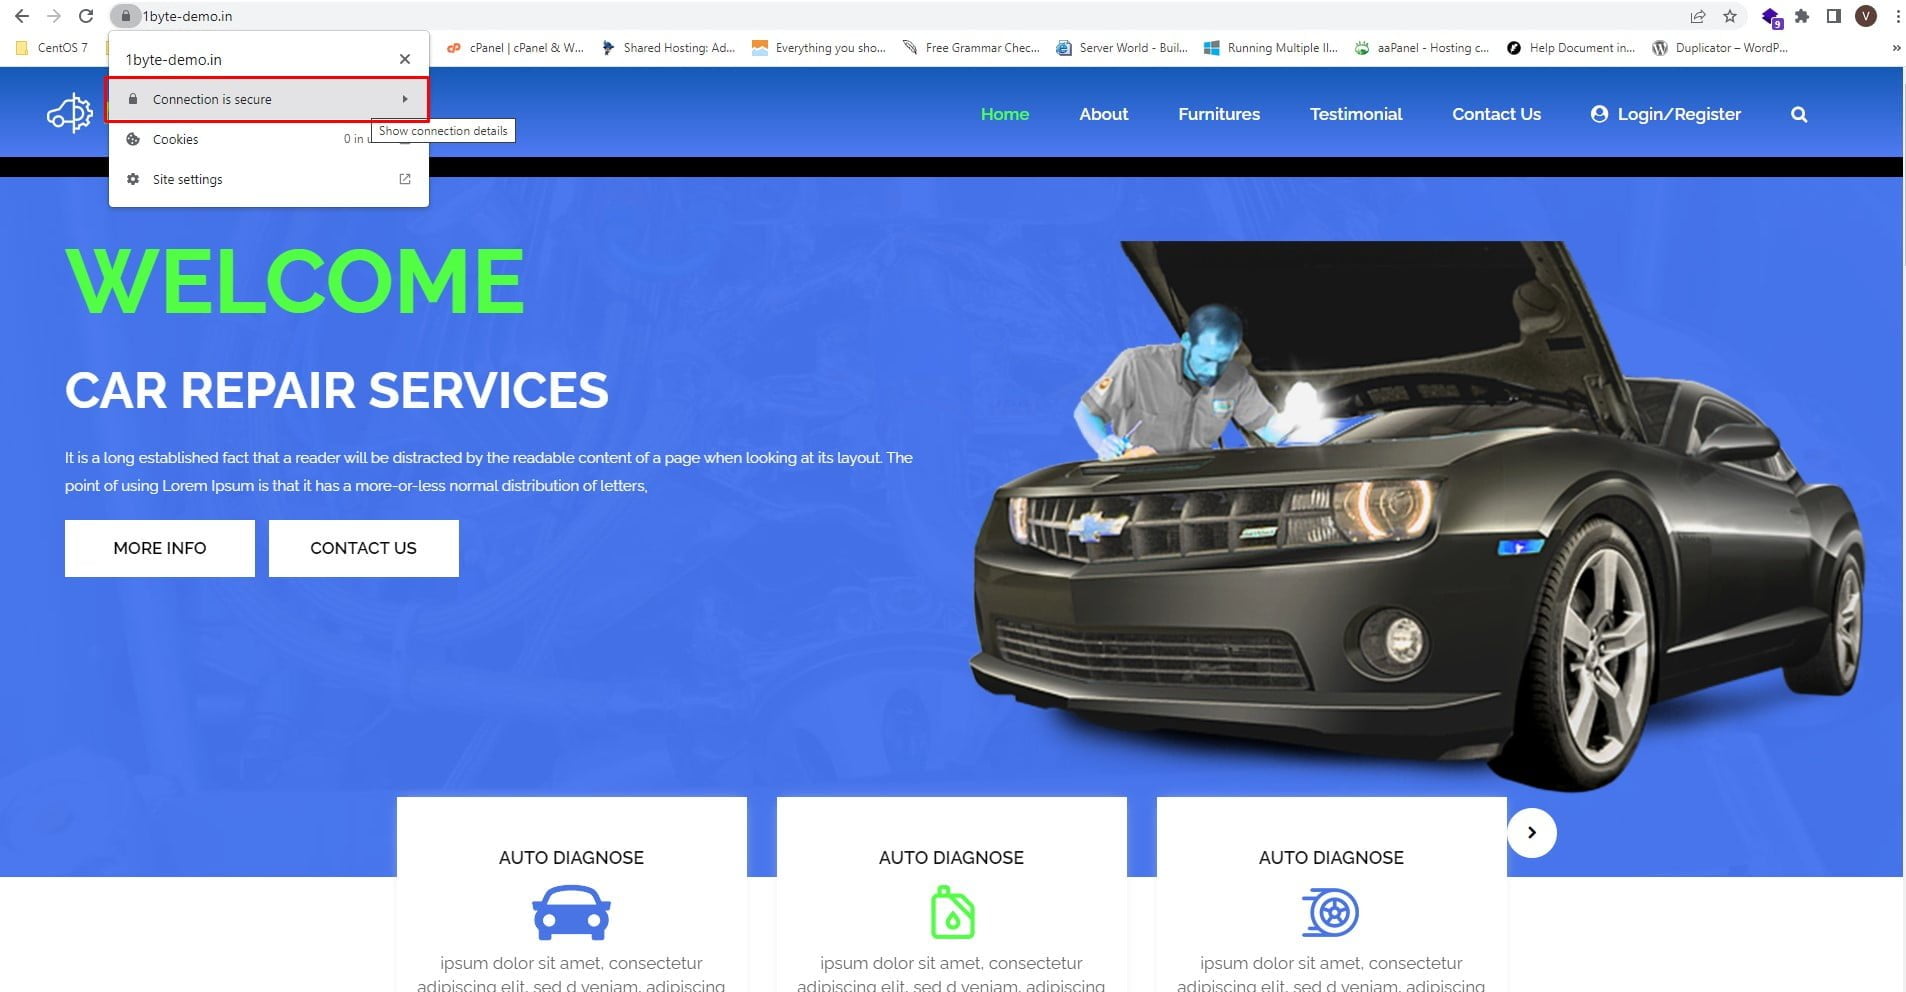
Step 1. Check Your Website Has SSL Or Not
- Checking whether your website has SSL certificates or not by browsing your website directly
- As you can see in the image above, this site has not installed SSL Certification

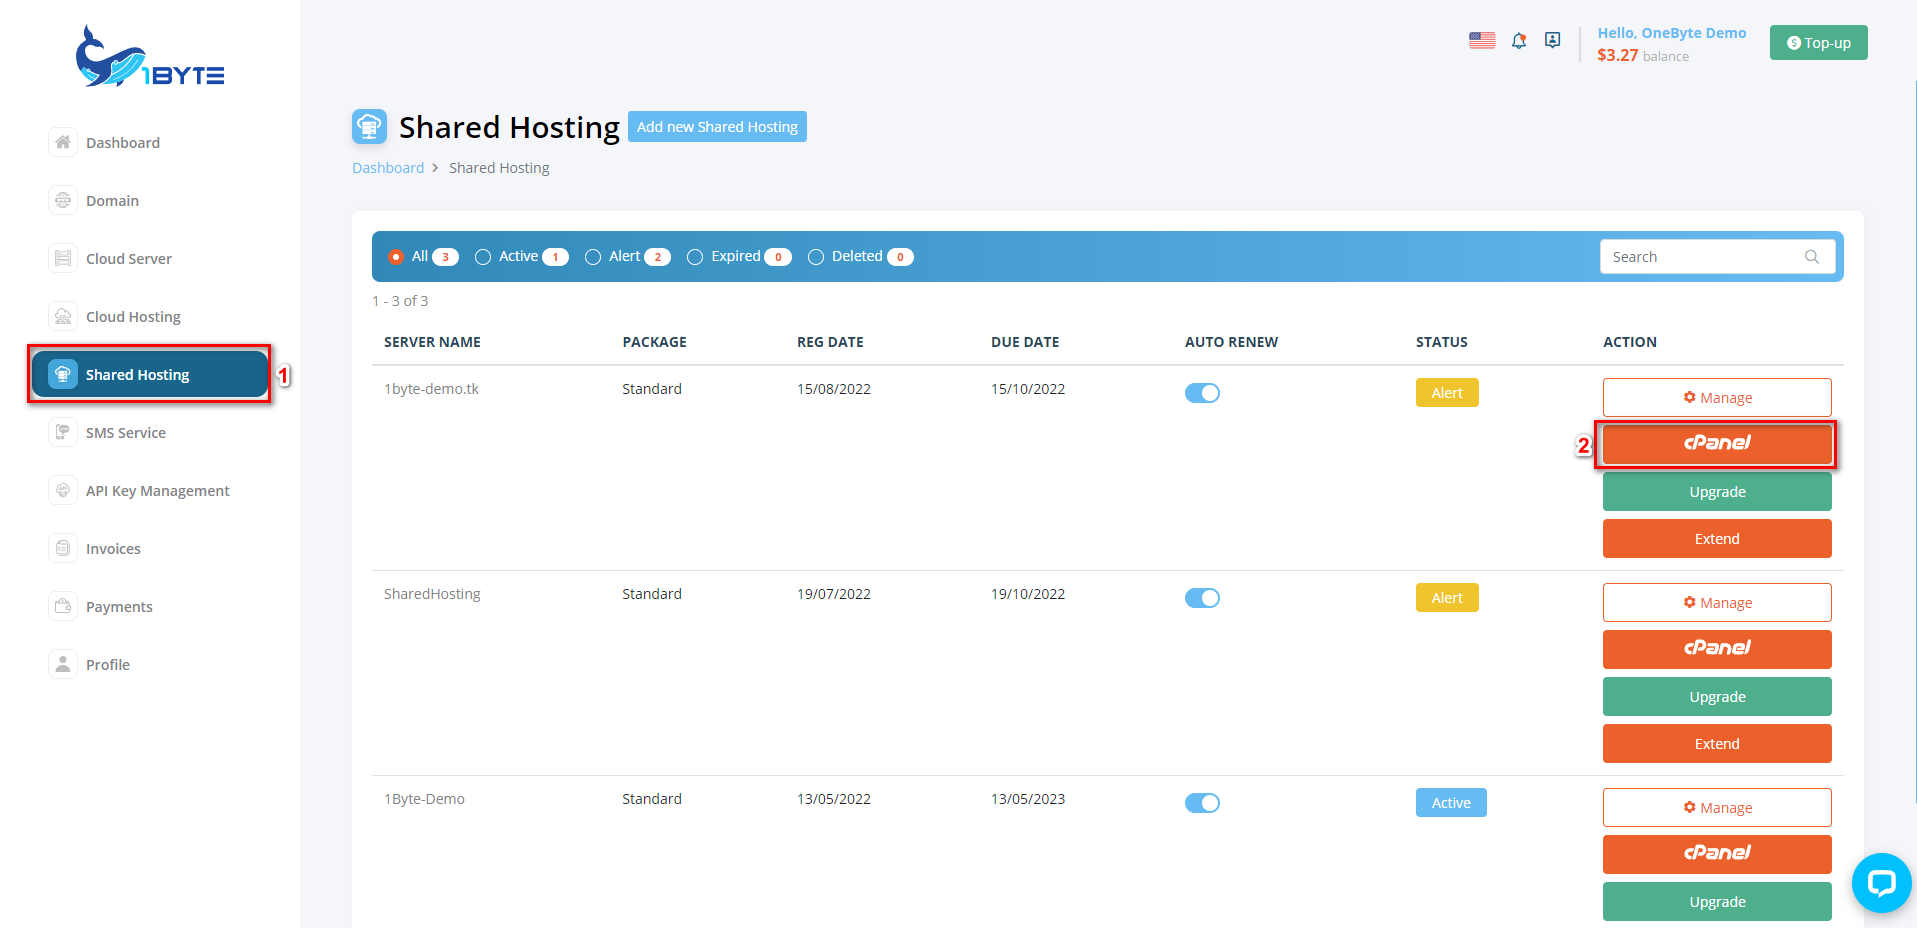
Step 2. Login To Cpanel
The first step is to log in to your cPanel account, which is normally done by navigating https://domain.com: 2083
Or you can log in to your 1Byte account and go to Shared Hosting then click on Cpanel
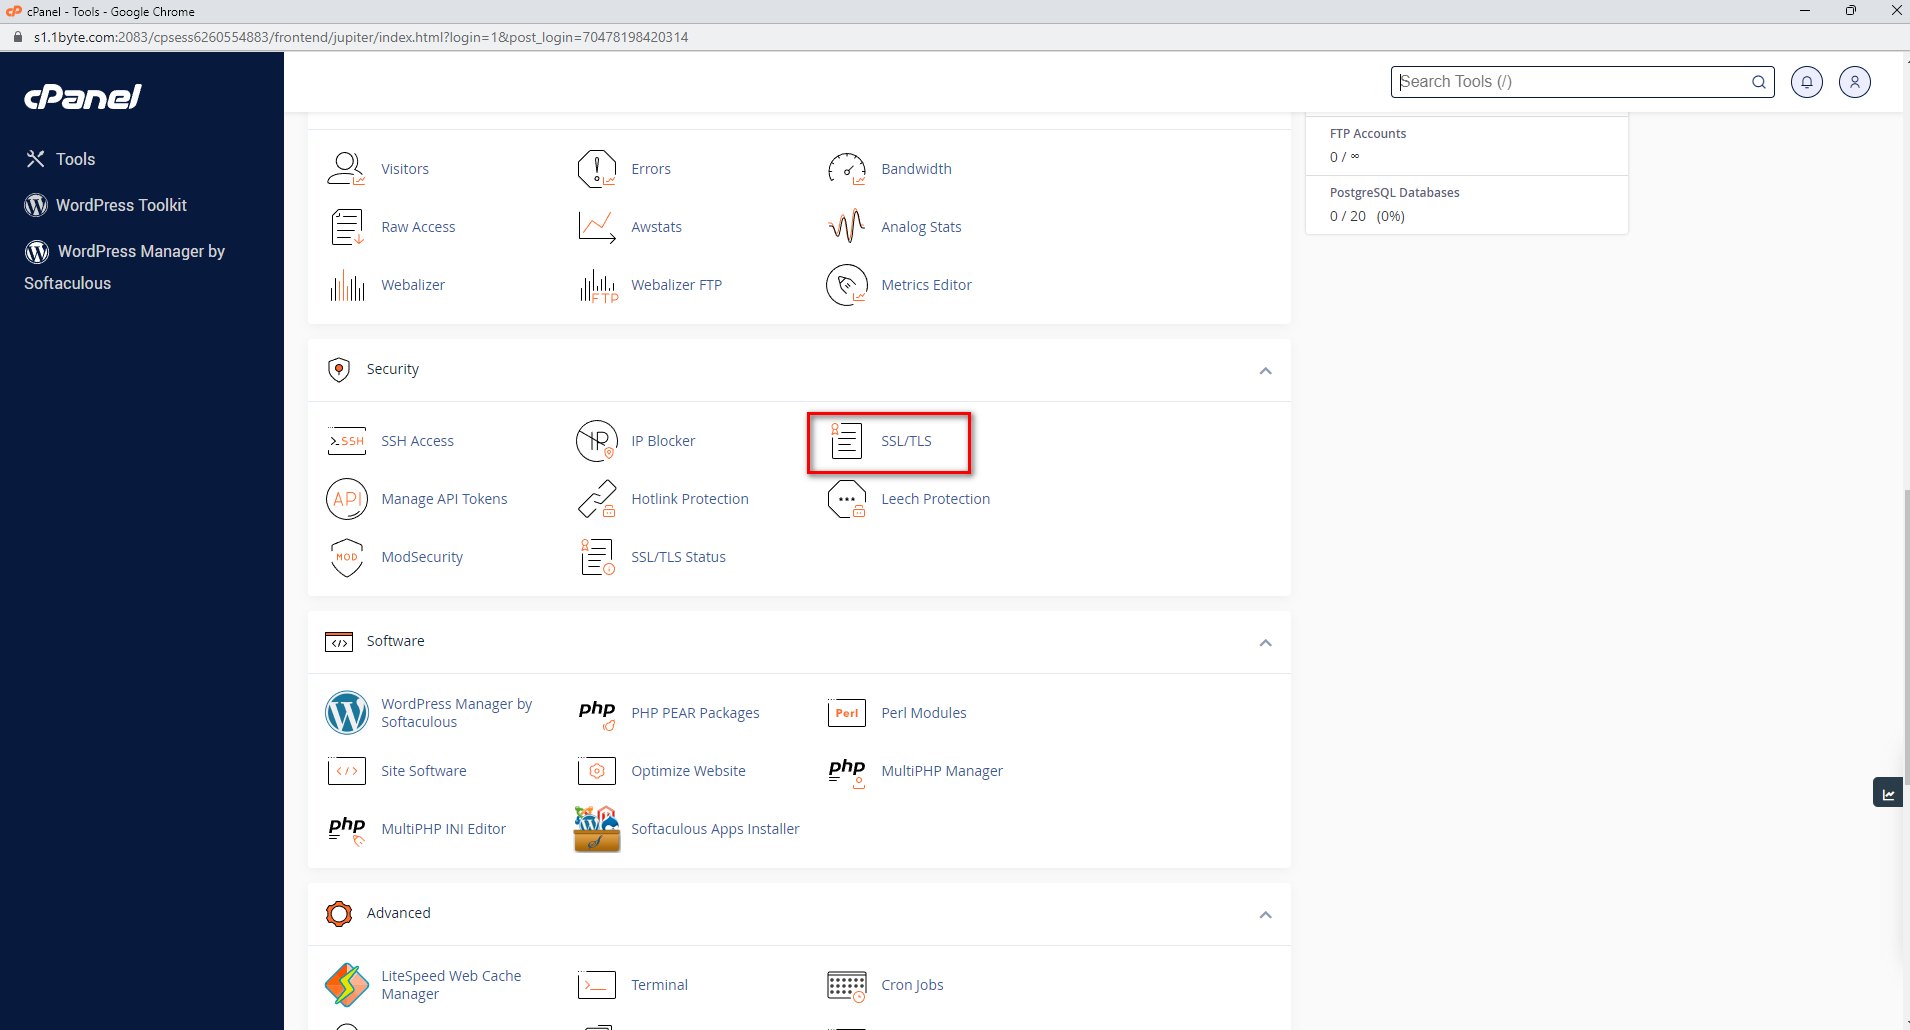
Step 3. Navigate To The SSL/TLS Manager
Scroll down to the Security section and click the SSL/TLS button to see your SSL/TLS Manager page.
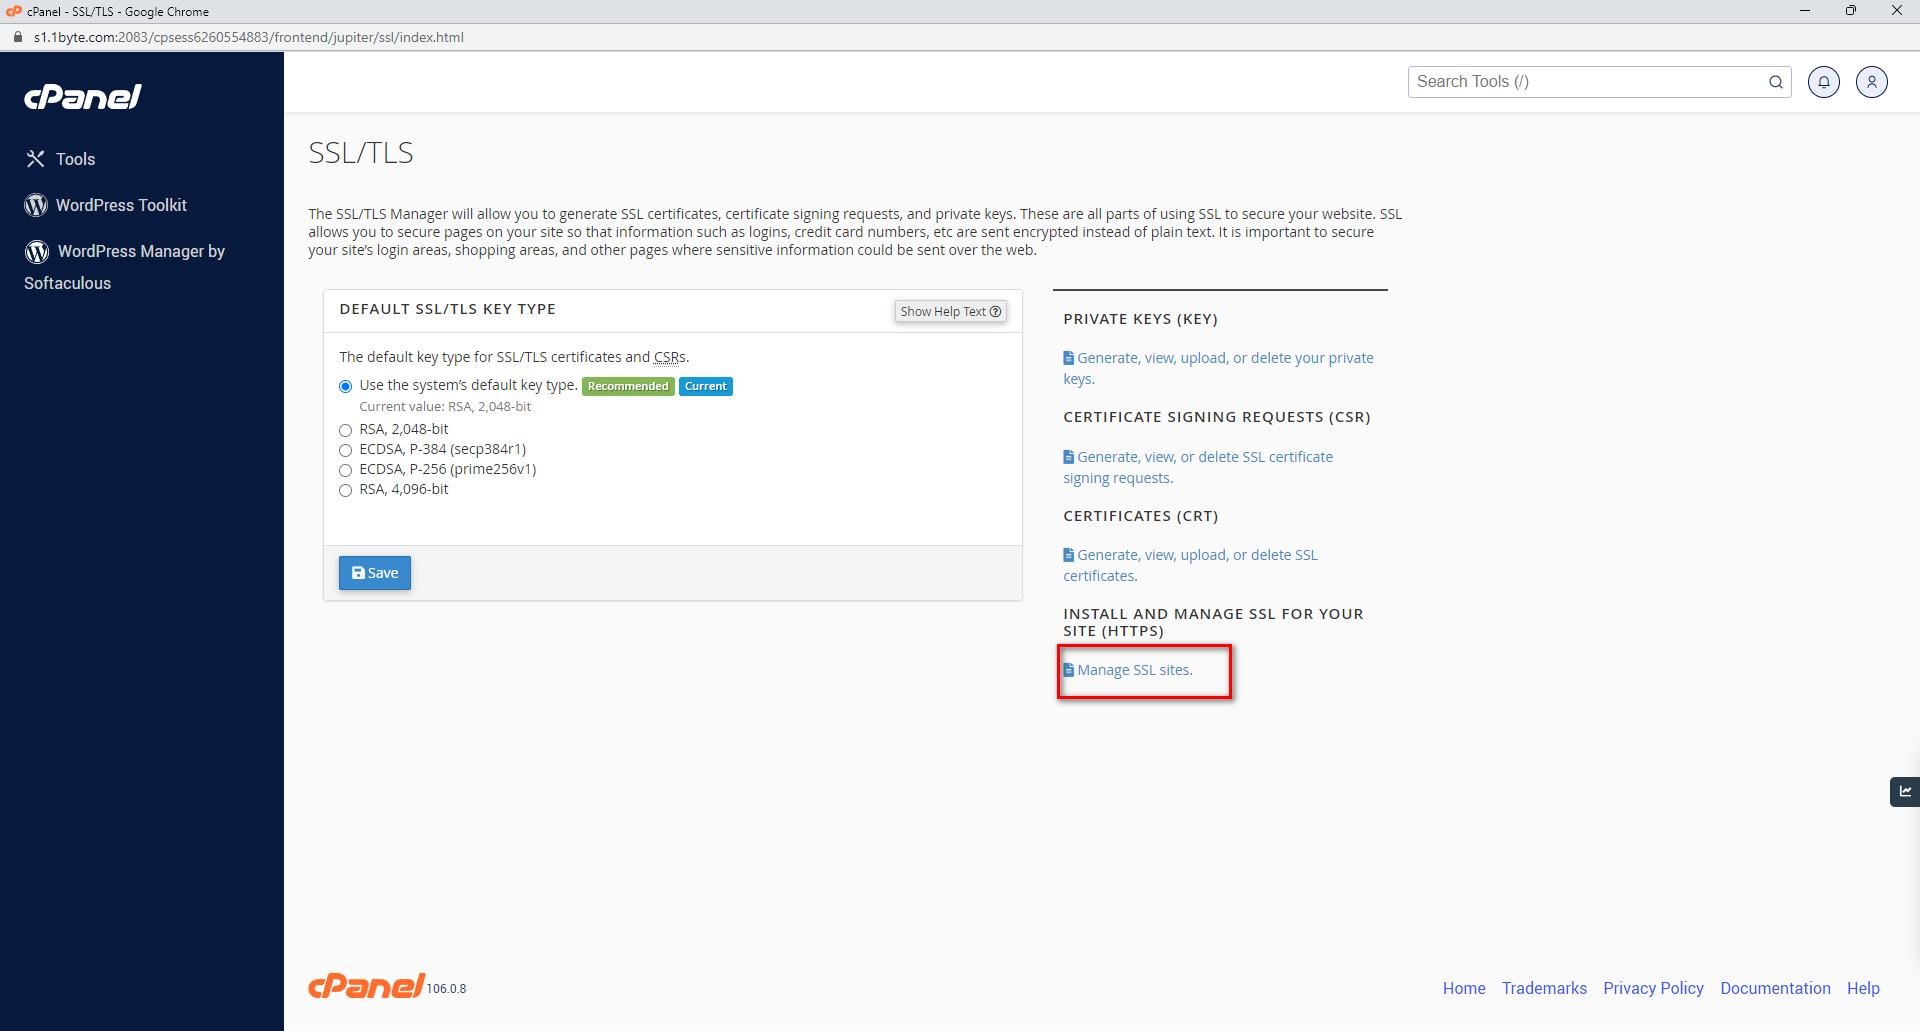
Step 4. Select “Manage SSL Sites”
Step 5. Choose Domain And Install Certificate
Change the Domain drop-down to the appropriate domain name that you want to install your SSL certificate.

Congratulations! Your SSL certificate has been successfully deployed! To test your work, go to https://yourdomain.tld in your browser and look at the certificate/site information to determine if HTTPS/SSL is working properly.