
If you are creating a WordPress website that will host a portfolio with large image files or a video hosting site with single media file sizes in the GBs, you may encounter a problem with not being able to upload media files larger than 25MB (in most cases). So, in this article, we’ll teach you how to increase upload size WordPress in cPanel and aaPanel.
With so many themes and plugins available, WordPress is a powerful platform that enables you to create nearly any type of website. WordPress can handle both e-commerce site development and blog administration. However, performance, security, and support should be your top priorities when picking a WordPress hosting company for your blog.
How to Increase Upload Size WordPress in aaPanel?
1. Prerequisites
- In this tutorial we have WordPress hosting on cloud hosting
- Please go to 1Byte to purchase if you don’t already have one.
FURTHER READING: |
1. How to Easily Upload Your Website With aaPanel? |
2. Reseller Hosting: A Step-by-step Guide |
3. What Is a Hosted Solution? What You Need to Know |
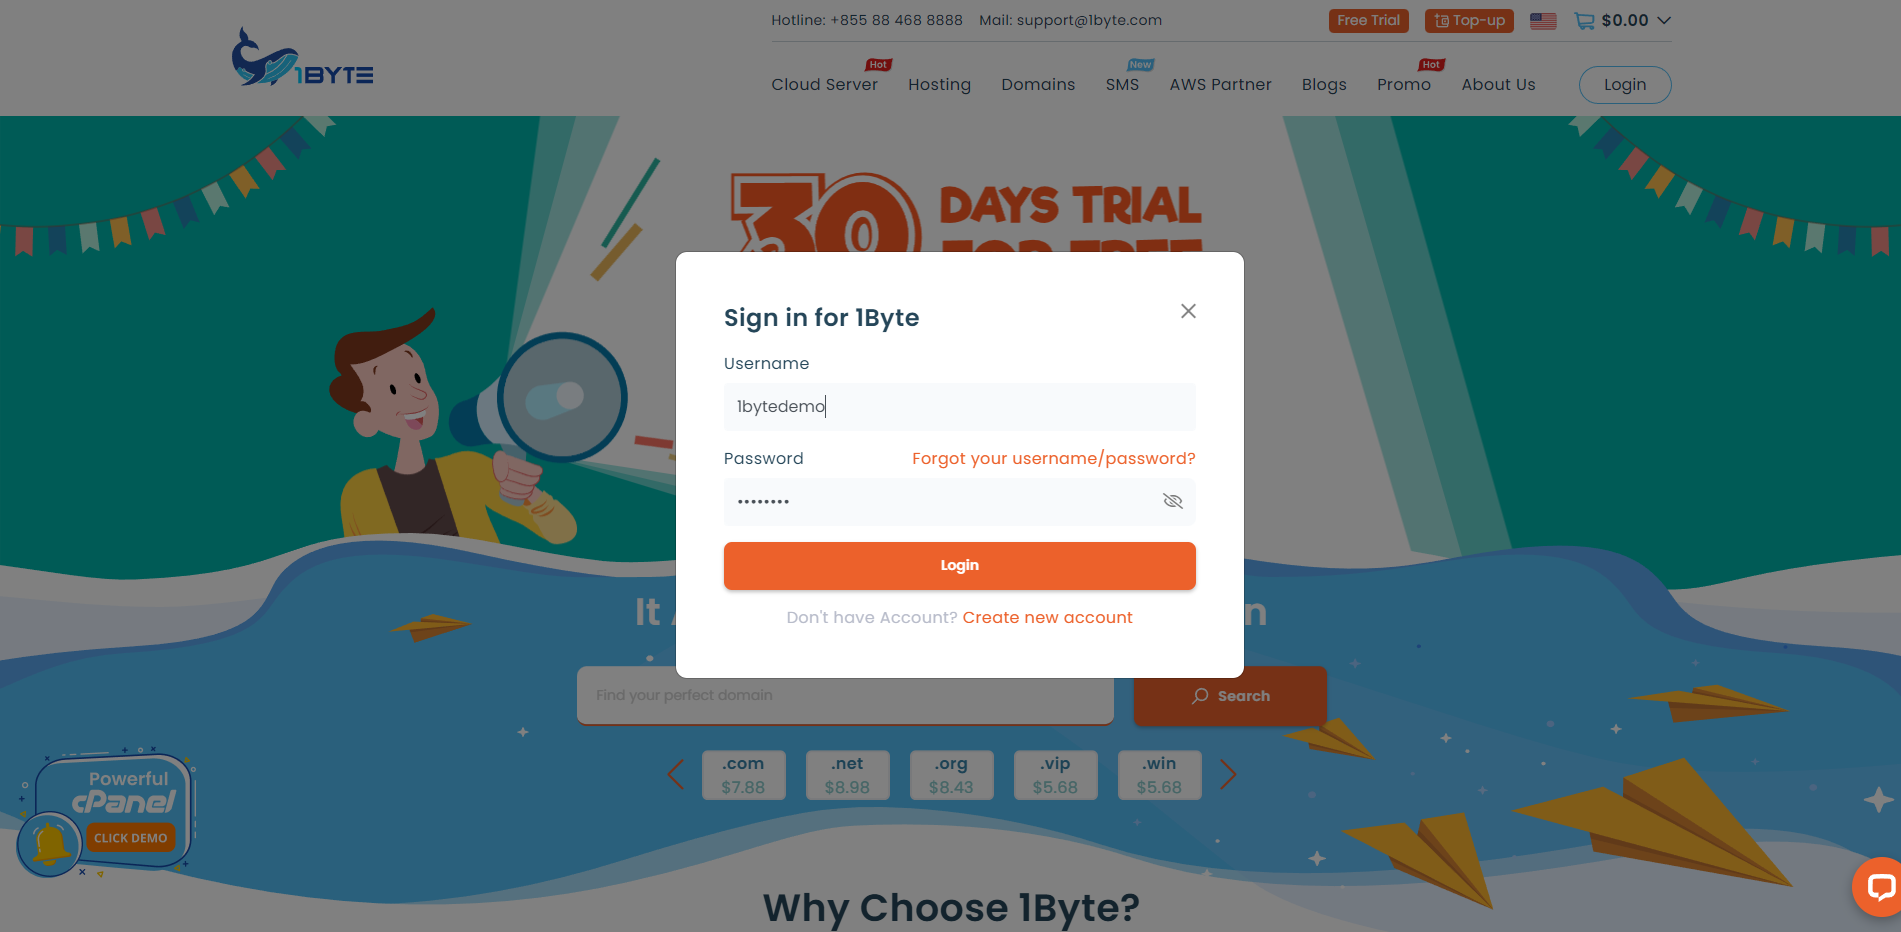
2: Login Into The 1Byte Account
- Go to 1Byte’s website Click Login
- input username and password then click login
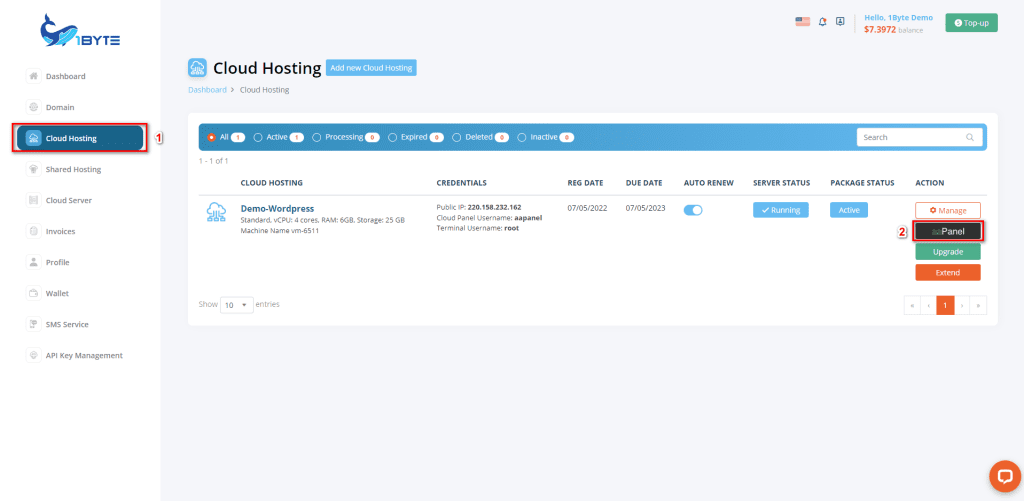
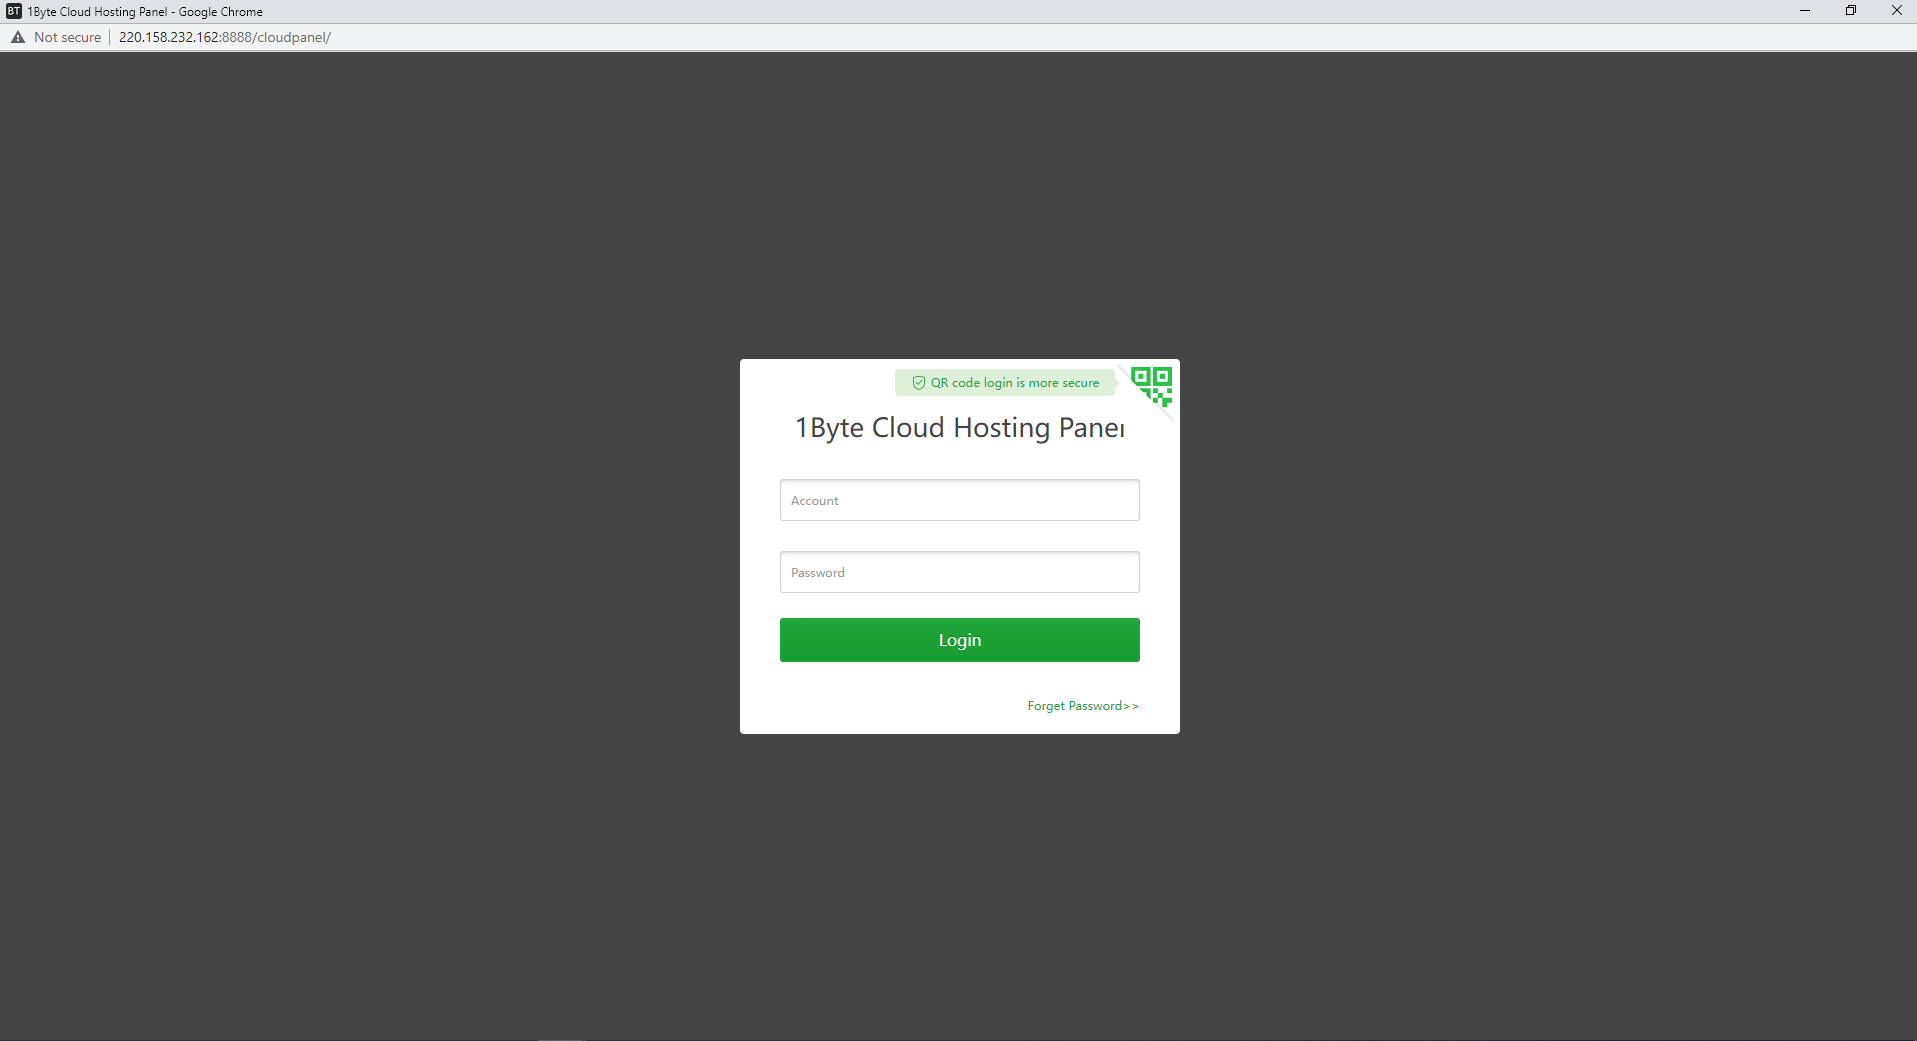
3: Login Into The Aapanel Dashboard

Go to Cloud Hosting then click on aaPanel button
Input your aaPanel username and password then click login
4: Check What Version Of PHP Is WordPress Using?
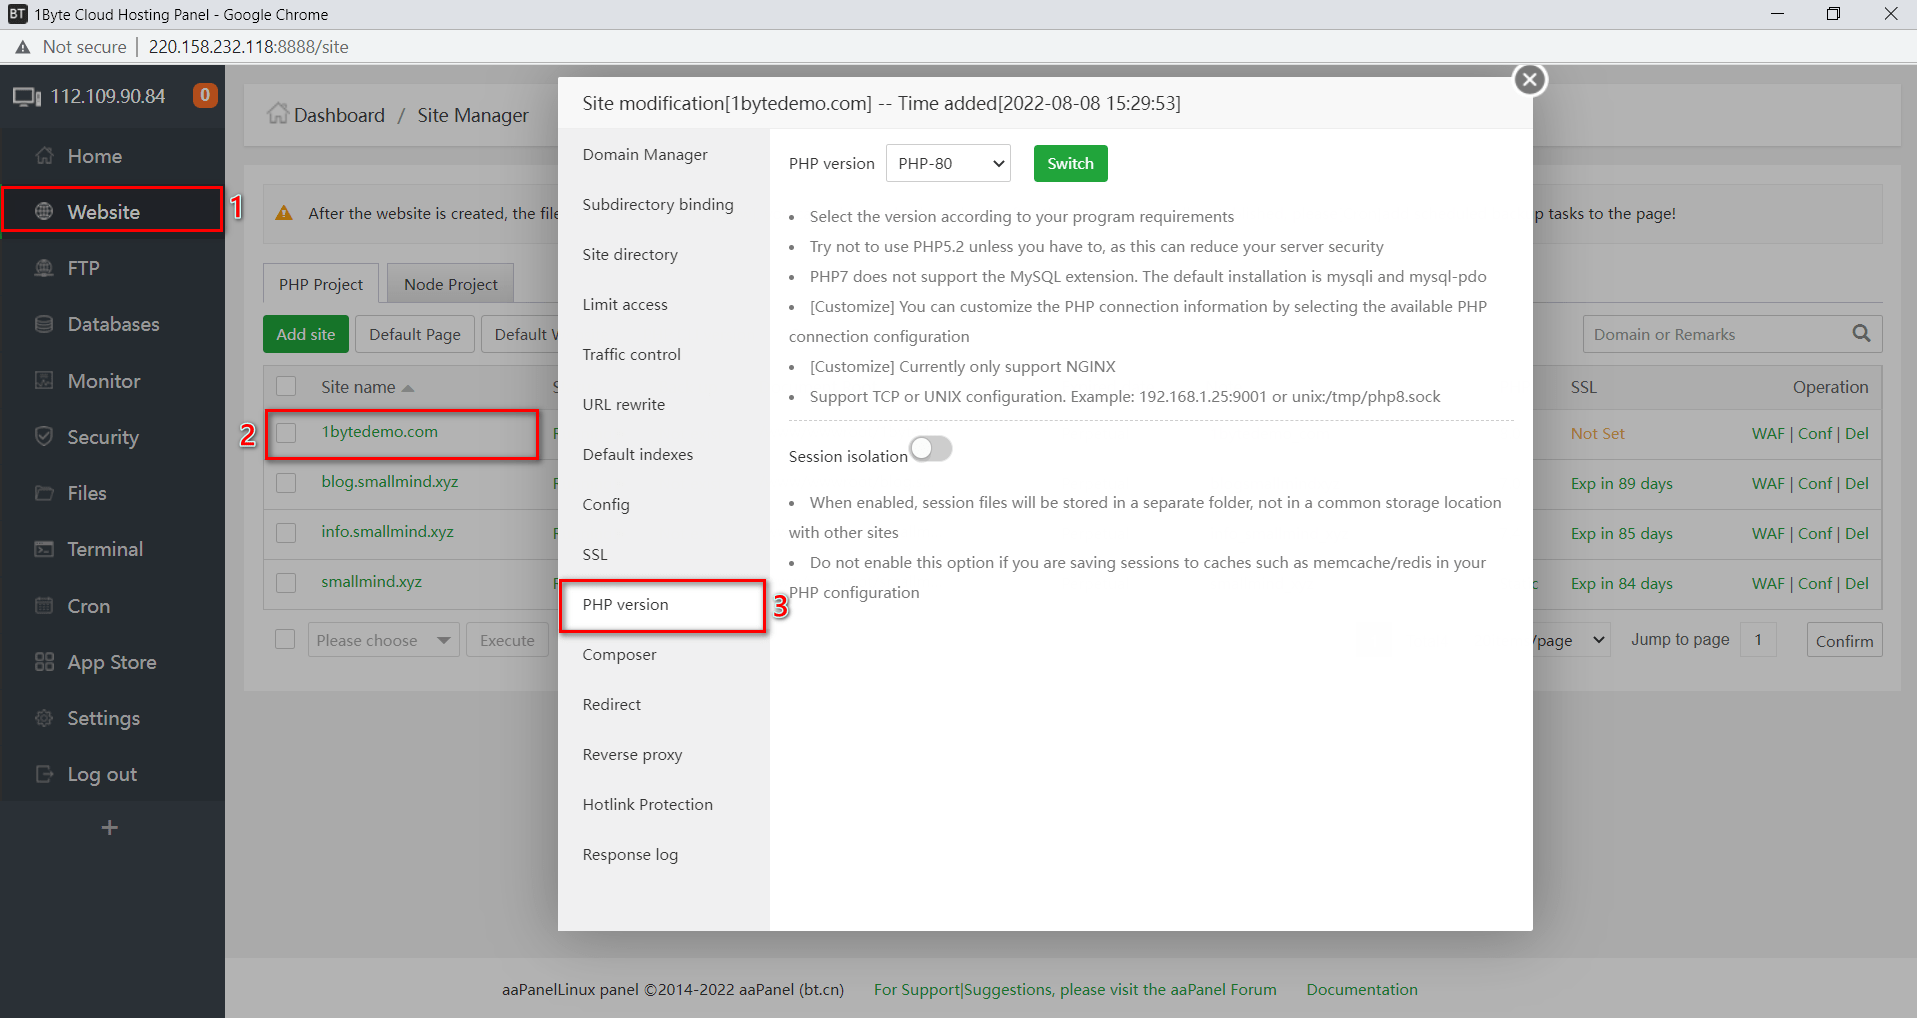
Click on Website and select the WordPress website you want to increase upload size then click on PHP version
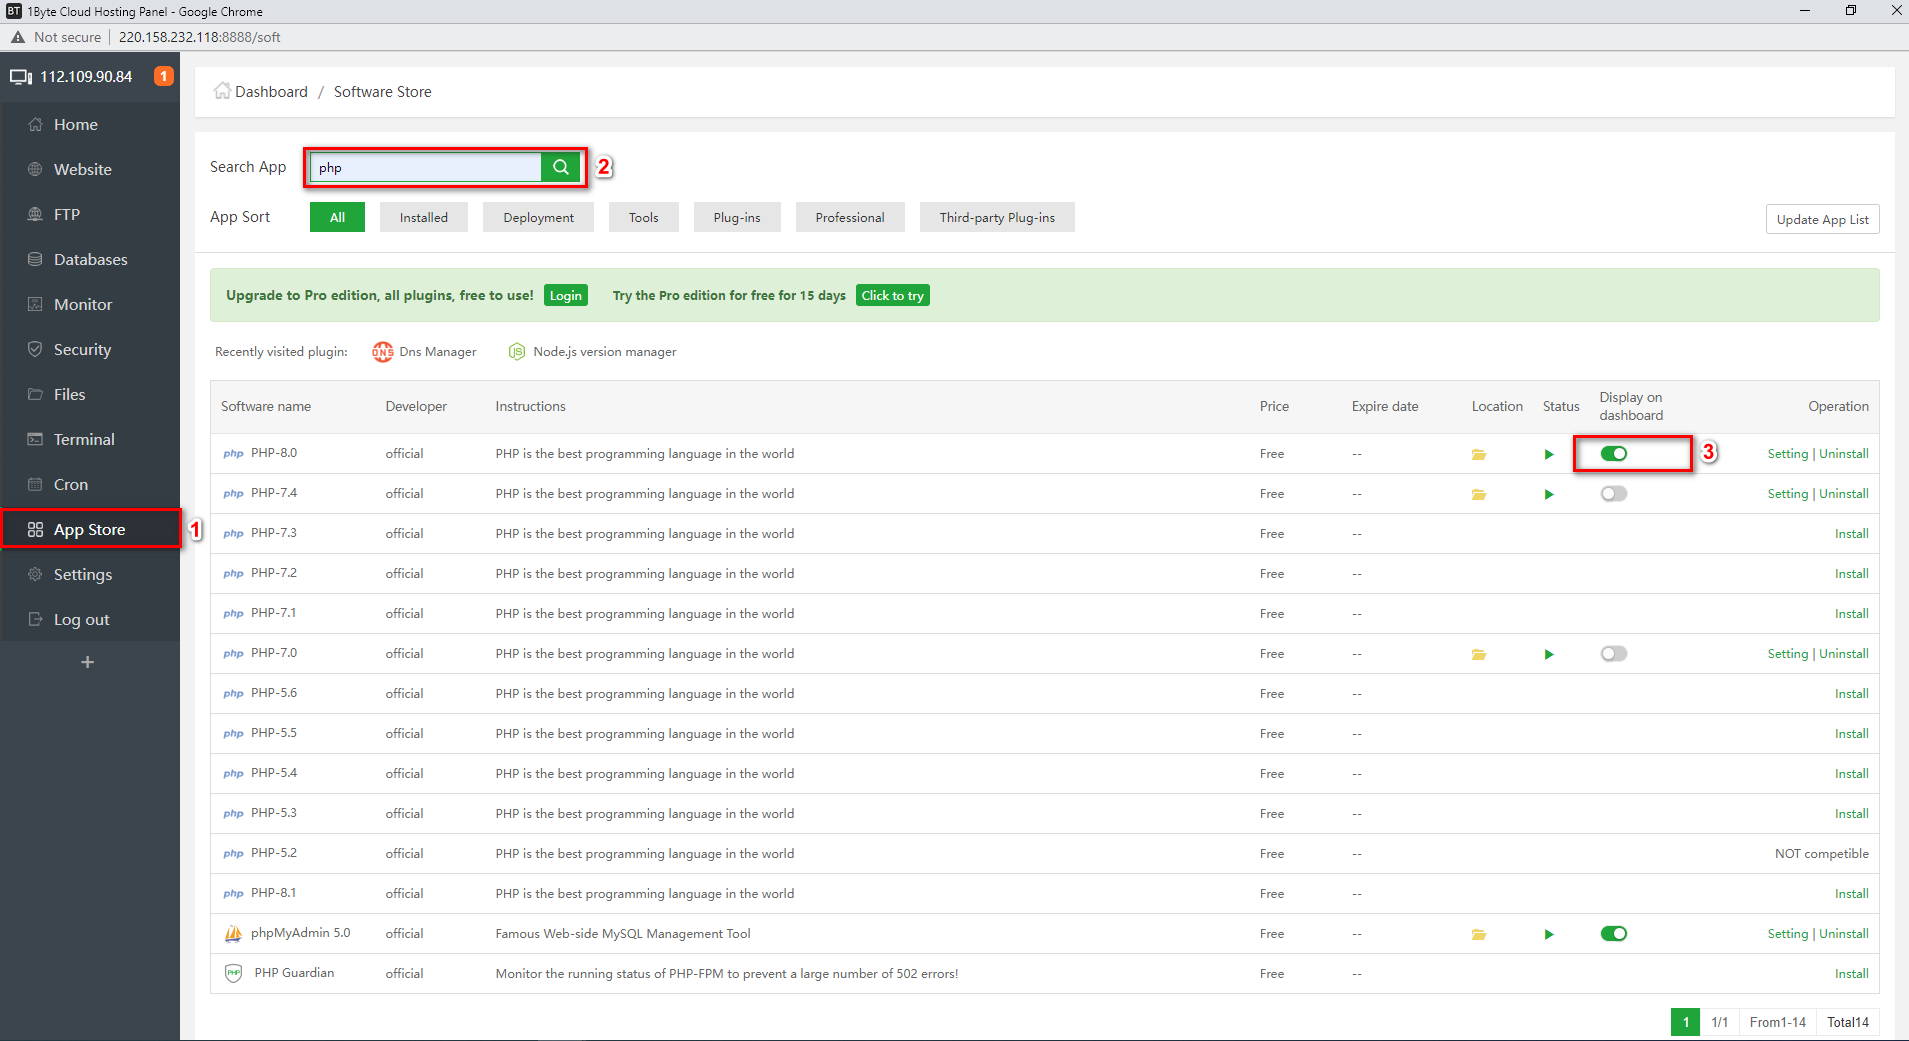
- Next, bring the PHP manager to Home Dashboard, by clicking on “App Store” button
- Then Search the keyword “PHP”
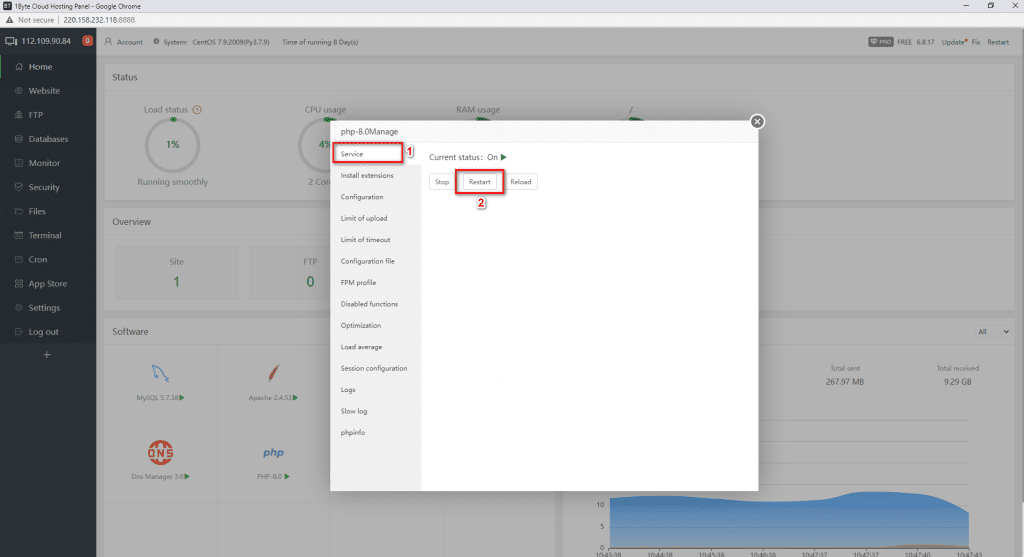
5: Start To Configure Php Manager To Increase The Maximum Uploading Size
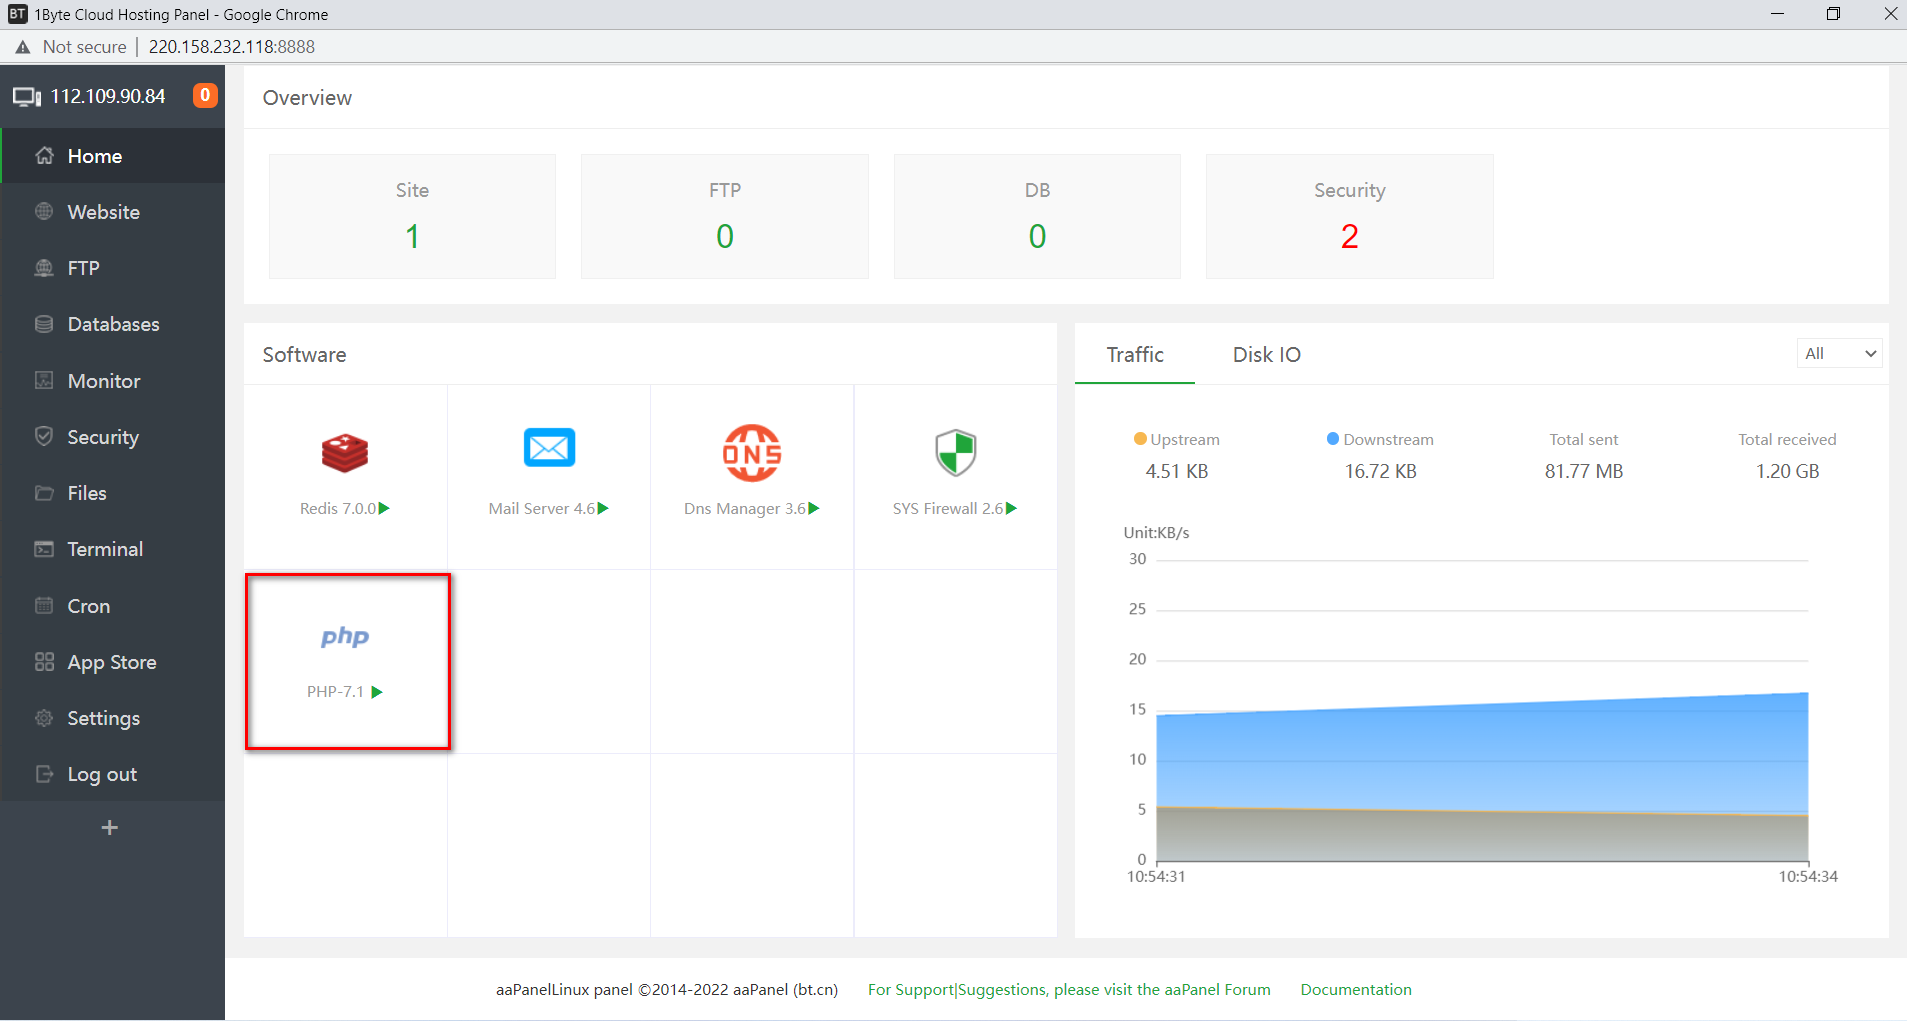
Go to the Home dashboard then click on PHP App
Navigate to the “limit of upload” section (for this demo, I am going to with 2GB)
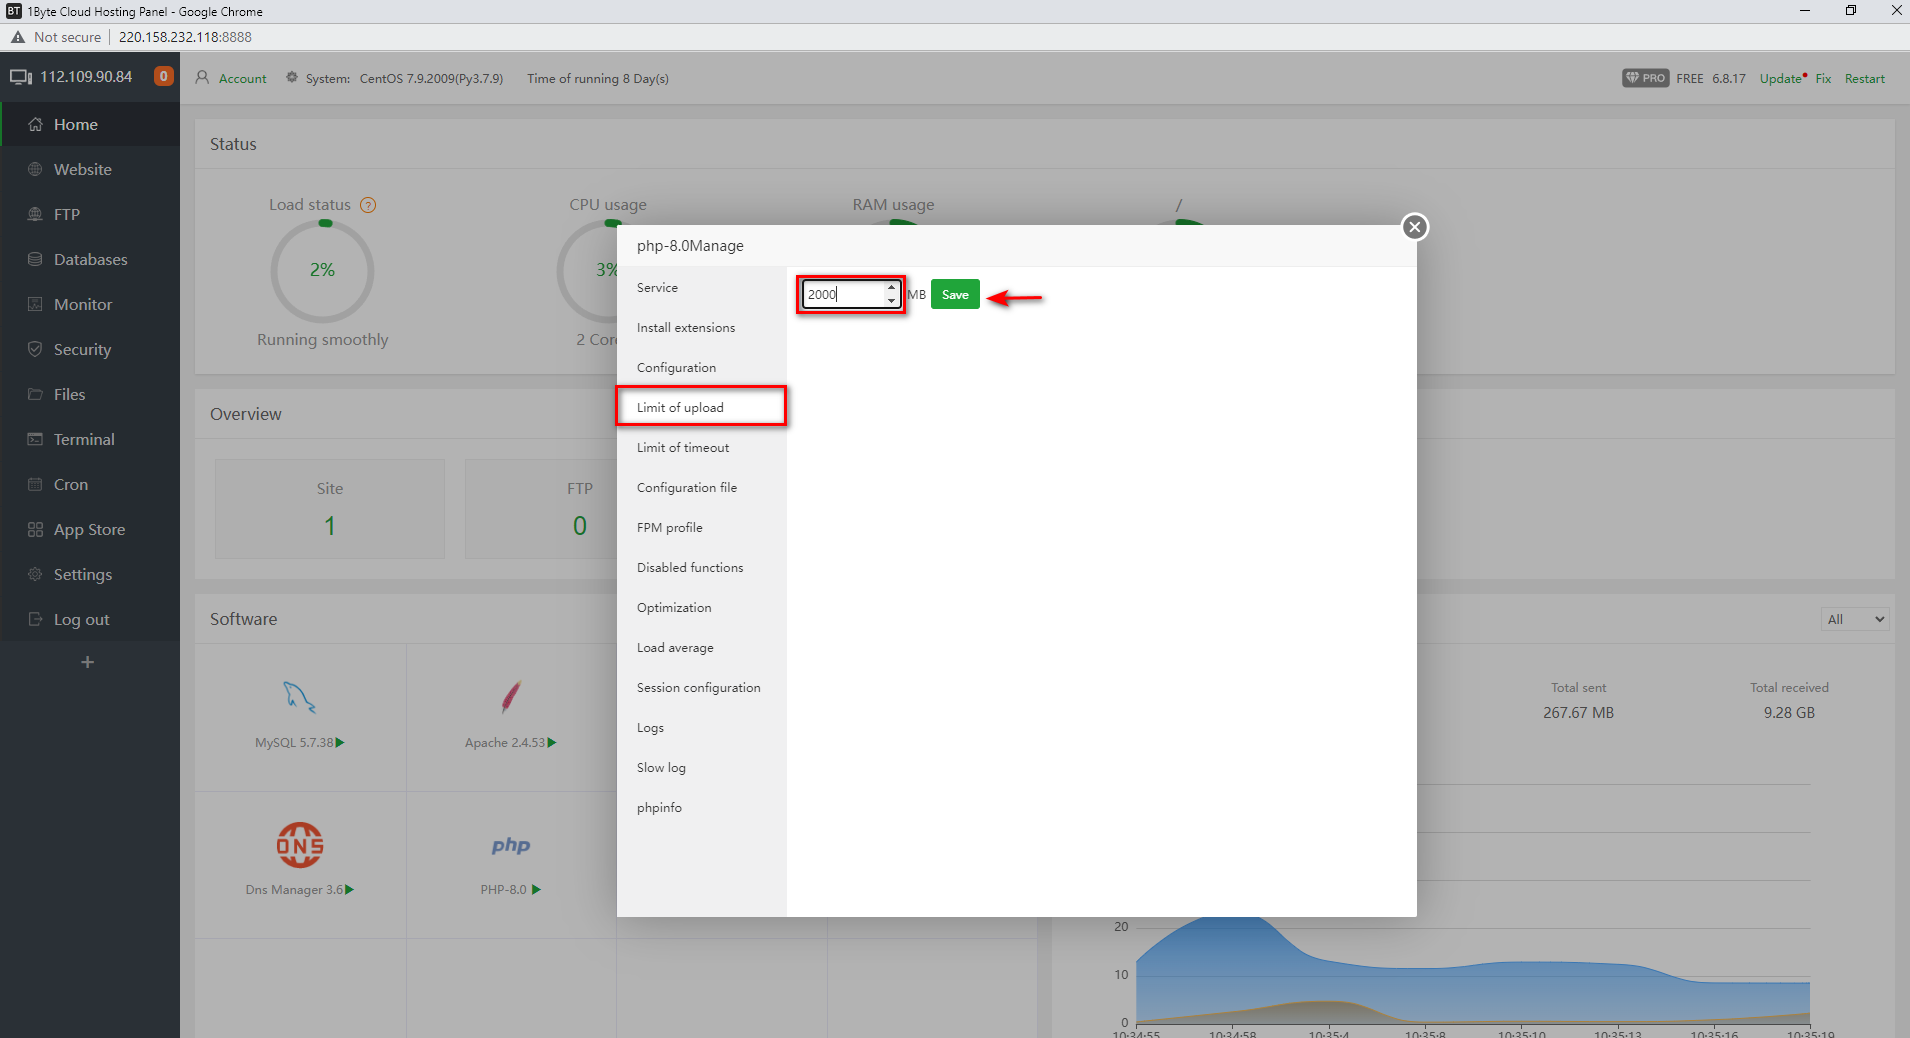
After making changes, go to the “Service” section and restart it
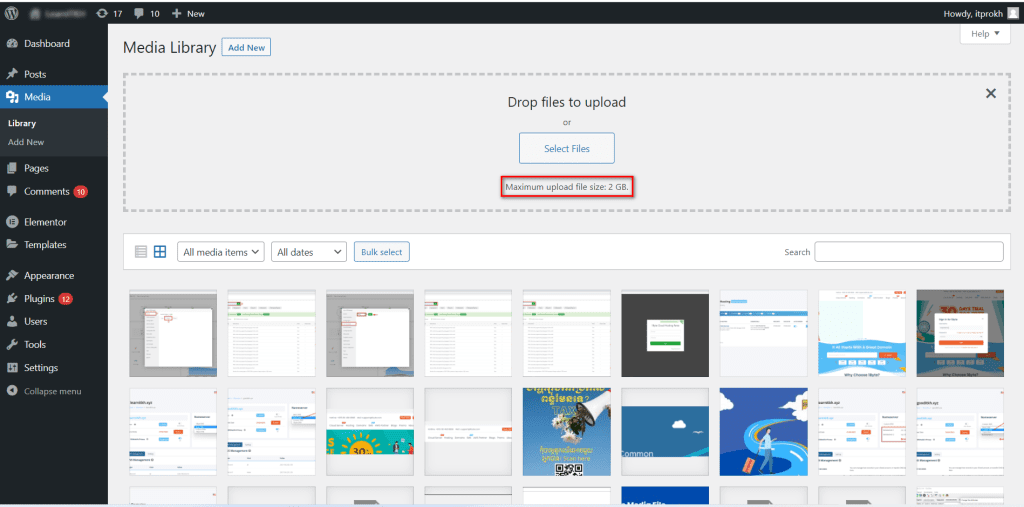
6: Go Back WordPress Dashboard To Confirm The Result
- Go to the WordPress admin dashboard then go to Media to check the result
- You can try to upload a file for testing by clicking on Select Files
Video Walkthrough From Step 1 to Step 6
How to Increase Upload Size WordPress in cPanel?
WordPress is a powerhouse with so many themes and plugins that allow you to build just about any kind of website. From eCommerce to a simple blog, WordPress has you covered. However, when choosing web hosting for WordPress, you should consider performance, security, and support in the first place. If you are building a WordPress website that hosts a portfolio with large image files or a video hosting site with a single media file size running into GBs, then you might face a roadblock of not being able to upload media files larger than 25MB (in most cases).
1. Prerequisites
You may need WordPress hosting or cloud hosting if you don’t have to go to buy now on our website 1Byte.
2. Check the Current Maximum Upload Size in WordPress?
Go to WP Admin Media Add New to view the maximum upload size restriction for your WordPress website. The maximum upload size is currently displayed at the bottom.
You can keep it as is if the existing maximum upload size restriction satisfies your requirements. If it doesn’t, don’t worry; there are numerous ways to raise WordPress’s maximum upload size.
Method 1: Increase Upload Size WordPress by Update PHP.INI Option
This is a default file used to configure any application which runs on PHP. This file contains parameters required for file timeout, upload size, and resource limits. Access your WordPress root directory using SSH or FTP and look for a php.ini file. In some cases, this file is not visible the other option would be to create a new file instead.
Open any text editor and create a new file. Copy the following code and save it as php.ini.
upload_max_filesize = 25M
post_max_size = 13M
memory_limit = 15M
If your web host has a cPanel dashboard, then you can increase the file upload size through the built-in tools.
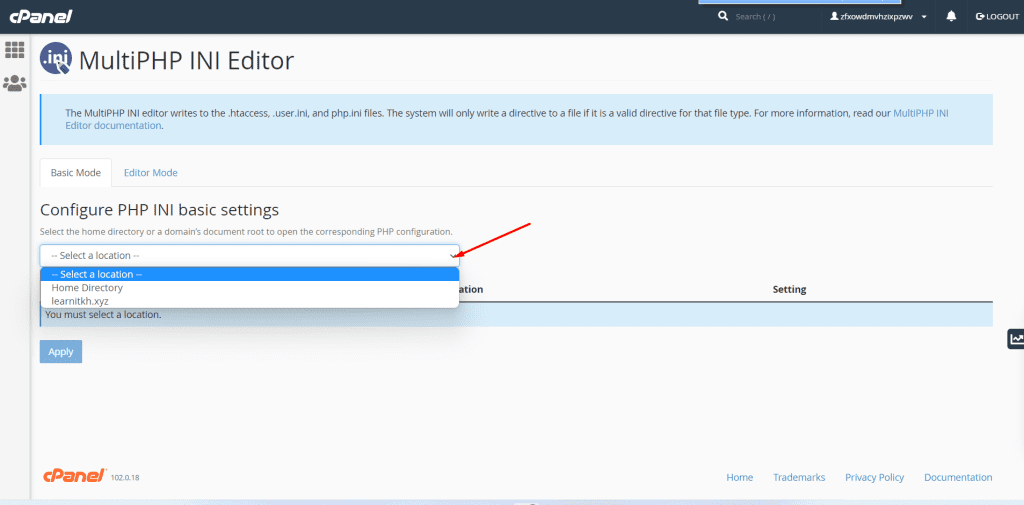
To do this, log in to your WordPress hosting account dashboard and go to the ‘Software’ section.
Then, click on ‘MultiPHP INI Editor’.

Select the home directory or a domain’s document root to open the corresponding PHP configuration.
Next, scroll down to the section labeled ‘upload_max_filesize’ and enter a new maximum filesize into the box.
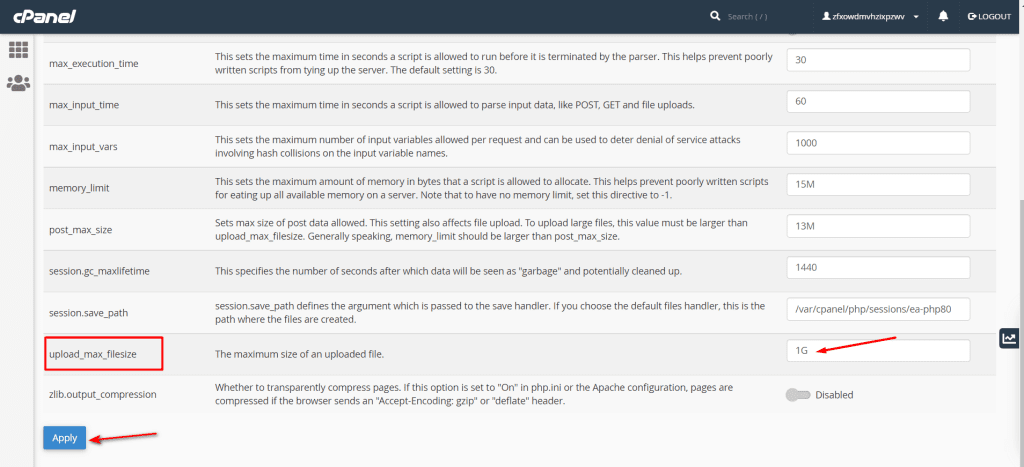
Then, click the ‘Apply’ button
Method 2: Increase Upload Size WordPress by Update .htaccess File
The way to increase the maximum file size is by modifying the ” .htaccess “ file. This file controls the high-level configuration settings for your website.
To do this, you need to log in to your website server via FTP.
After that, you need to locate your .htaccess file in your website’s root folder.
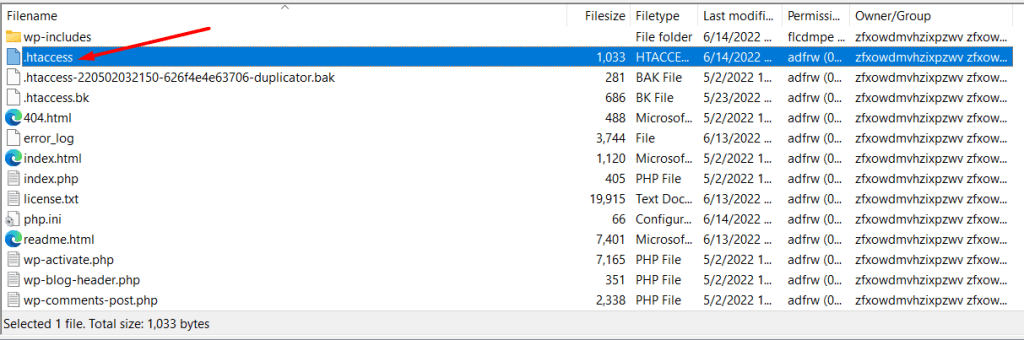
If you can’t find your .htaccess file, then it could be hidden by your file manager or FTP client
Next, you need to add the following code snippet to your .htaccess file.
php_value upload_max_filesize 1G
php_value post_max_size 1G
php_value memory_limit 256M
php_value max_execution_time 300
php_value max_input_time 300
To increase your maximum file upload size even more, simply change the ’64M’ to the size you require.
Conclusion
WordPress is a versatile CMS. There is always a way to do something. If you cannot find an answer to any of your issues pertaining to WordPress, you can go to our blog or contact our customer support team. Your company can take advantage of 1Byte specialized hosting plan and support 24/7 of us to solve your problem of increasing upload size WordPress.