
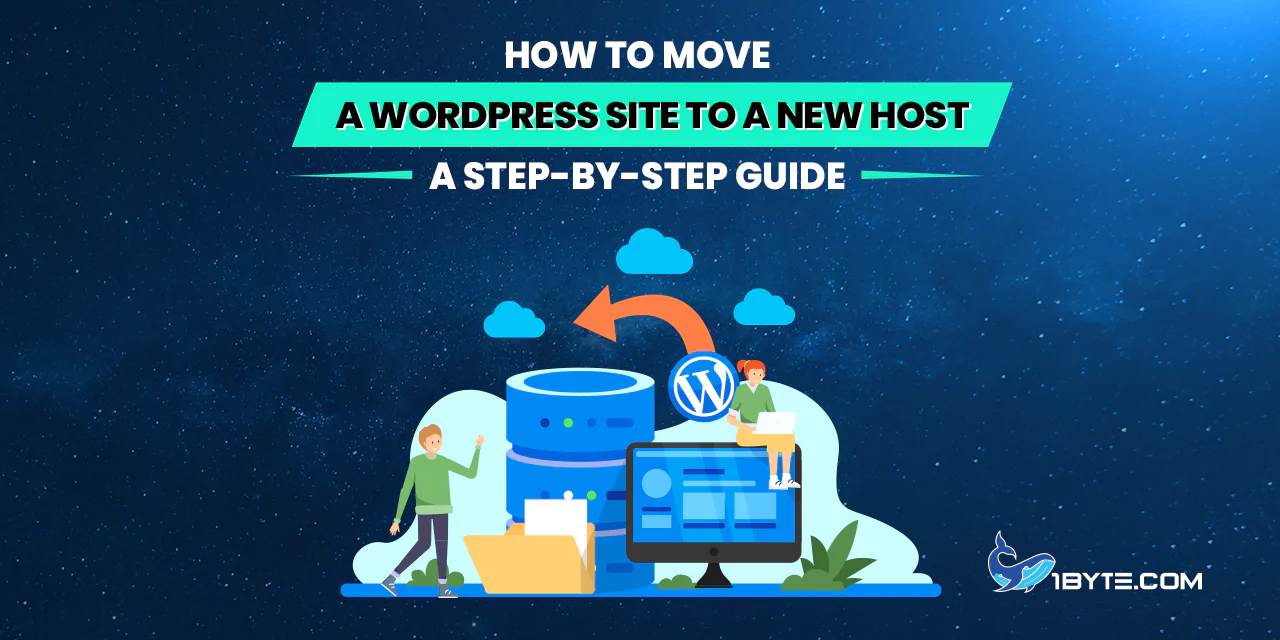
Moving a WordPress site to a new host can seem daunting, but it doesn’t have to be. This guide from 1Byte simplifies the process, showing step by step how to move a WordPress site to a new host. It’s designed to be easy to understand, even for beginners. First, the article outlines why this move is essential, focusing on the benefits of switching hosts. Then, it delves into the core steps, from preparing backups to finalizing the transition. Each stage is explained in a straightforward, concise manner. By following this guide, readers will confidently navigate the complexities of hosting transfer, ensuring a smooth and successful site migration.
Preparation for the Move
Starting the journey of moving a WordPress site to a new host begins with solid preparation. This critical stage lays the foundation for a smooth transition. It involves two key steps: backing up your site and choosing the right new host. First, backing up ensures that your data remains safe. It acts as a safety net against any potential data loss during the move. Next, selecting a suitable host is about finding a reliable and supportive environment for your website. This section will guide you through these initial steps, simplifying the task of how to move a WordPress site to a new host. With careful planning, you’ll be set for a successful move, reducing risks and ensuring a seamless experience.
Backing Up Your WordPress Site
Backing up your WordPress site is the first crucial step when you’re learning how to move a WordPress site to a new host. This process protects your website’s data, ensuring nothing gets lost in the move. Start by choosing a reliable backup plugin. There are many options available, each offering different features. Popular choices include UpdraftPlus and Jetpack. Once you select a plugin, install and activate it on your WordPress site.
Next, configure the plugin settings. Most backup plugins offer a range of options, from full site backups to database-only backups. Choose a full site backup for comprehensive coverage. This backup should include your website’s database, files, and any additional content. Schedule regular backups to keep your site’s data updated. This habit is essential not just for moving hosts, but for overall website security.
After setting up the schedule, run your first backup. Monitor the process to ensure it completes successfully. Once the backup is finished, store it safely. You can keep it on cloud storage, like Google Drive or Dropbox, or download it to your computer. This step is crucial. Having the backup readily accessible makes the transition to a new host smoother and more secure.
Remember, a thorough backup is your safety net. It ensures that, no matter what happens during the move to a new host, your WordPress site’s data remains intact and recoverable.
FURTHER READING: |
| 1. How to Set Up a Gmail Custom Domain: A Step-by-Step Guide |
| 2. Data Center Migration Strategy: Lessons from 5 Real-Life Cases |
| 3. A Guide to Effective Cloud Orchestration |
Choosing a New Hosting Provider

Choosing a new hosting provider is a critical step in learning how to move a WordPress site to a new host. This decision impacts your website’s performance, security, and user experience. Start by identifying your website’s needs. Consider factors like traffic volume, storage requirements, and any special features your site uses. This understanding helps in selecting a host that aligns with your specific requirements.
Next, research potential hosting providers. Look for reviews and testimonials from other WordPress users. These insights reveal a lot about a host’s reliability and customer service. Pay attention to uptime statistics and support options. A host with high uptime guarantees and 24/7 support like 1Byte is ideal for maintaining your site’s availability and getting help when needed.
Consider the host’s WordPress compatibility and optimization. Some hosts offer WordPress-specific hosting plans. These plans often include features like one-click installations, automatic updates, and enhanced security measures tailored for WordPress sites.
Price is also an important factor. Compare the costs of different hosting plans, but remember that the cheapest option isn’t always the best. Balance cost with the quality of services offered. Think long-term; a slightly higher investment might mean better performance and support.
Finally, check the host’s scalability options. As your website grows, your hosting needs might change. A good host should offer easy scalability to accommodate this growth without causing disruptions.
Setting Up the New Host
Once you have chosen your new hosting provider, the next step in learning how to move a WordPress site to a new host is setting up the new environment. This phase is crucial for ensuring your site operates smoothly on the new host.
Creating an Account and Accessing cPanel
Creating an account with a new hosting provider is your first task in the process of how to move a WordPress site to a new host. This step is essential and usually straightforward. Start by choosing a hosting plan that fits your WordPress site’s needs. Consider factors like traffic, storage space, and any specific WordPress support or features.
Once you’ve selected a plan, fill out the registration form with your details. You will typically provide your name, email, and payment information. After completing the registration, you’ll receive a confirmation email. This email often includes important information such as your account credentials and a link to access your hosting dashboard.
The next crucial step is accessing the cPanel, which is your hosting control panel. To access it, follow the instructions in your confirmation email. The cPanel is a powerful tool where you manage various aspects of your hosting account. It’s user-friendly and designed to guide even beginners through tasks like installing WordPress, creating email accounts, and managing files.
In the cPanel, you’ll find everything needed to set up your new hosting environment for your WordPress site. Familiarize yourself with its layout and features. This knowledge is vital as you progress through the steps of how to move a WordPress site to a new host. With your account set up and cPanel access secured, you’re well on your way to a successful site transfer.
Preparing the New Environment
Preparing the new environment is a crucial step in the process of how to move a WordPress site to a new host. This stage involves setting up the basic groundwork on your new hosting account to ensure a smooth transition for your WordPress site. First, install WordPress on your new host. Most hosting providers offer a one-click WordPress installation feature in the cPanel, making this step simple and efficient.
Once WordPress is installed, it’s important to replicate the settings of your old site. This includes the WordPress version, theme, and plugins. Ensure that the version of WordPress on your new host matches the one you were using previously. Consistency in versions helps prevent compatibility issues.
Next, install the same theme and plugins that you had on your old site. This step is vital for maintaining the look and functionality of your site. You can do this directly from the WordPress dashboard in your new environment. Remember to check for the latest updates for both themes and plugins.
After installing the necessary components, adjust the settings in WordPress to mirror those of your old site. Pay attention to permalink structure, display settings, and any custom configurations you had previously. This alignment is key to ensuring your site functions and appears as it did before the move.
By carefully preparing the new environment, you are setting a solid foundation for a successful transition in how to move a WordPress site to a new host. This preparation minimizes the risk of issues and ensures a smoother, more efficient site migration.
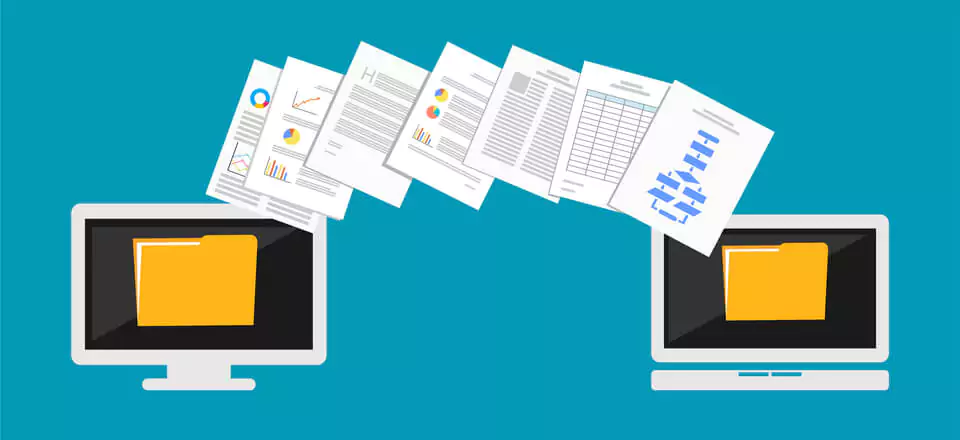
Transferring Your WordPress Files
Transferring your WordPress files is a pivotal step in the process of how to move a WordPress site to a new host. This phase involves moving all your website content, including themes, plugins, and media files, from the old host to the new one.
Exporting WordPress Database
Exporting your WordPress database is a critical step when you’re learning how to move a WordPress site to a new host. This database contains all your site’s vital data, including posts, pages, comments, and settings. To begin the export process, log in to your current hosting account and access phpMyAdmin. phpMyAdmin is a popular tool for managing MySQL databases and is available in most hosting control panels.
Once in phpMyAdmin, locate and select your WordPress database from the list on the left. This action will display all the database tables. Next, click on the ‘Export’ tab at the top of the page. You will be presented with two export methods: Quick and Custom. For most WordPress migrations, the Quick method is sufficient. It exports all tables in a format that’s easy to import later.
Choose the format for your database export. The SQL format is recommended as it is the standard for MySQL databases. After selecting SQL, click on the ‘Go’ button to start the export process. The database will be downloaded to your computer as an SQL file.
It’s important to keep this file safe. The SQL file is the key to restoring your WordPress site on the new host. With your database securely exported, you’ve completed a vital part of how to move a WordPress site to a new host. This file ensures that you can recreate your site exactly as it was, on the new hosting platform.
Transferring Files via FTP
Transferring files via FTP (File Transfer Protocol) is a crucial step in how to move a WordPress site to a new host. This process involves moving your website’s core files, themes, plugins, and media from your old host to the new one. Start by installing an FTP client on your computer. Popular choices include FileZilla and WinSCP, both known for their user-friendly interfaces.
Once you have your FTP client installed, connect to your old hosting account. You’ll need the FTP credentials from your old host, which typically include a username, password, and FTP server address. Enter these details into your FTP client to establish a connection to your old host.
After connecting, navigate to the root directory of your WordPress site. This directory usually contains folders like ‘wp-content’, ‘wp-includes’, and ‘wp-admin’. Download these folders to your computer. Ensure you also download the ‘.htaccess’ and ‘wp-config.php’ files, as they are crucial for your WordPress site’s configuration.
Next, connect your FTP client to your new hosting account using the credentials provided by your new host. Once connected, upload the files and folders you downloaded from your old host to the root directory of your new host. This step might take some time, depending on the size of your website and the speed of your internet connection.
It’s important to maintain the same file structure on the new host as it was on the old one. This consistency ensures your WordPress site will function correctly after the move. By carefully transferring your files via FTP, you’re making significant progress in how to move a WordPress site to a new host. This process ensures all your site’s content, themes, and plugins are correctly moved to your new hosting environment.
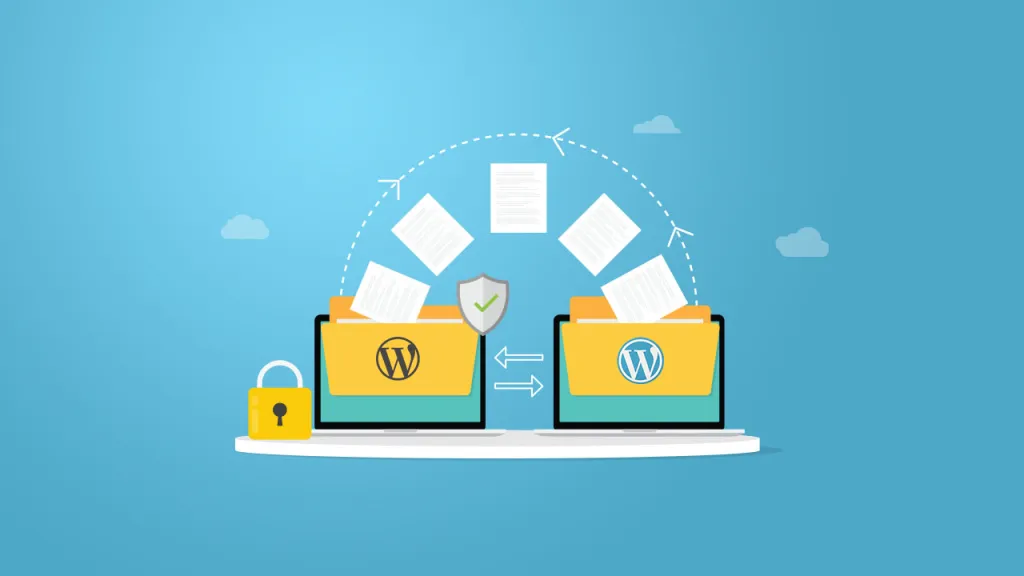
Importing Your WordPress Site to the New Host
After successfully transferring your WordPress files, the next pivotal phase in how to move a WordPress site to a new host is importing your site to the new hosting environment. This step is crucial for reassembling your site on the new host.
Importing Database
Importing the database is a critical step in the process of how to move a WordPress site to a new host. This stage brings your site’s content, including posts, comments, and settings, into the new hosting environment. Start by logging into your new hosting account and accessing phpMyAdmin. This tool is commonly available in most hosting control panels and is essential for handling database operations.
Once in phpMyAdmin, select the database you created for your WordPress site. If you haven’t created a database yet, you need to do so now. Creating a database typically involves specifying a name, username, and password. These details are crucial for connecting your WordPress site to the database.
With the database selected in phpMyAdmin, click on the ‘Import’ tab. Here, you will upload the SQL file you exported from your old host. This file contains all the data needed to reconstruct your WordPress site. Click on the ‘Choose File’ button and select the SQL file from your computer. After selecting the file, initiate the import process by clicking the ‘Go’ button.
The import process might take a few minutes, depending on the size of your database. Once the import is complete, your WordPress database will be fully transferred to your new host. This action is a significant milestone in how to move a WordPress site to a new host. With your database successfully imported, you’re one step closer to having your WordPress site fully operational on the new hosting platform.
Configuring wp-config.php
Configuring the wp-config.php file is an essential step in how to move a WordPress site to a new host. This file connects your WordPress site to its database, making it crucial for your site’s functionality. Begin by locating the wp-config.php file in your WordPress site’s root directory. You can access this file via FTP or the file manager in your hosting account’s control panel.
Once you’ve accessed the file, open it for editing. Look for the lines defining ‘DB_NAME’, ‘DB_USER’, and ‘DB_PASSWORD’. These lines contain the database name, username, and password. Update these values to match the database details you created in your new hosting account. This step is crucial for connecting WordPress to the correct database on your new host.
Next, check the ‘DB_HOST’ value. In most cases, this is set to ‘localhost’. However, some hosts may require a different value. If you’re unsure, consult your new host’s documentation or support team for the correct setting.
After updating these details, save the wp-config.php file. This action finalizes the connection between your WordPress site and its new database. With this step completed, you’ve made significant progress in how to move a WordPress site to a new host. Your site is now ready to function with the new database, ensuring all your content, settings, and features are intact on the new host.
Resolving URL Issues
Resolving URL issues is a vital step in the process of how to move a WordPress site to a new host. When you migrate your site, the URLs pointing to the old domain or location can cause problems. The first task is to ensure that your site’s URLs are updated to reflect the new domain or path. This is particularly important for links to images and other media files in your WordPress content.
One efficient way to update URLs is by using a plugin. Plugins like ‘Better Search Replace’ can automate the process of finding and replacing old URLs with new ones in your database. Install and activate the plugin, then use it to search for your old domain name and replace it with the new one.
If you prefer a manual approach, you can also update URLs directly in the database. Access your WordPress database through phpMyAdmin and use the SQL query feature to execute a find-and-replace command. This method requires caution, as direct changes to the database can have significant effects if done incorrectly.
After updating the URLs, clear any cache on your WordPress site. This step ensures that the changes take effect immediately and you see the updated links. Additionally, check your site thoroughly to ensure all links and images are loading correctly.
Resolving these URL issues is crucial for the functionality and user experience of your WordPress site after moving to a new host. With this step completed, you’re closer to finalizing the process of how to move a WordPress site to a new host, ensuring a seamless transition for your website’s visitors.
Final Checks and Going Live
As you near the end of learning how to move a WordPress site to a new host, the final checks and going live are crucial. This stage is about ensuring everything is set up correctly before your site becomes accessible to the public on the new host.
Checking Website Functionality
Checking website functionality is a critical step in ensuring a successful move of your WordPress site to a new host. This process involves a detailed review of your site to confirm that every aspect is working correctly. Begin by visiting your website as if you are a regular visitor. Navigate through each page to check for any issues, such as broken links or missing images.
Next, test all interactive elements of your site. This includes forms, search functions, and any other dynamic features. Ensure that these elements are not only displaying correctly but also functioning as intended. Submit a test form, for example, to see if it processes entries properly.
Pay attention to the layout and design of your site. Sometimes, moving to a new host can cause minor shifts in how your site appears. Check that your theme is displaying correctly and that all customization remains intact. Look at your site on different devices and browsers to ensure compatibility and responsiveness.
Additionally, verify that all plugins are active and working. Plugins are essential for the functionality of many WordPress sites. A move to a new host might sometimes cause compatibility issues, so it’s important to ensure they are all functioning as expected.
Finally, don’t forget to check the loading speed of your website. A new hosting environment can affect site performance. Tools like GTmetrix or Google PageSpeed Insights can provide insights into your site’s speed and offer suggestions for improvement.
By methodically checking the functionality of your WordPress site, you ensure a seamless experience for your users. This step is crucial in the process of how to move a WordPress site to a new host, as it confirms that your site is fully operational on its new platform.
Updating DNS Settings

Updating DNS (Domain Name System) settings is the final technical step in how to move a WordPress site to a new host. This process involves pointing your domain name to the new hosting provider, ensuring that visitors are directed to your site on its new server. Start by logging into the account where your domain is registered. This could be a domain registrar like GoDaddy, Namecheap, or sometimes your old hosting provider.
Once logged in, navigate to the DNS settings or domain management area. Here, you will find the records that control where your domain points. Look for the ‘A’ record or ‘CNAME’ record. These records will have an address or value that corresponds to your old host.
Replace the old hosting address with the new host’s IP address or CNAME. Your new hosting provider will have provided this information, typically in the welcome email or within their control panel. Be precise when entering the new address to avoid any errors.
After updating the DNS settings, save the changes. It’s important to note that DNS changes can take some time to propagate across the internet. This means your site might not immediately reflect the change to the new host. Propagation can take anywhere from a few hours to 48 hours.
By updating your DNS settings, you complete the technical aspect of how to move a WordPress site to a new host. This crucial step ensures that your domain correctly points to your newly hosted WordPress site, making it accessible to your audience on its new platform.
Conclusion
Understanding how to move a WordPress site to a new host is a valuable skill that can significantly enhance your website’s performance and security. This guide has walked you through each crucial step, from preparing for the move and backing up your site, to transferring files and updating DNS settings. Remember, while the process may seem daunting at first, following these steps methodically will ensure a smooth transition.
Always start with thorough preparation, which includes choosing the right host and backing up your site. Carefully transfer your files and database, ensuring everything is correctly configured in the new environment. Lastly, don’t overlook the importance of final checks and updating DNS settings, as these ensure your site functions seamlessly on the new host.
By completing this process, you have not only moved your WordPress site to a new host but also gained deeper insight into managing and maintaining your website’s backend. Whether you’re optimizing performance, enhancing security, or seeking better hosting services, this knowledge is invaluable. Remember, a successful move to a new host marks a new beginning for your website, paving the way for improved user experience and growth.